
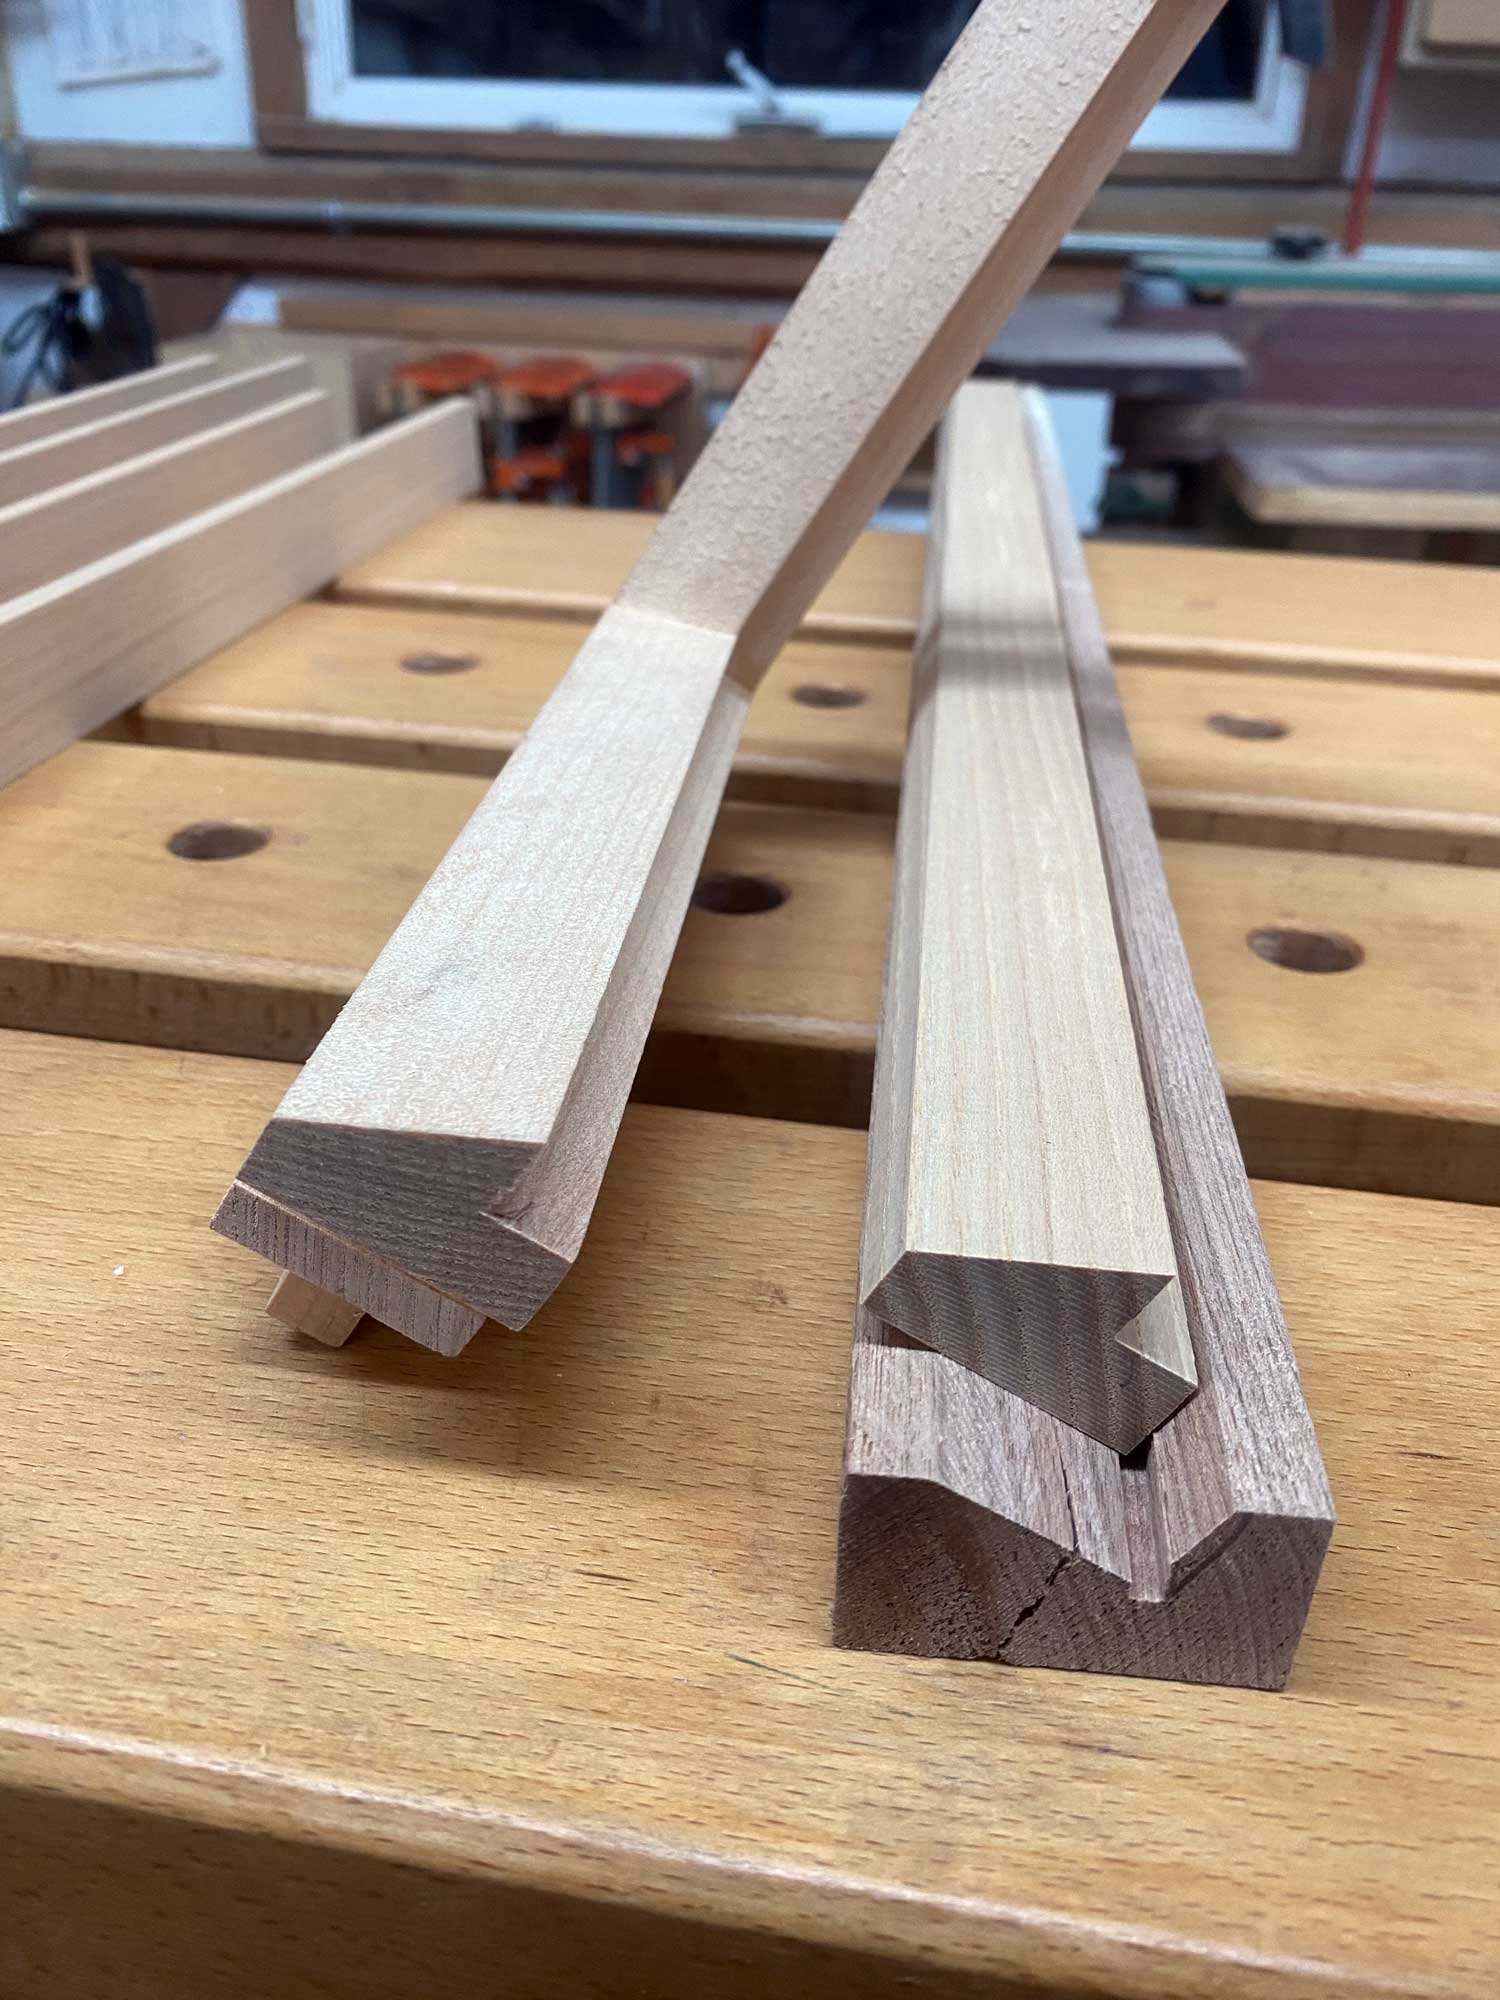

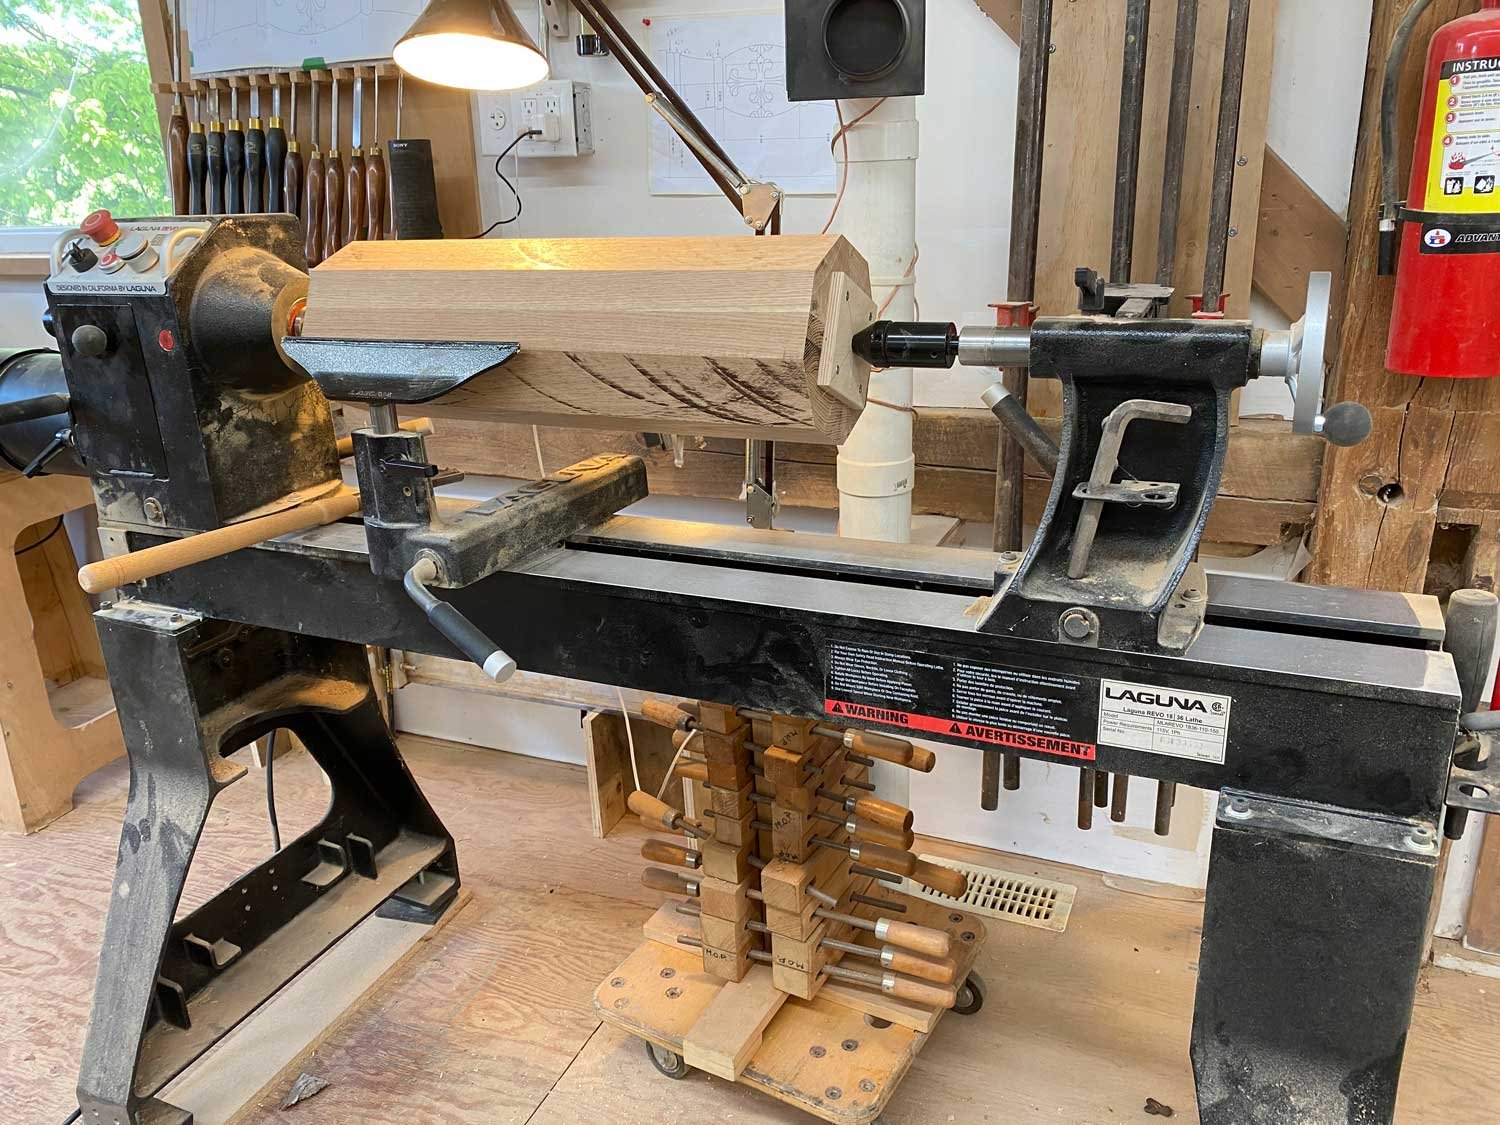

1. The prepared blanks in White Oak were mounted on the lathe. The blanks were very heavy.
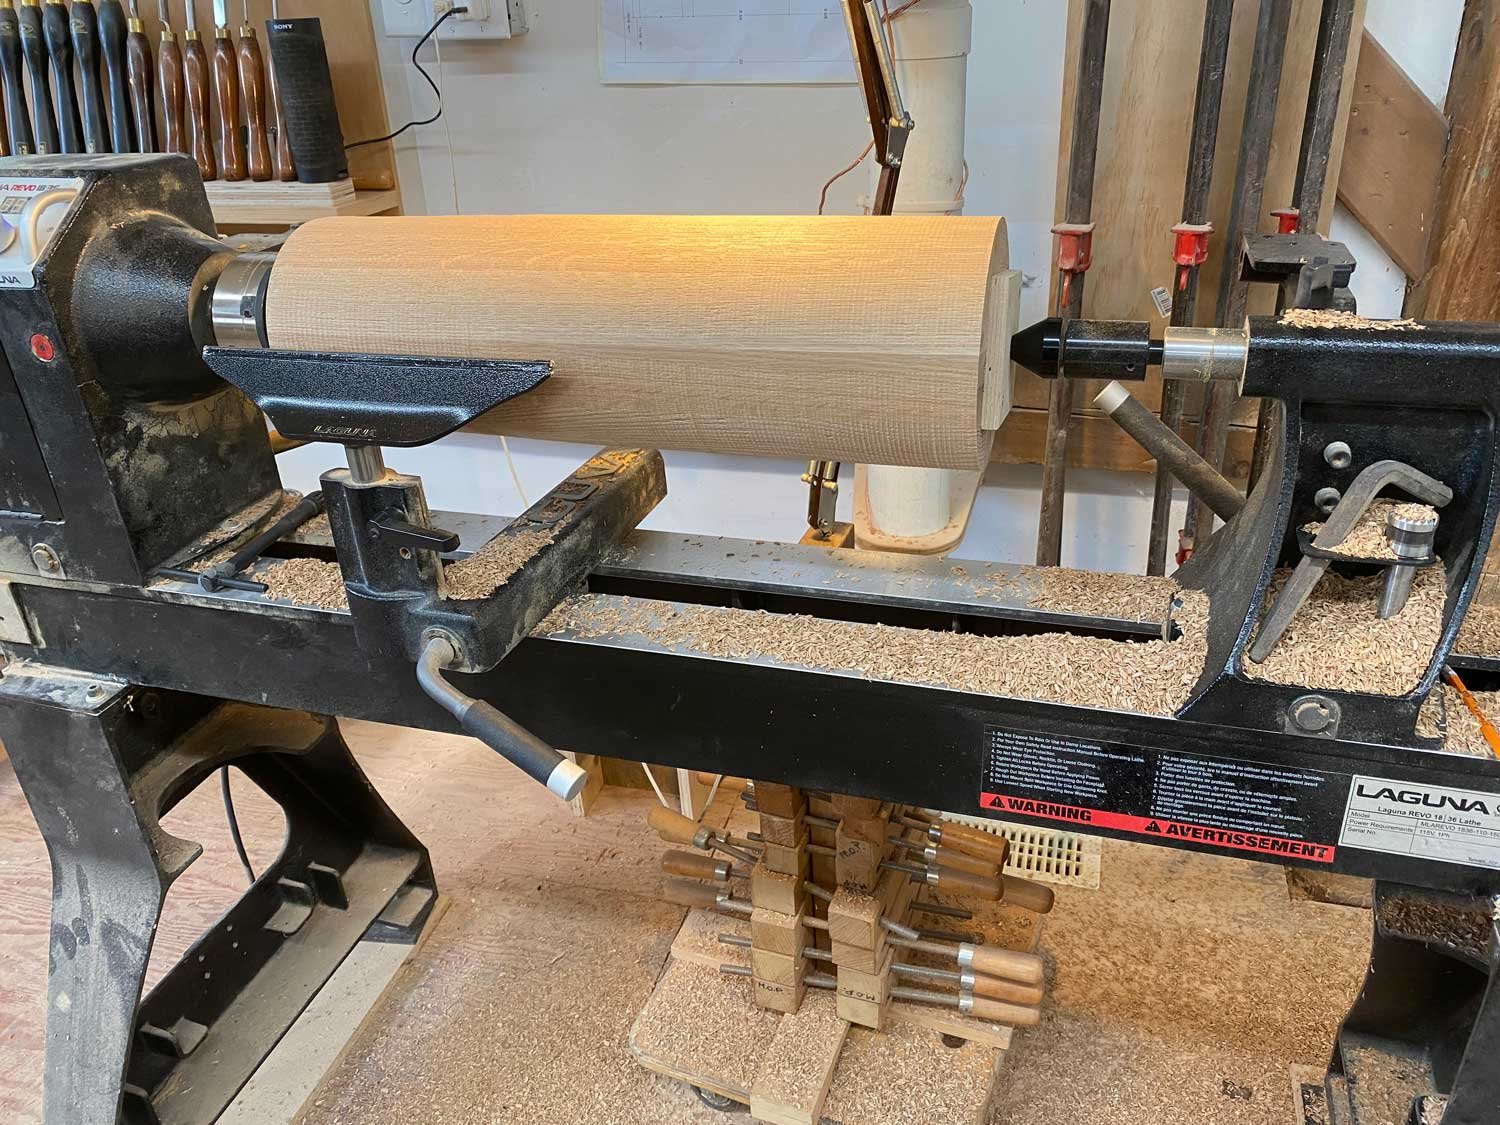
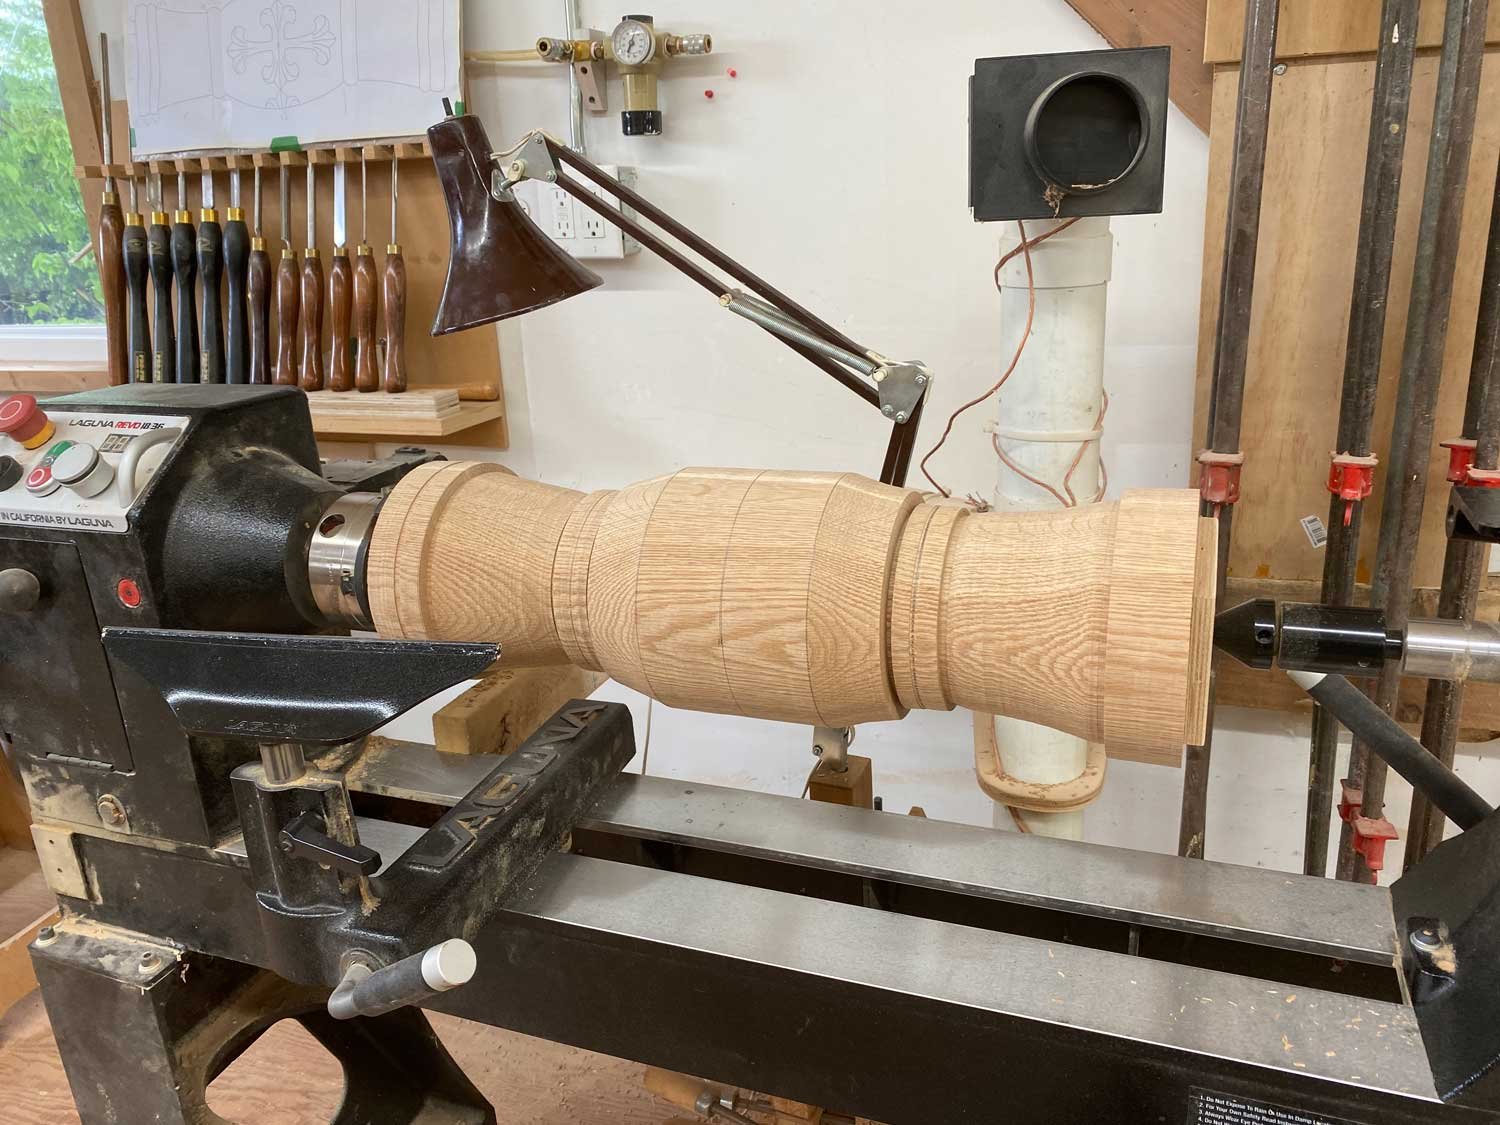
2. The blanks were all turned to cylinders so I could see what I was dealing with.
3. The cylinders were turned down to specified dimensions.
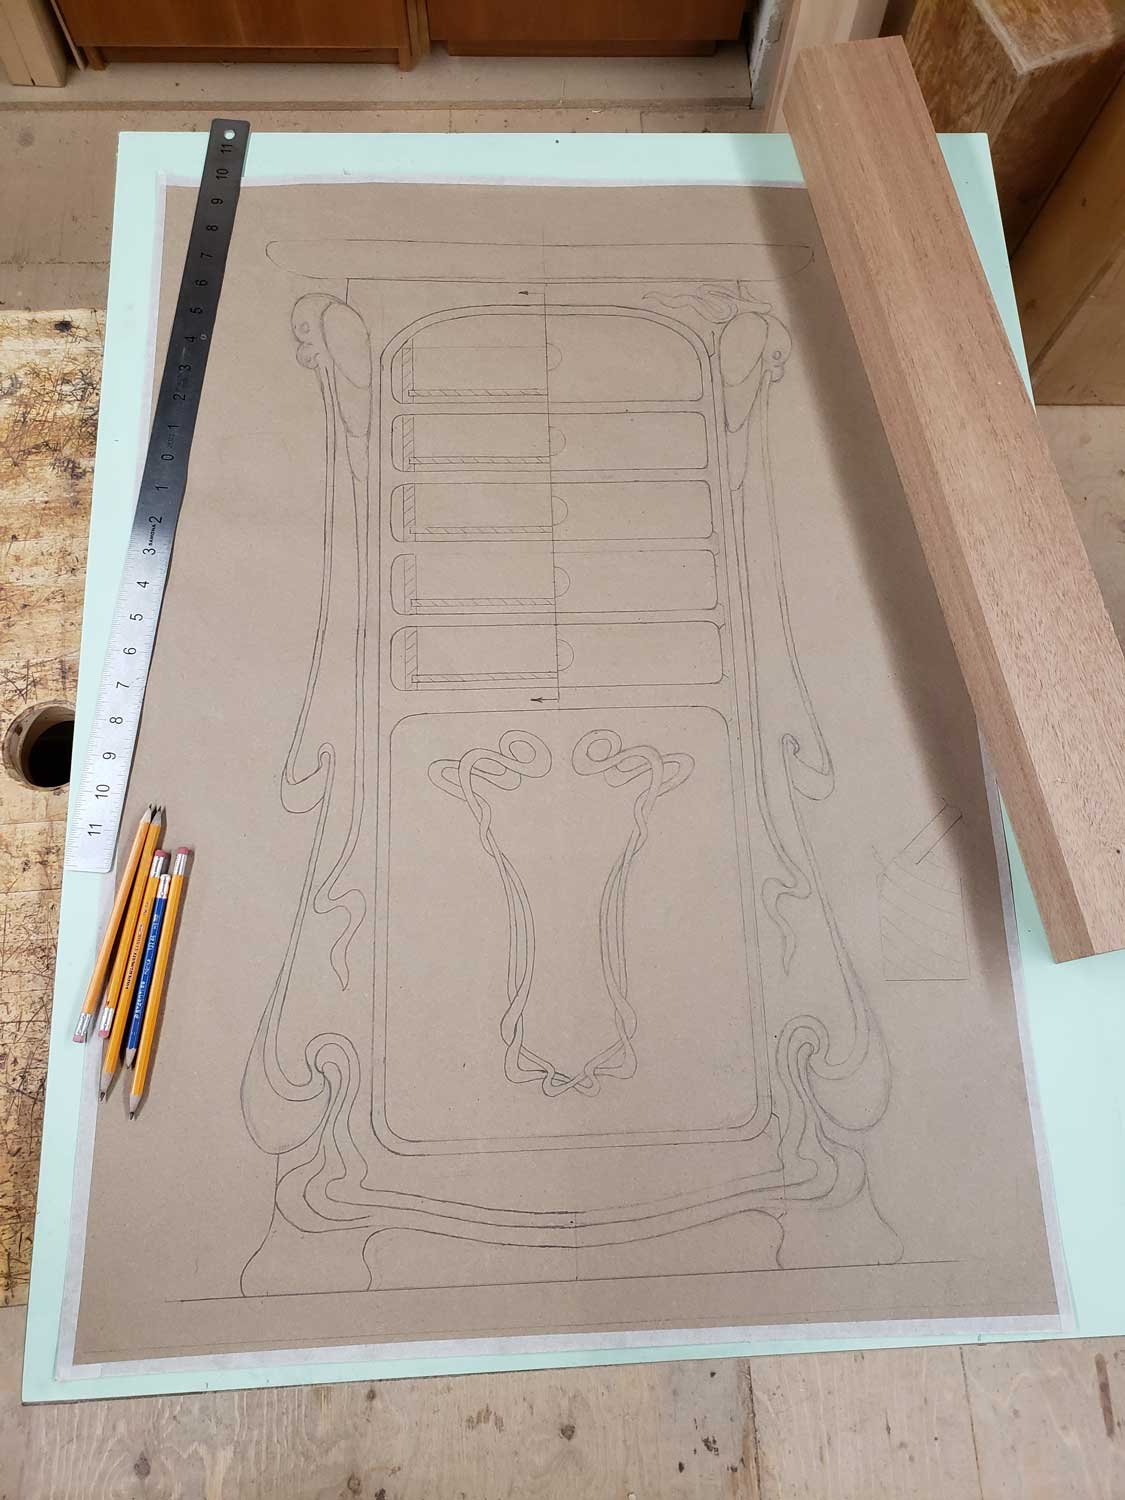
4. The carvings were laid out on the blanks to best work with the grain.
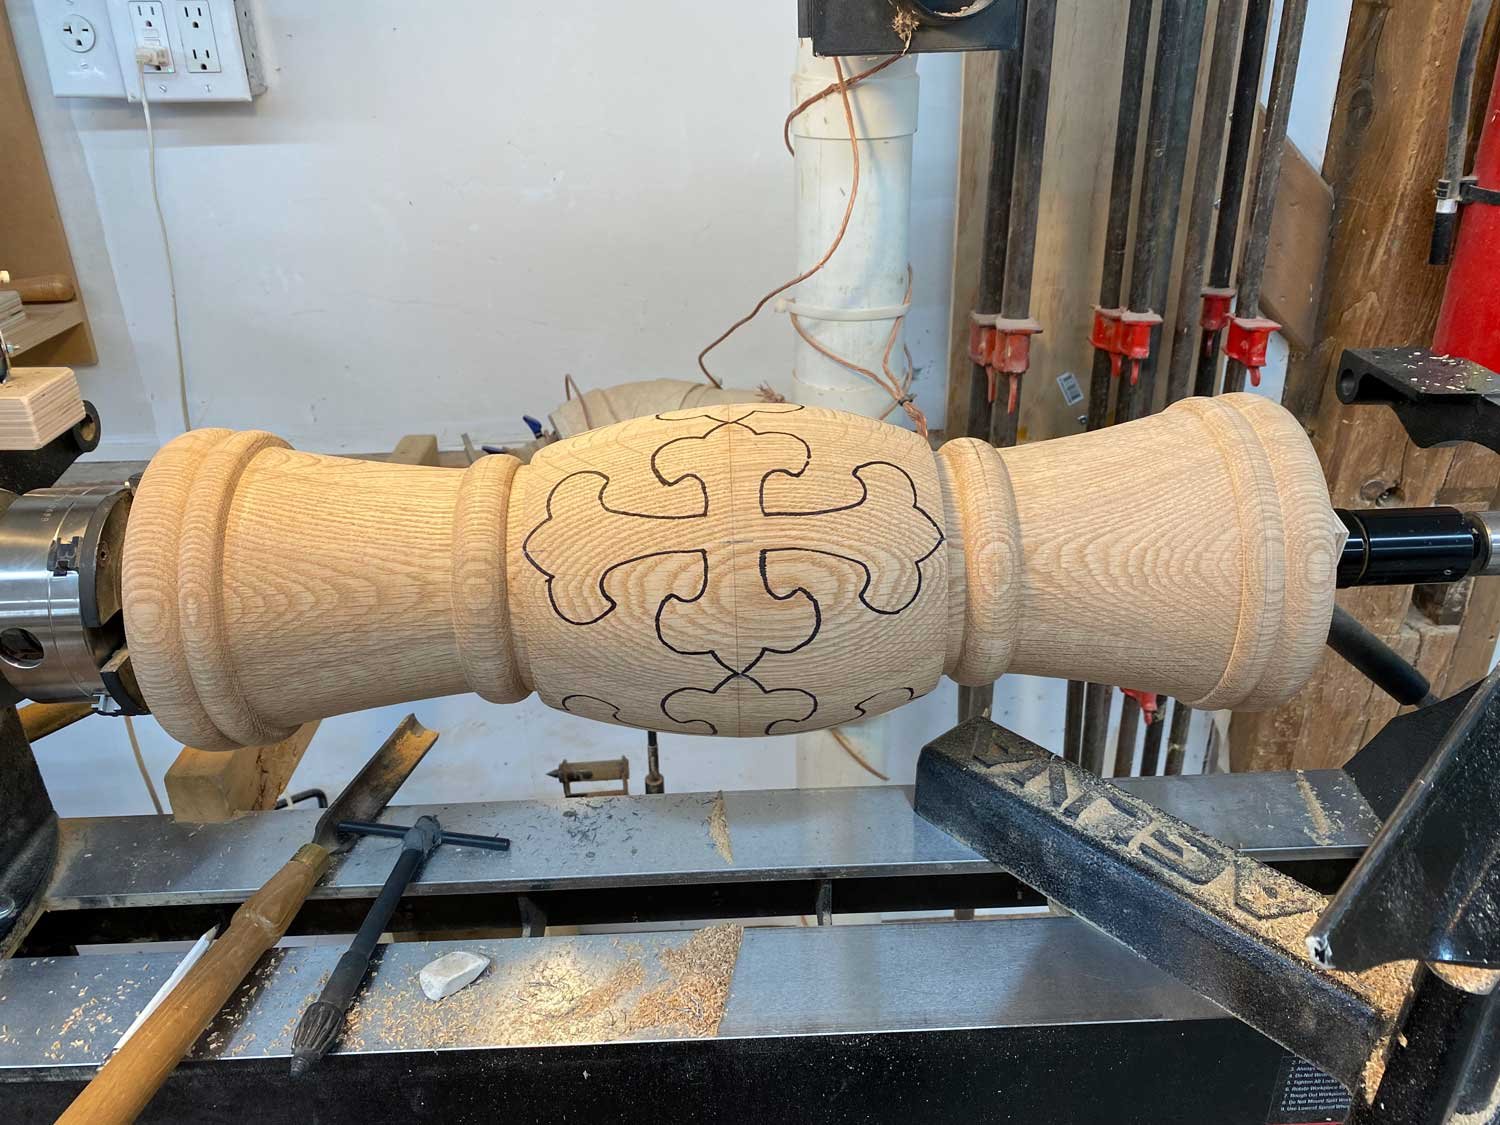
5. Roughing out around the carvings.
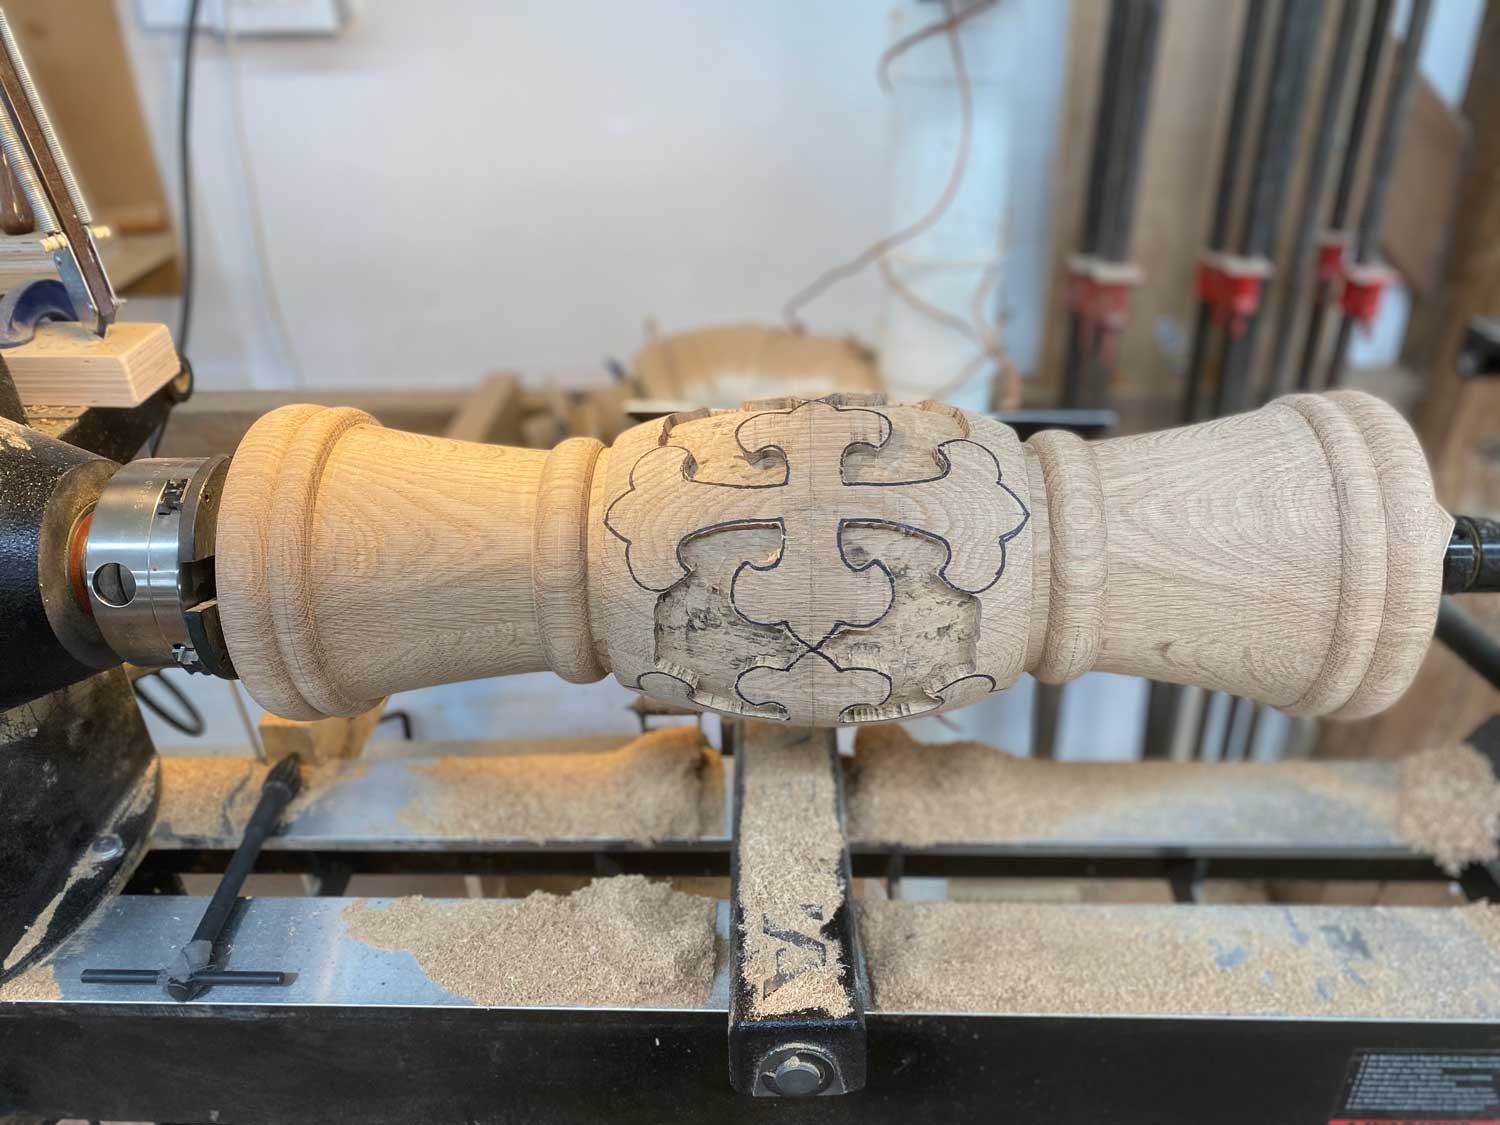
6. The blanks were then cleaned around the areas left for carving.
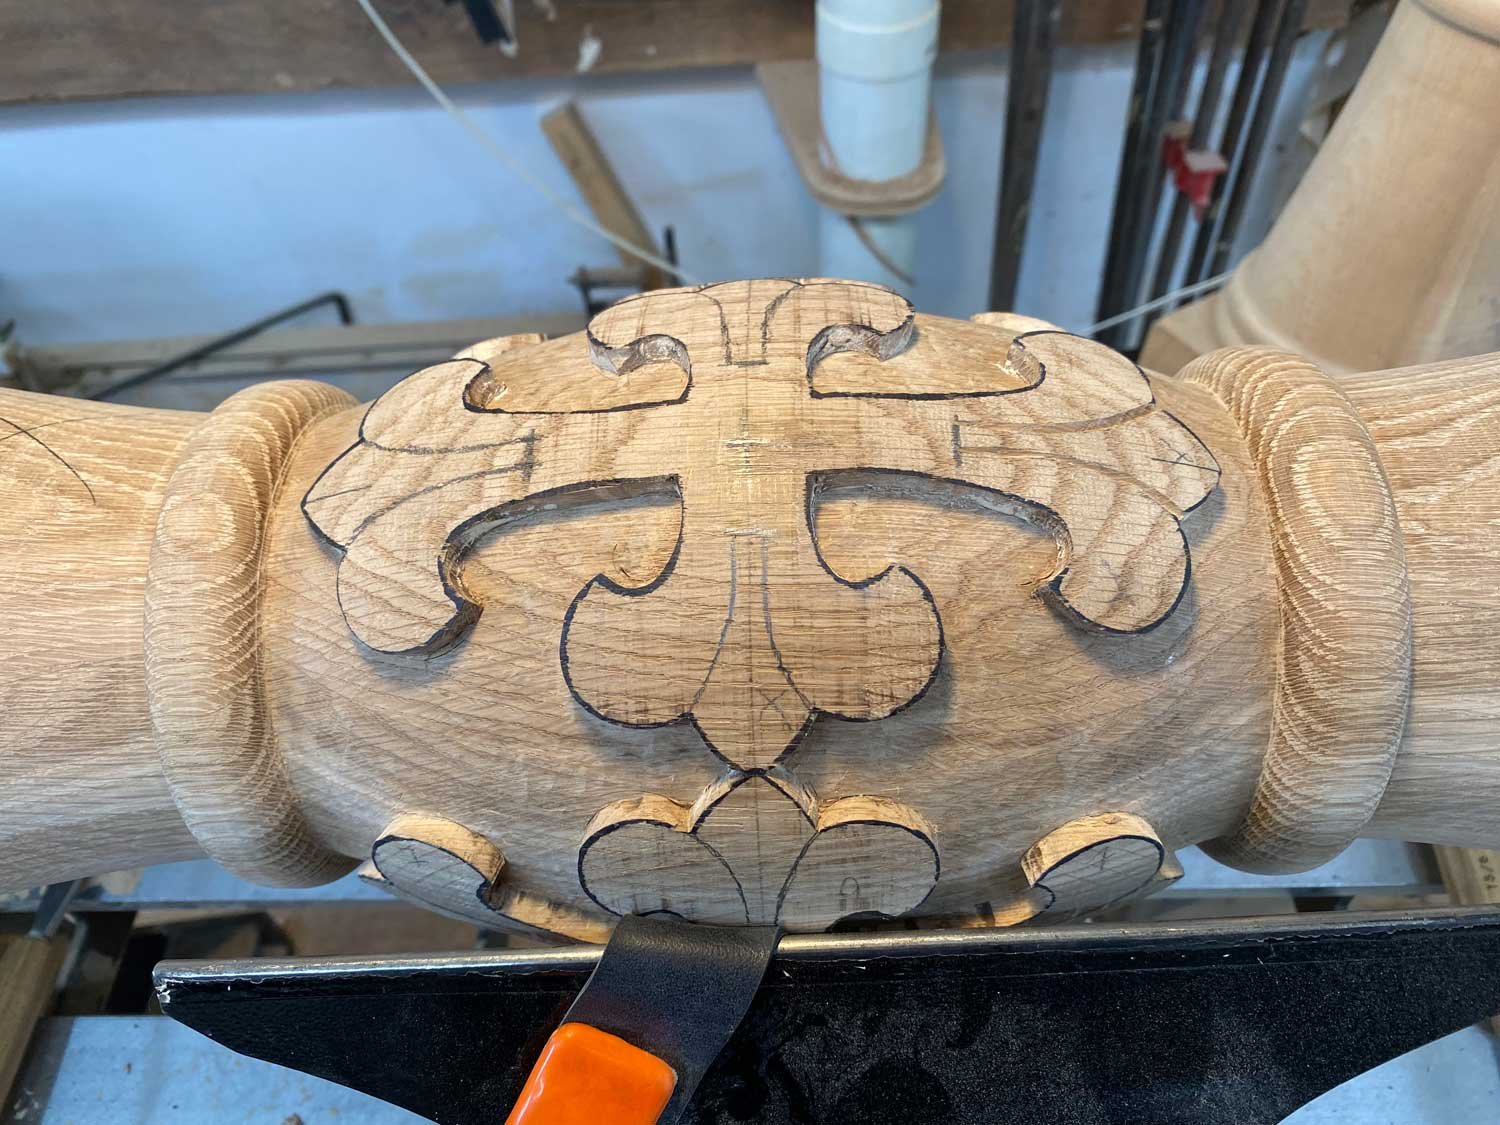
7. The carving details are laid out.
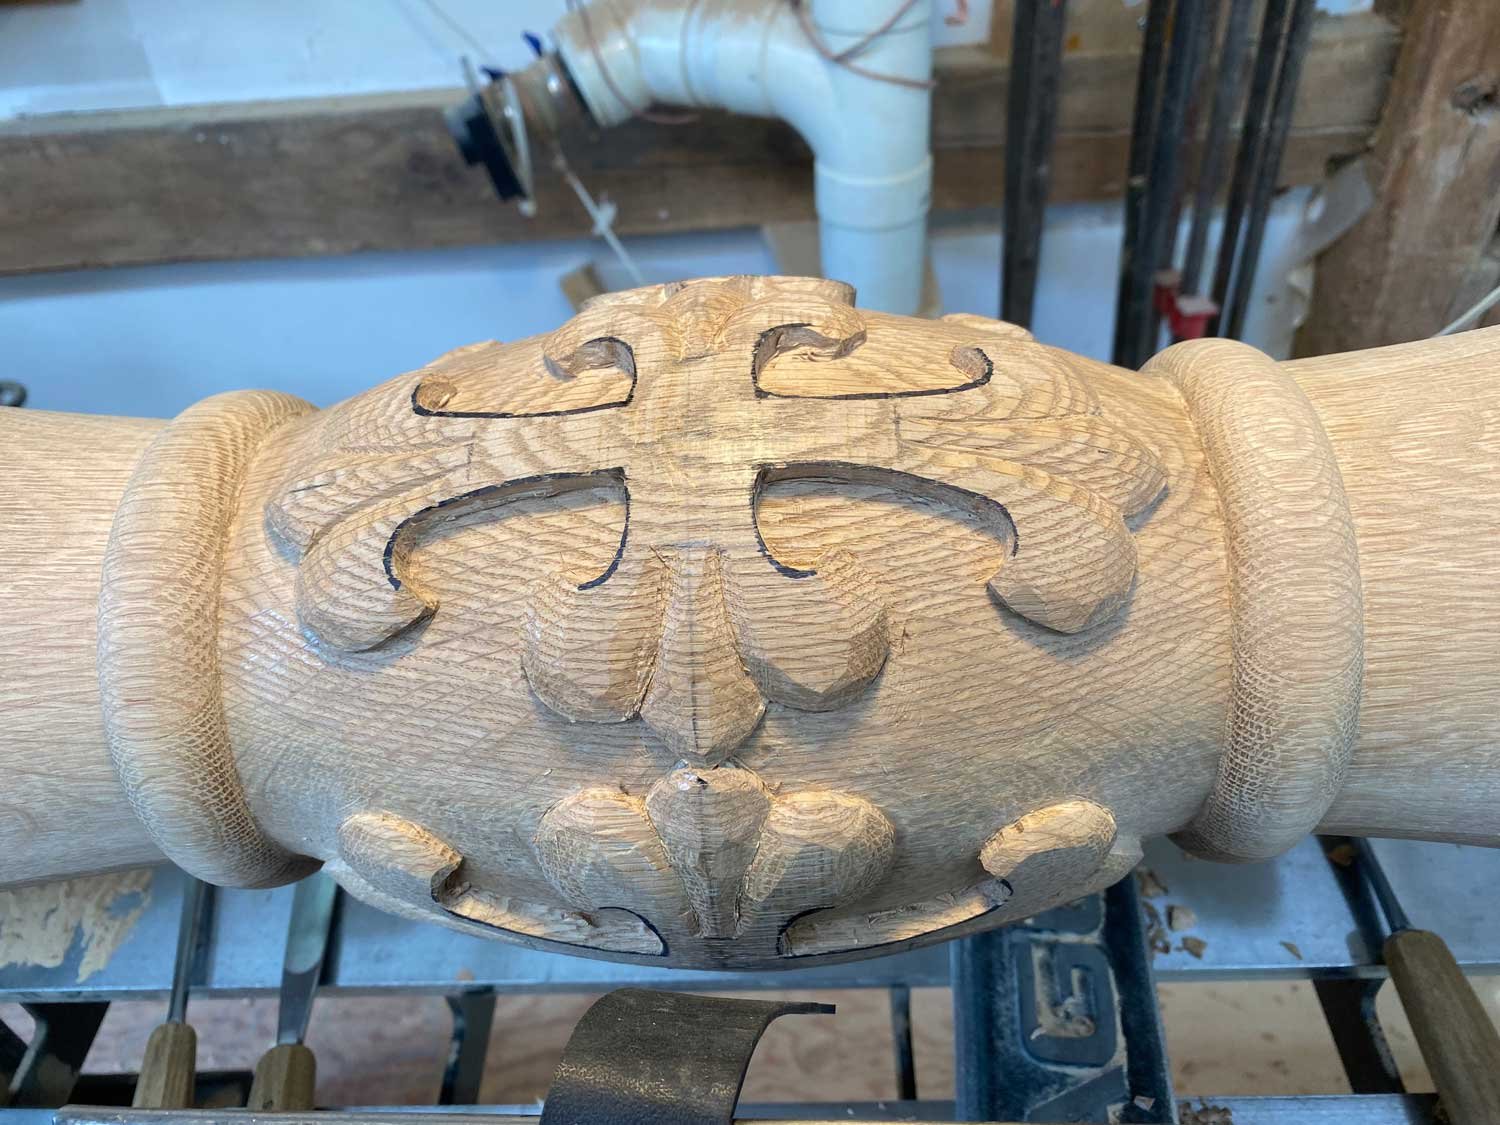
8. Roughing out the carvings.
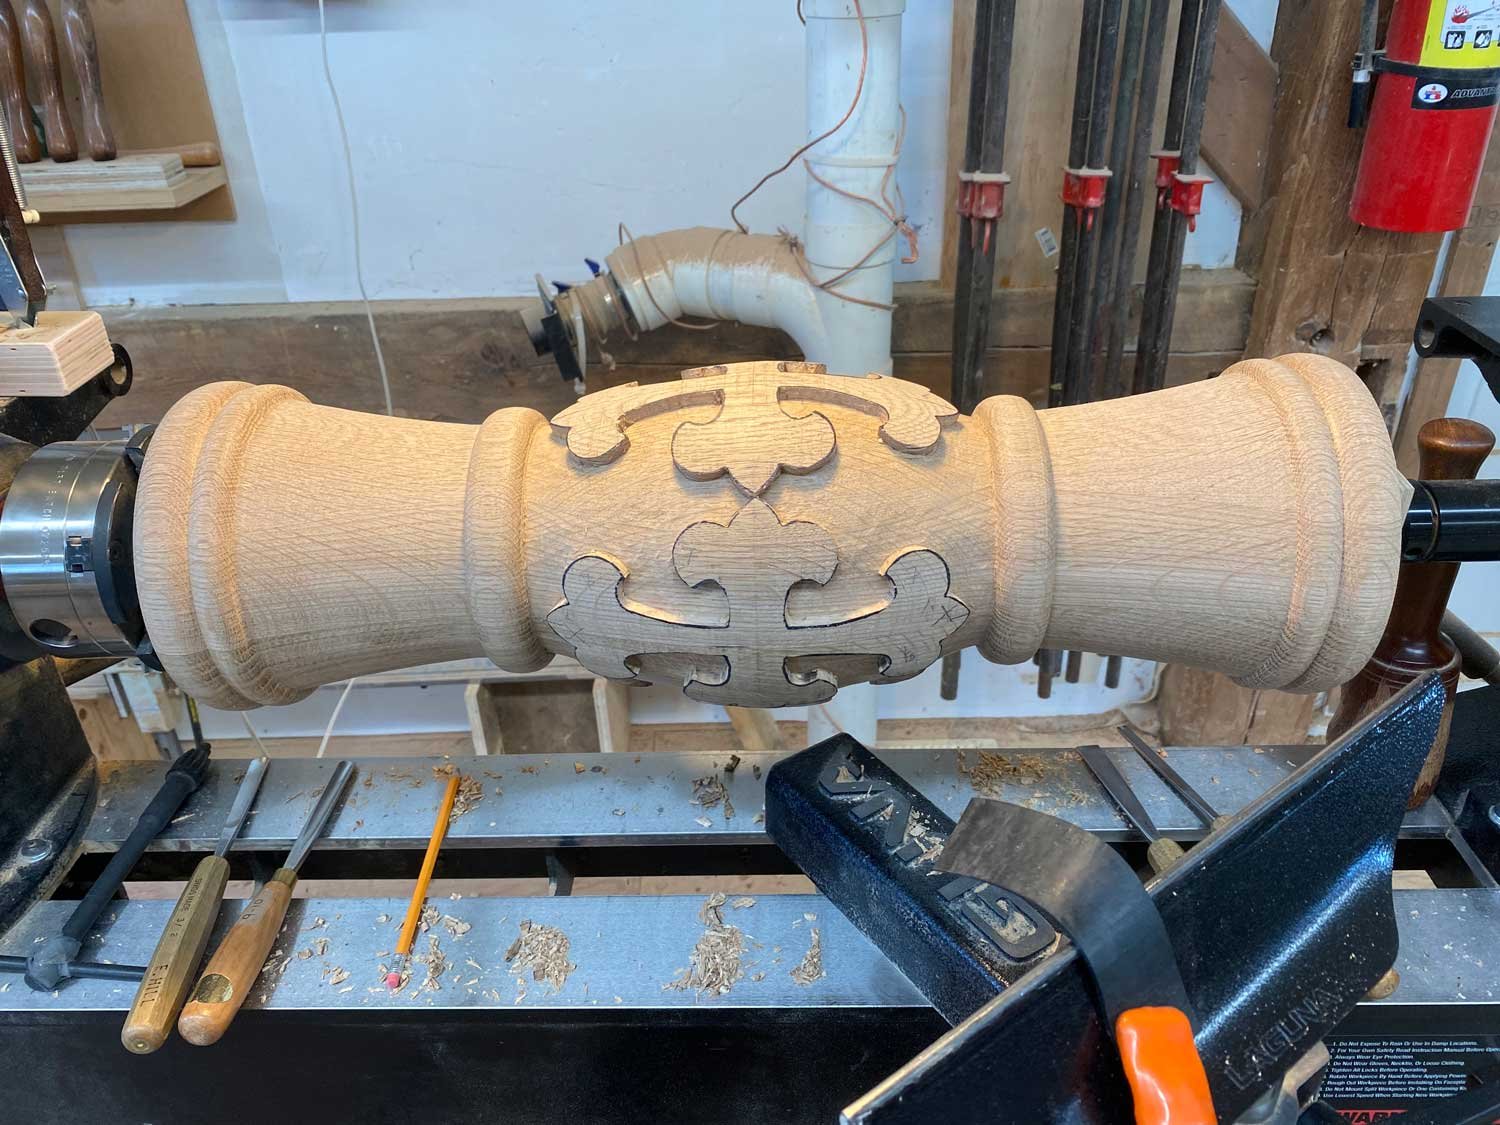
9. Shaping and cleaning comes next.
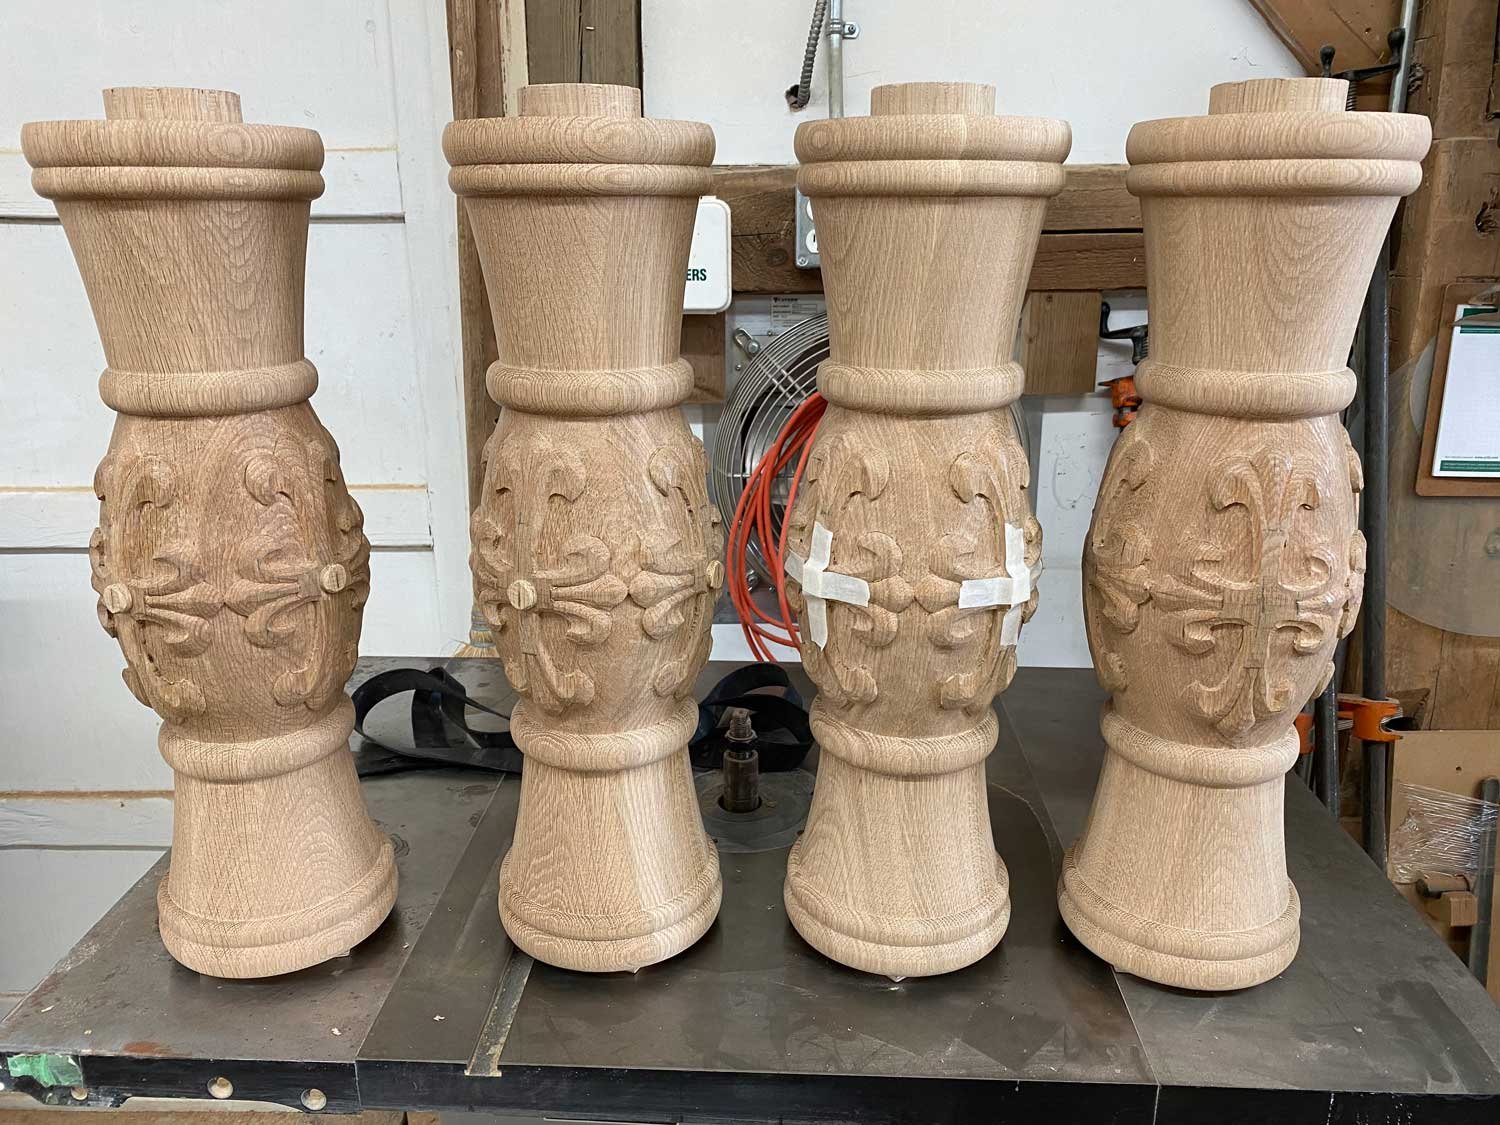
10. Applying the buttons.
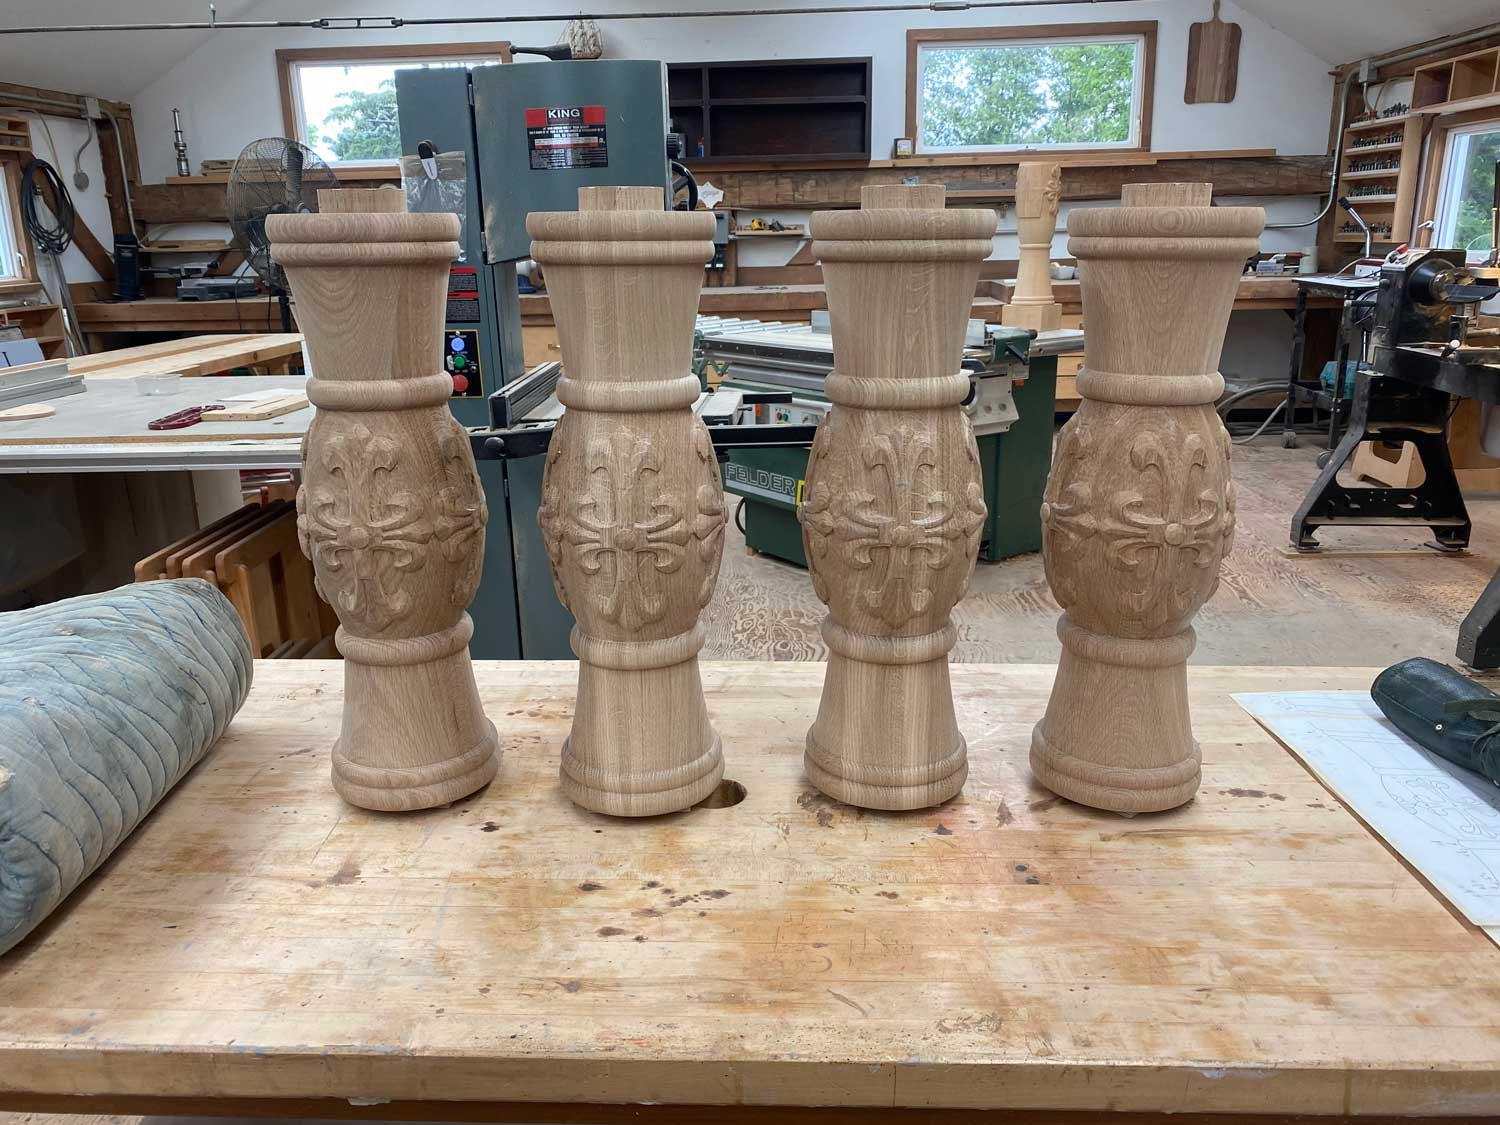
11. The finished legs after the buttons have been shaped and a final cleanup has been done.
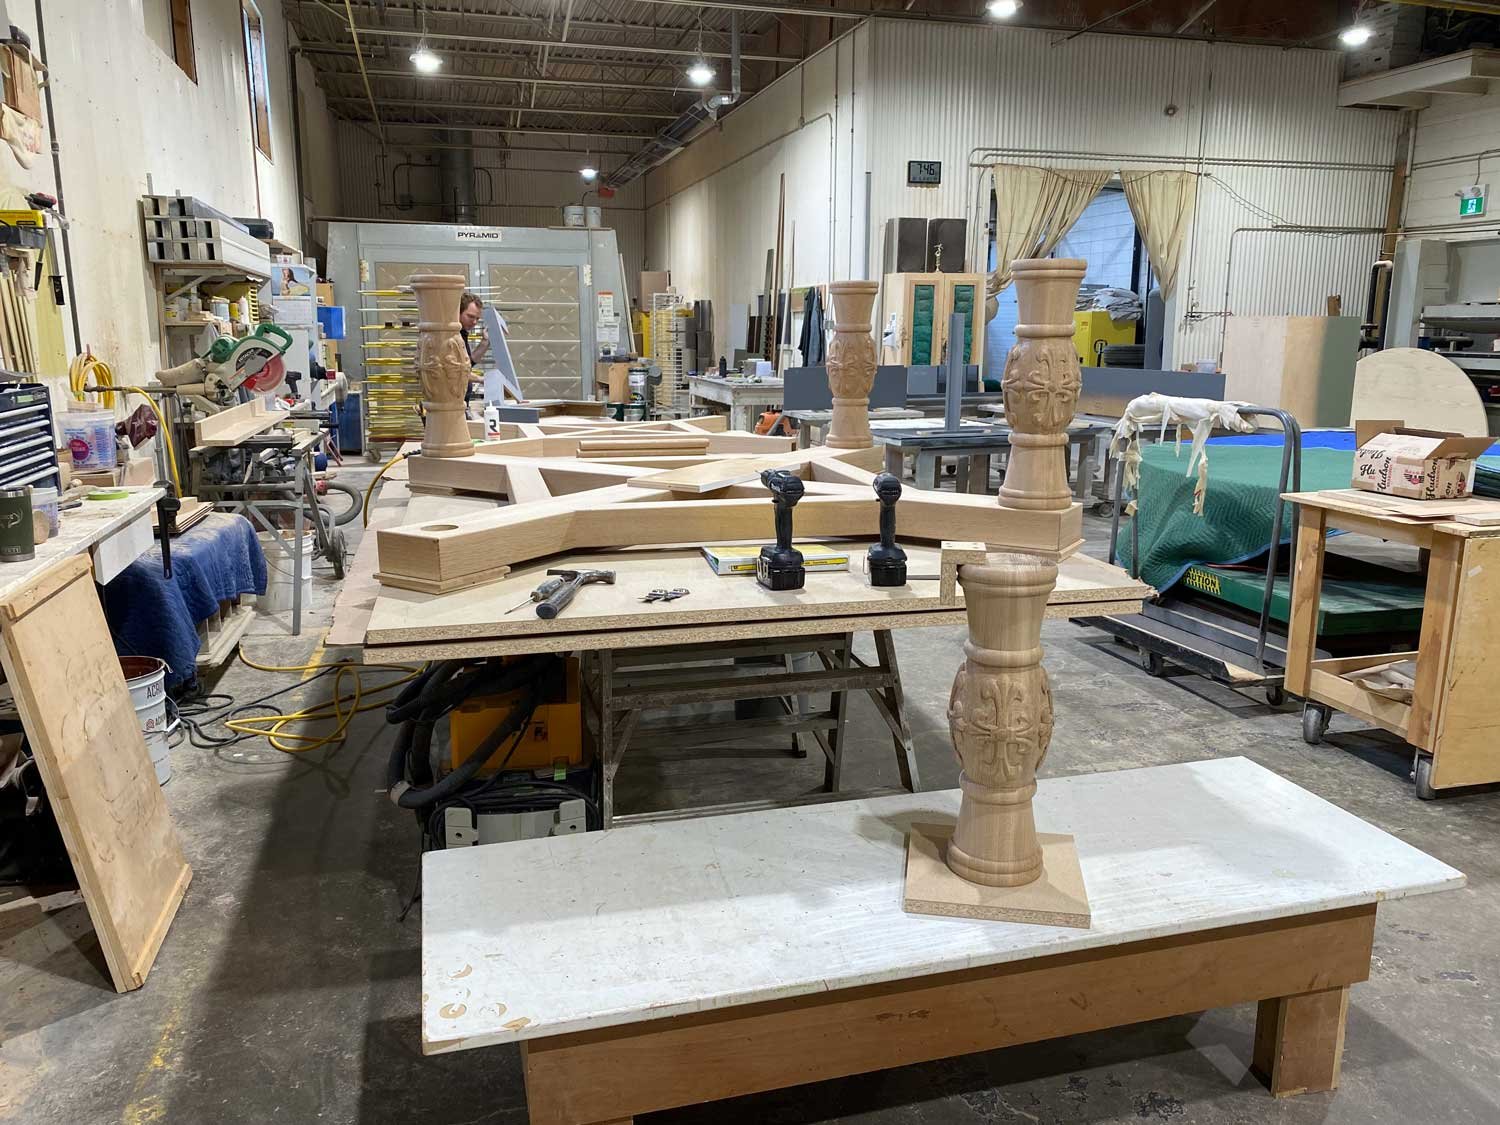
12. The legs being applied to the dining table base in the cabinet shop.