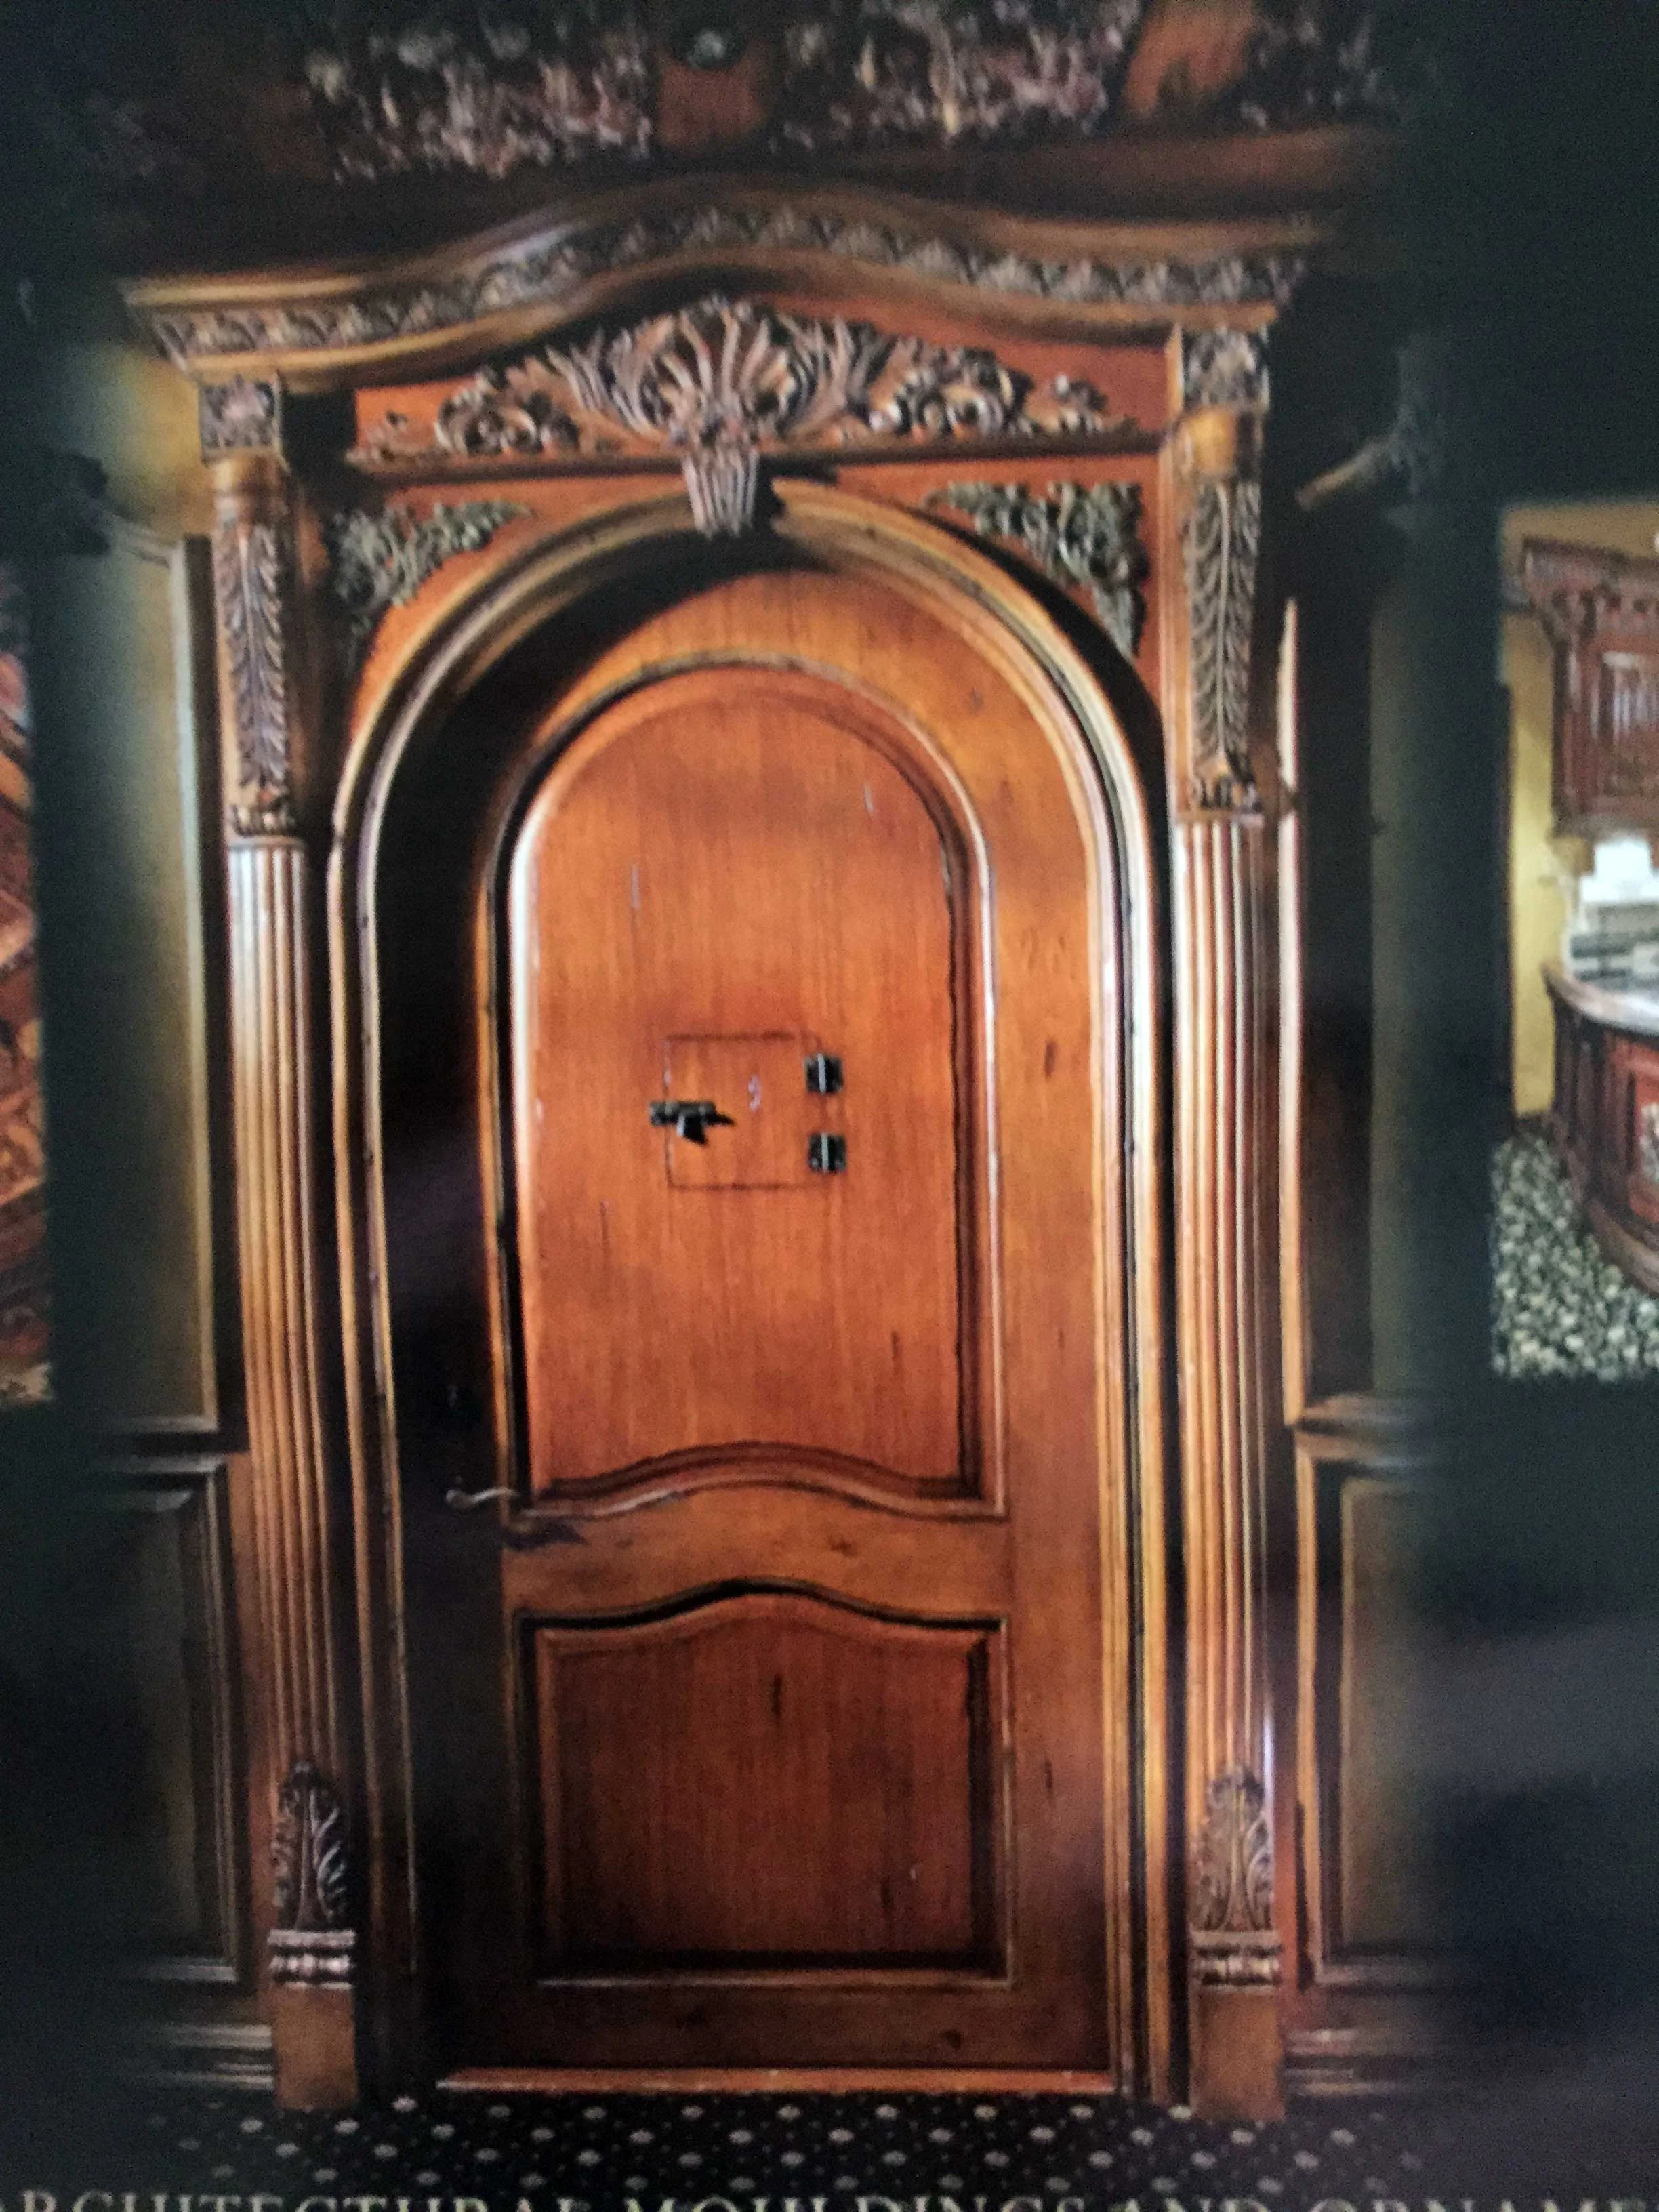
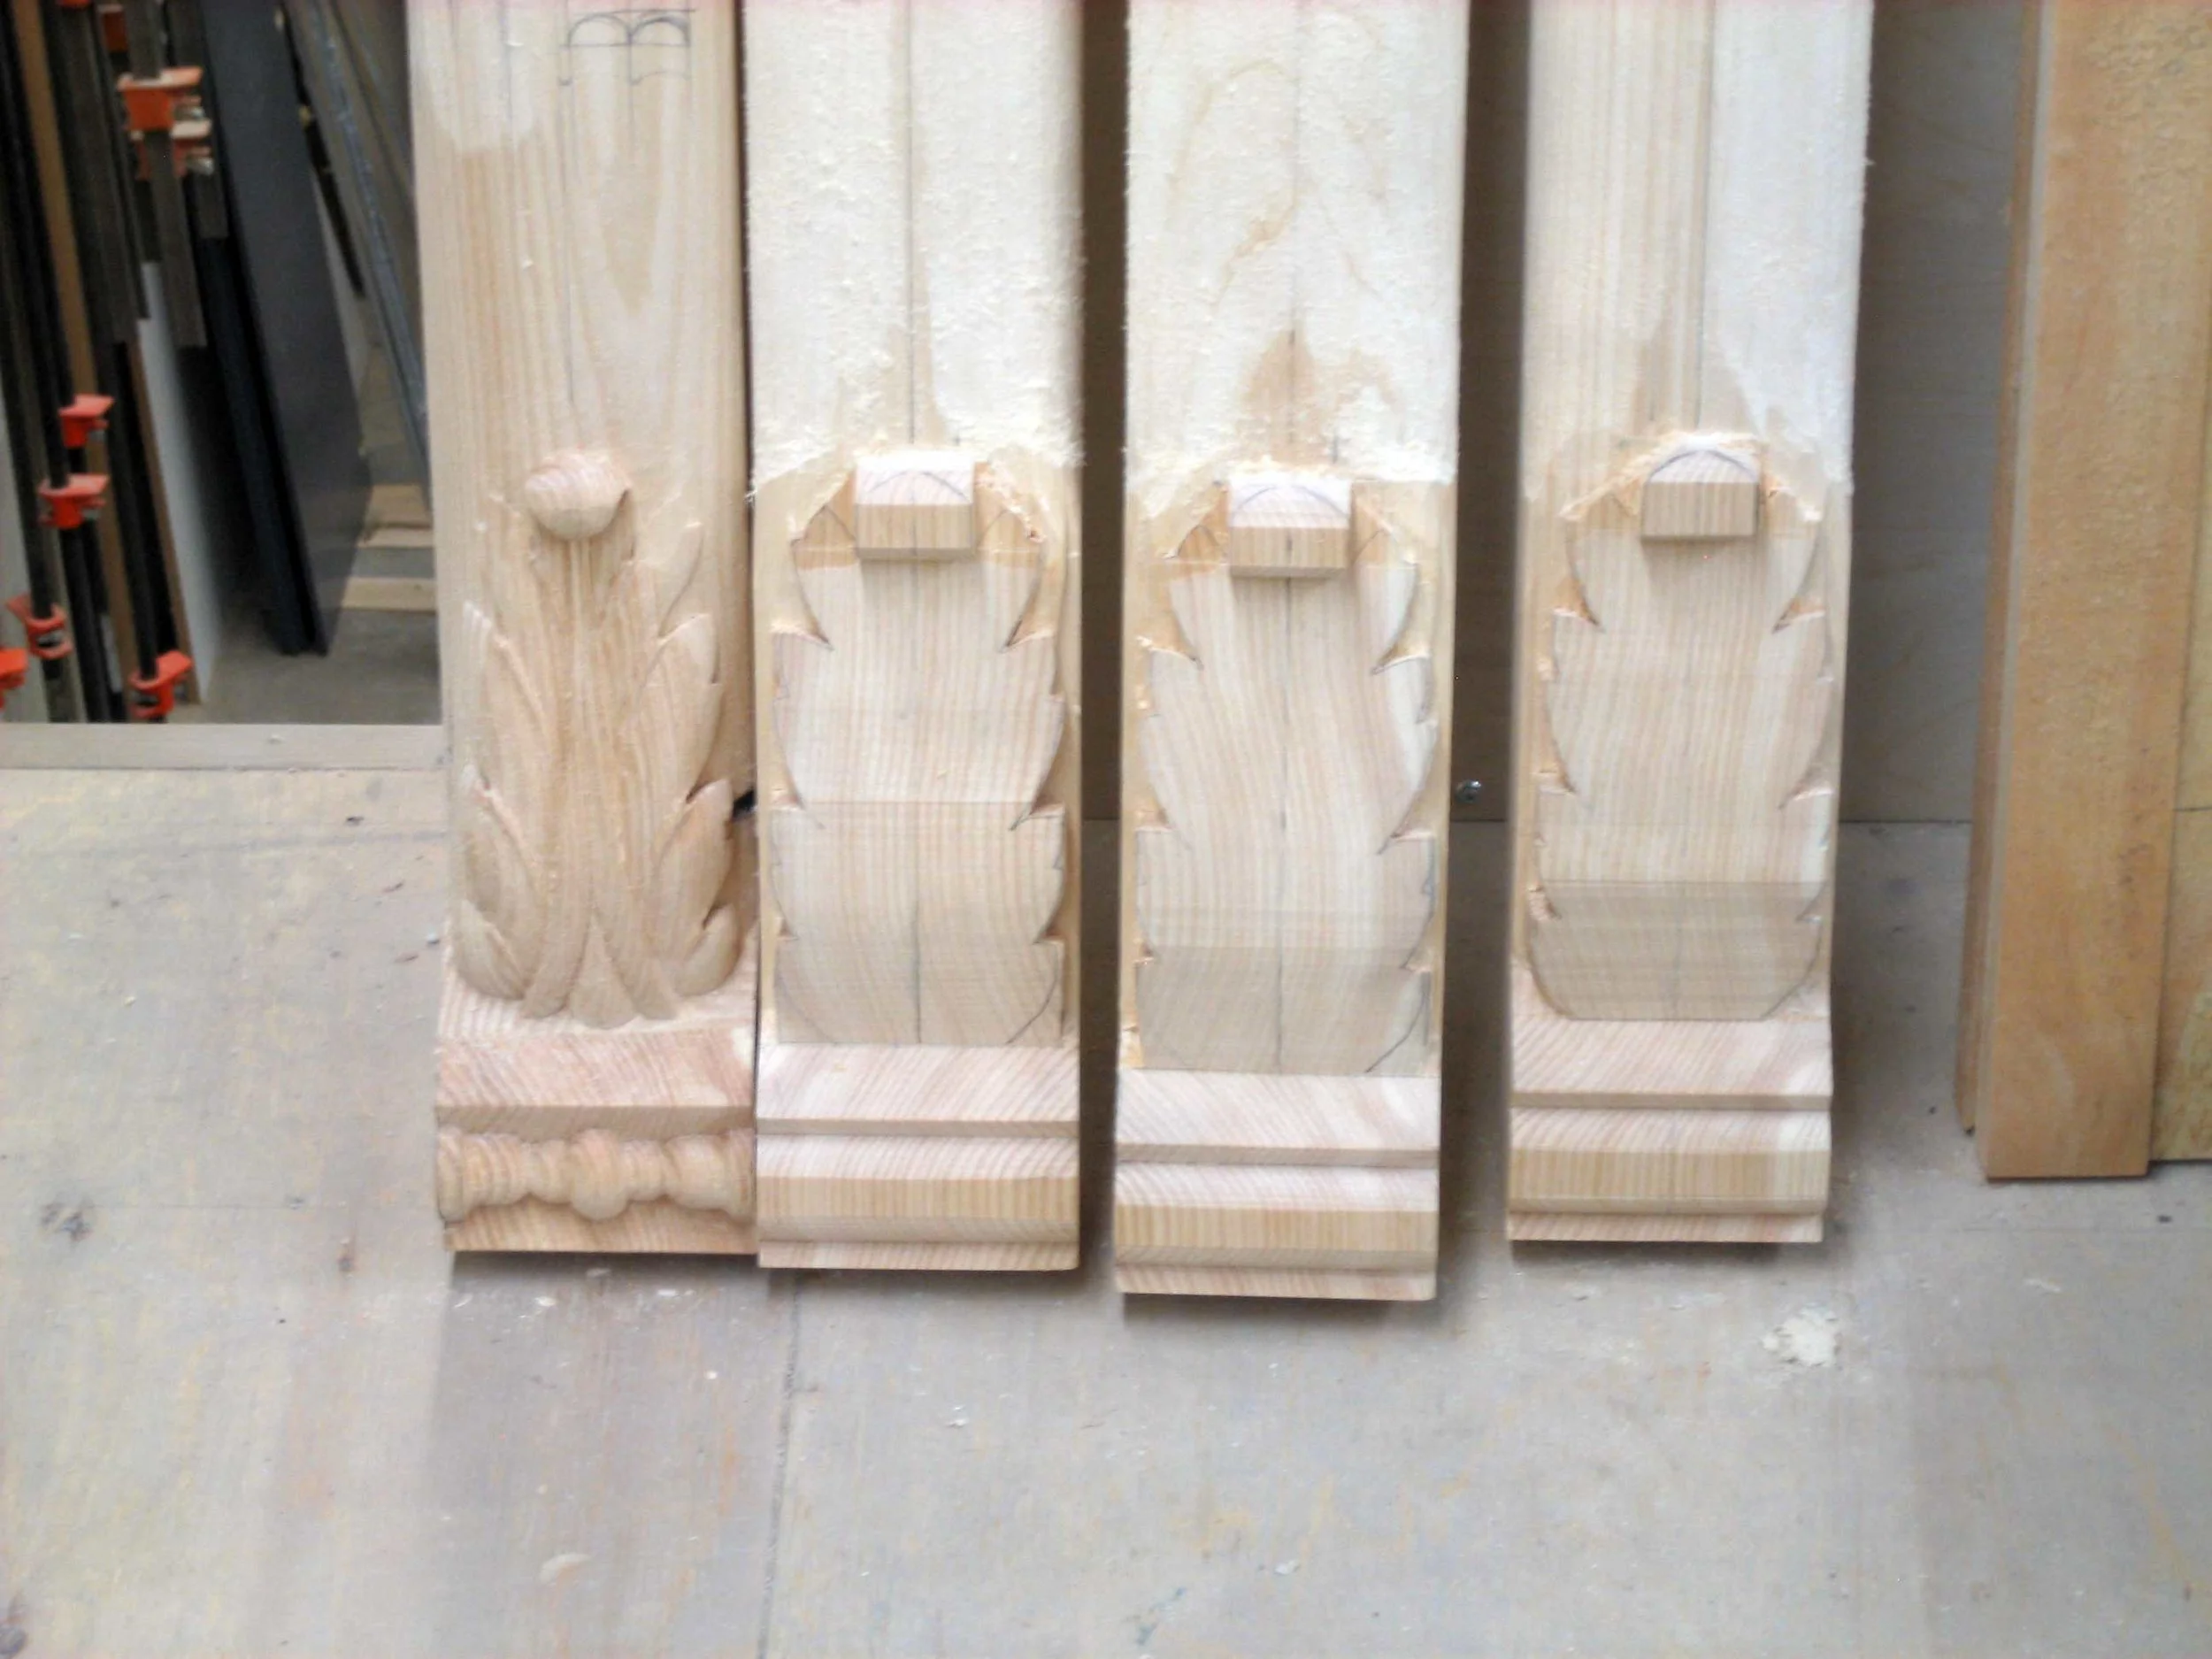
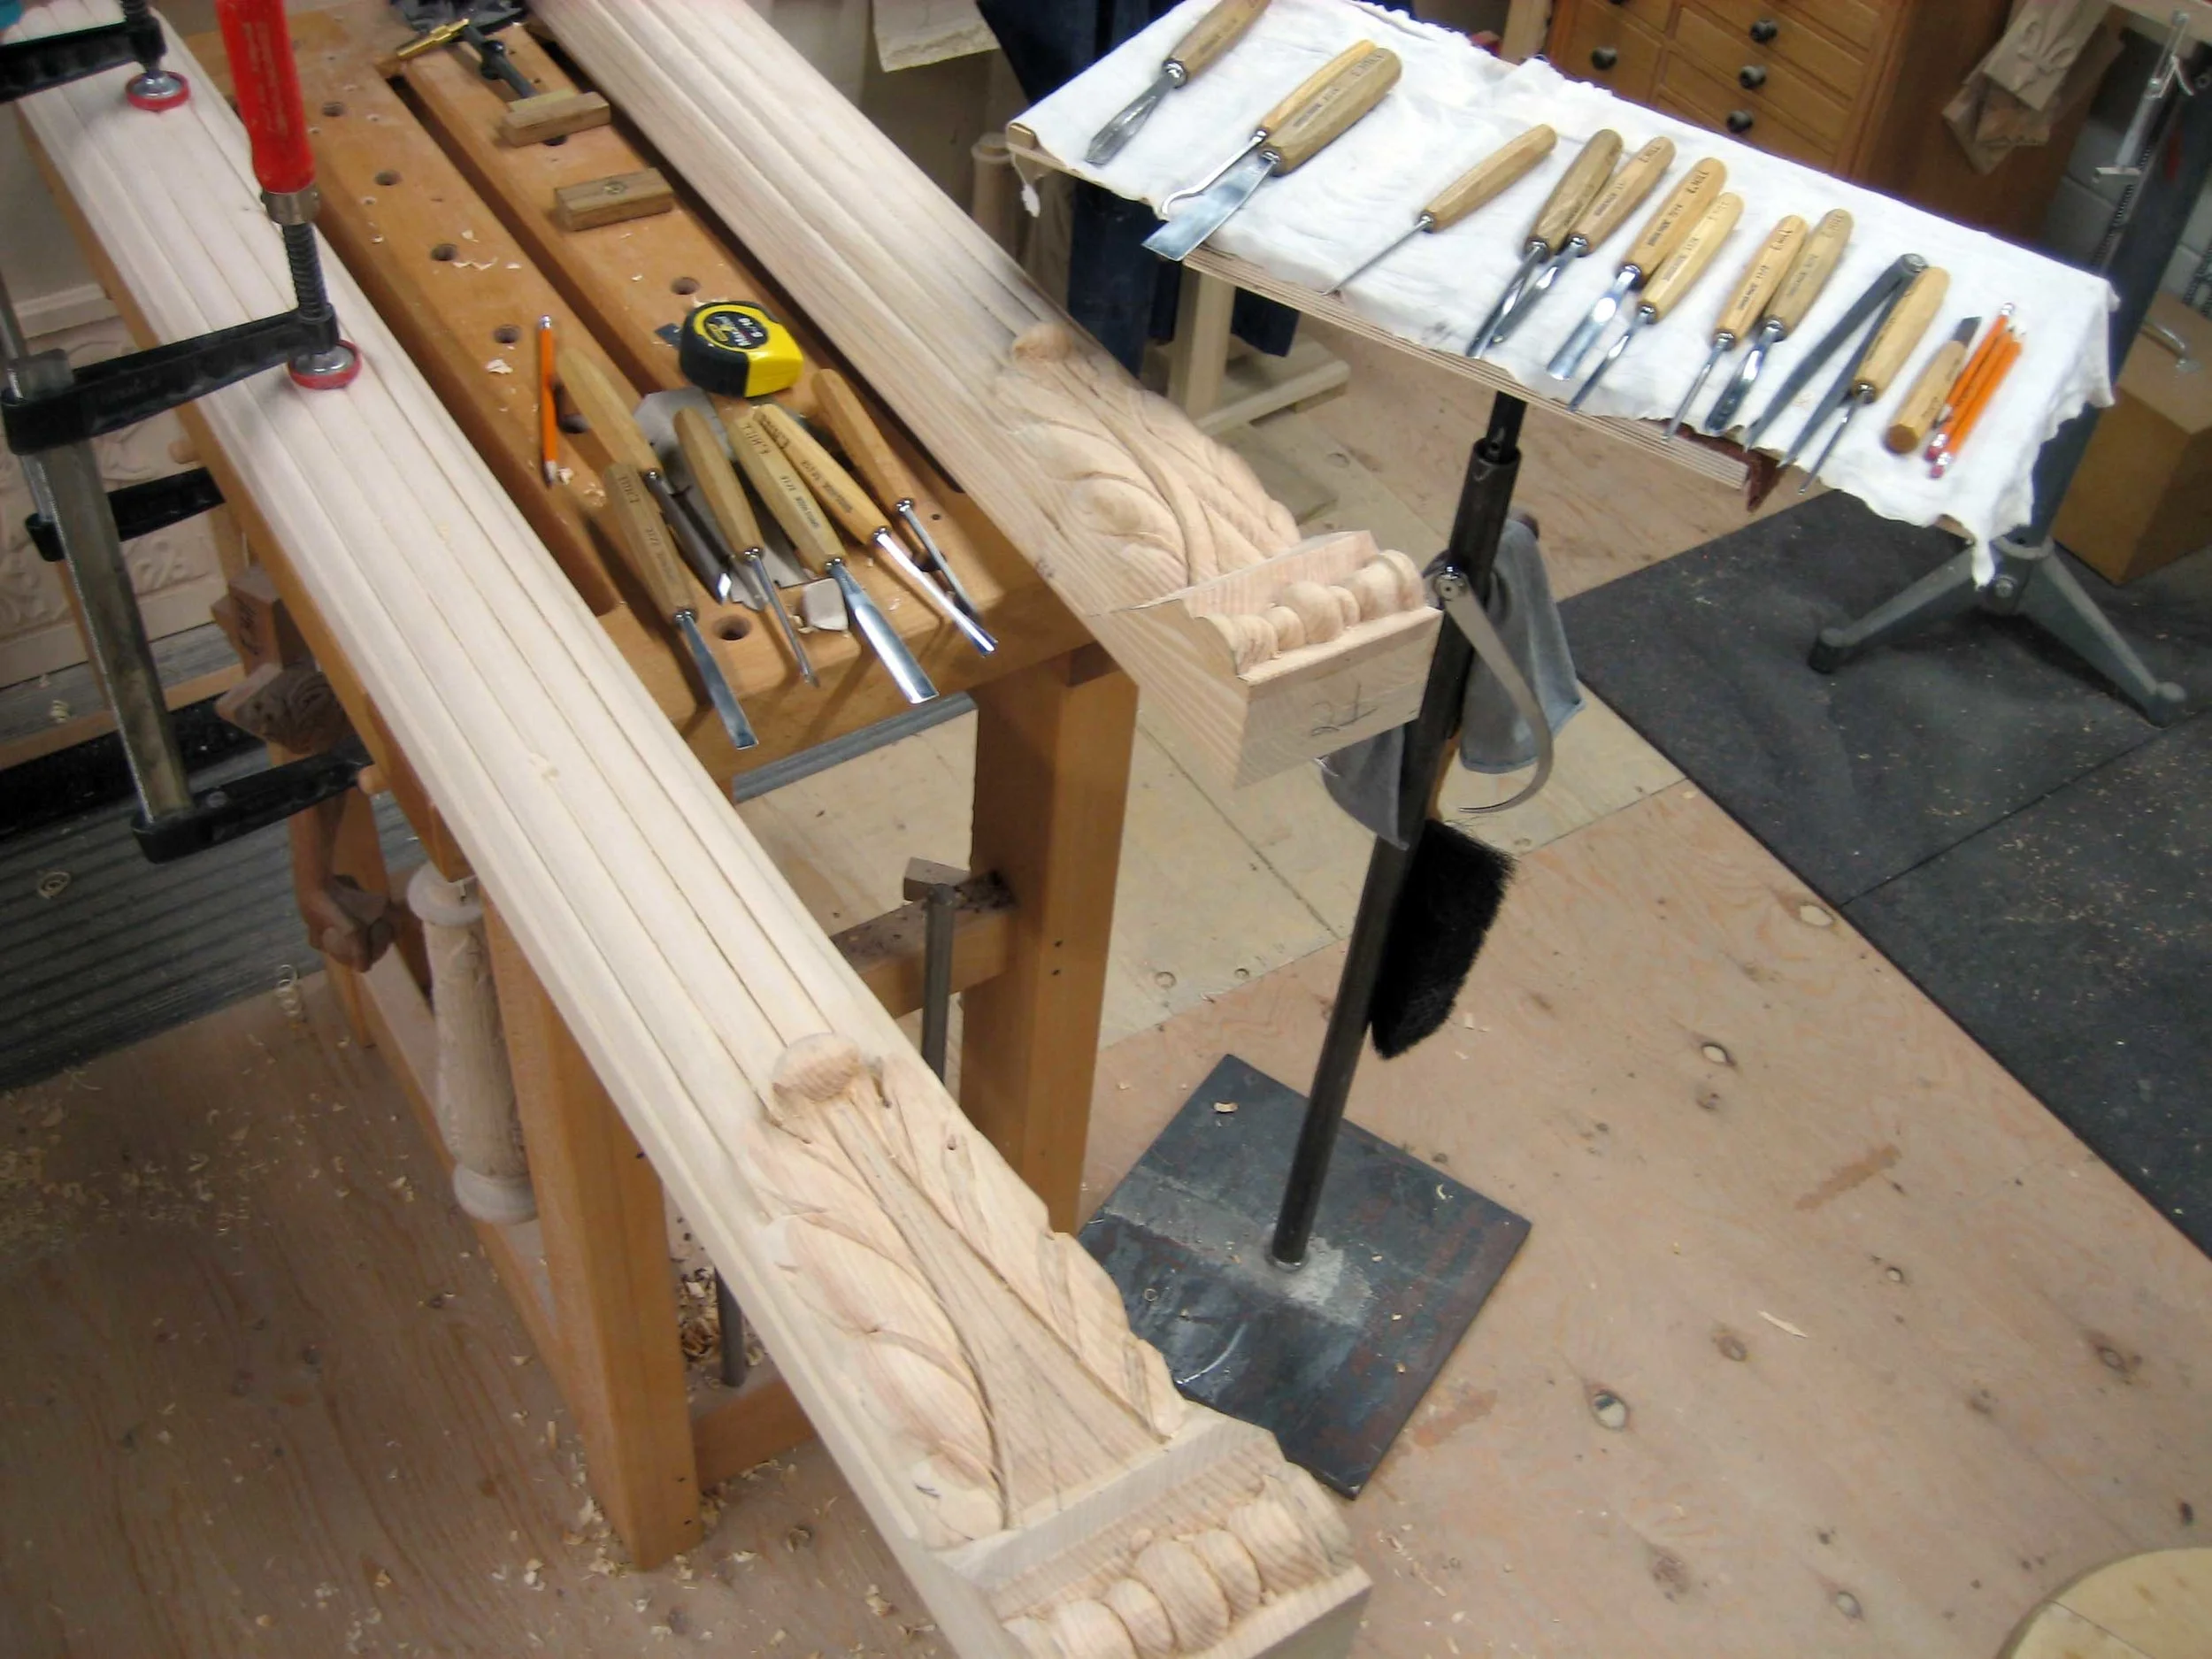
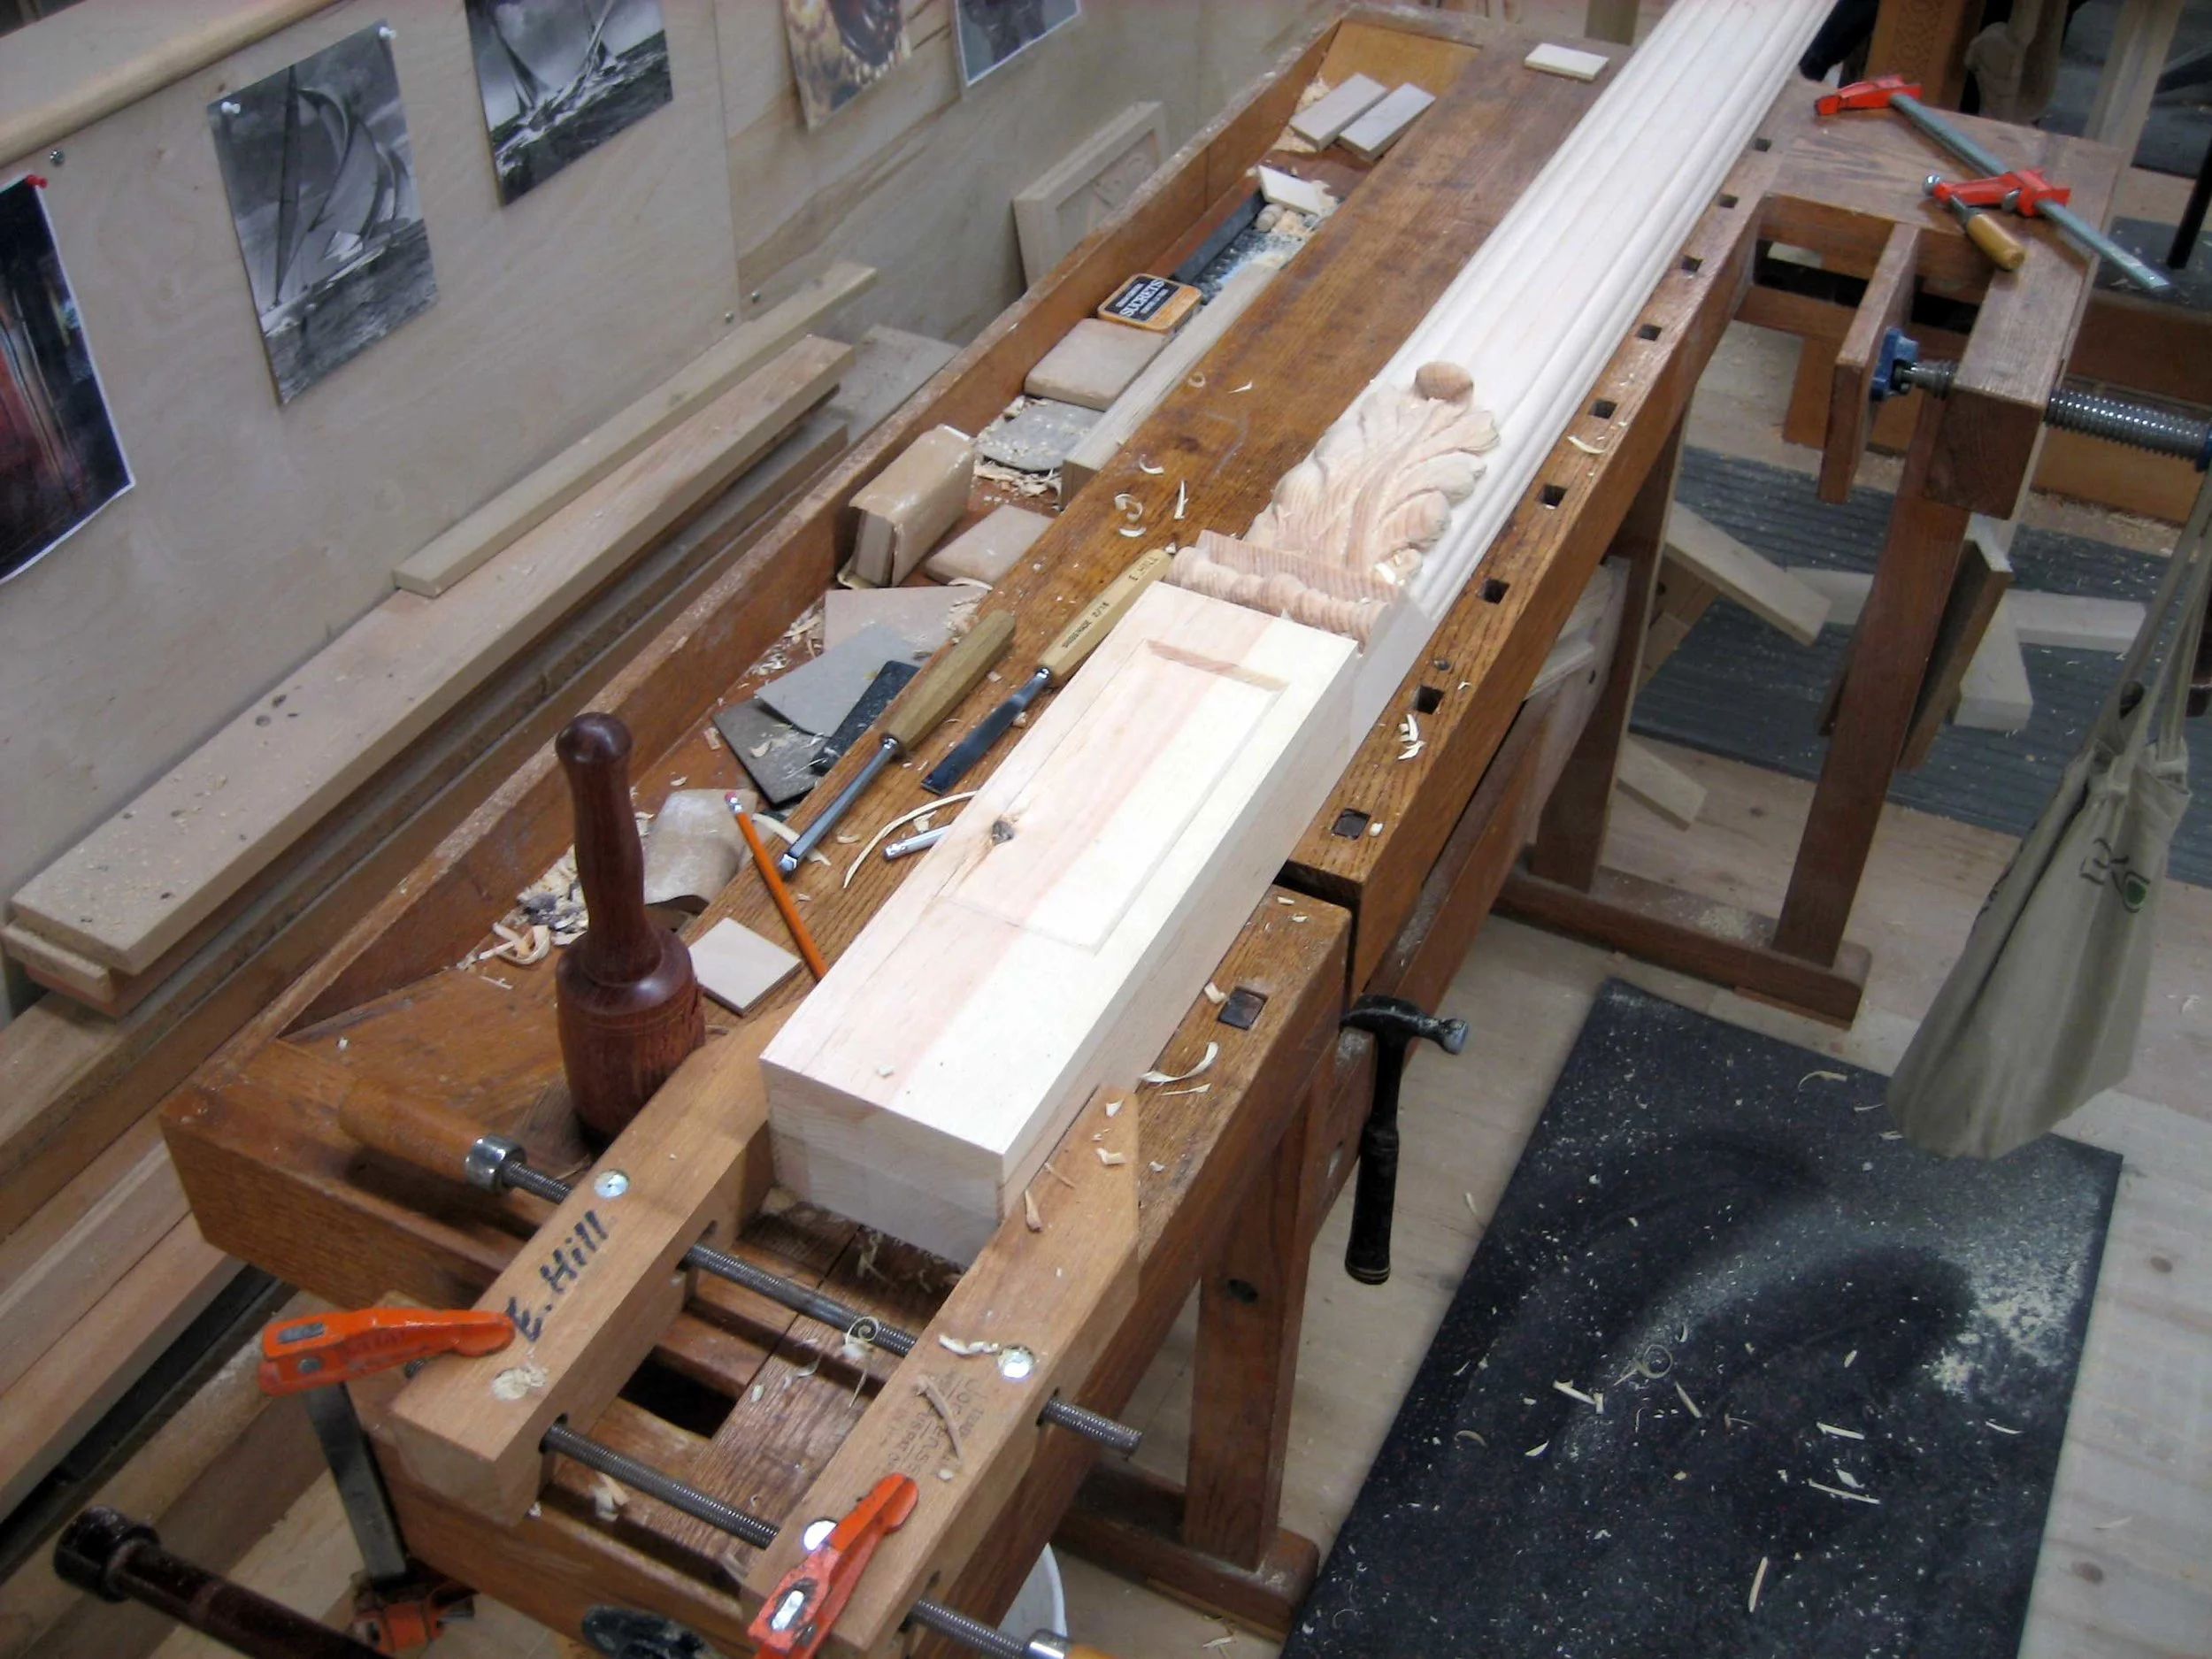
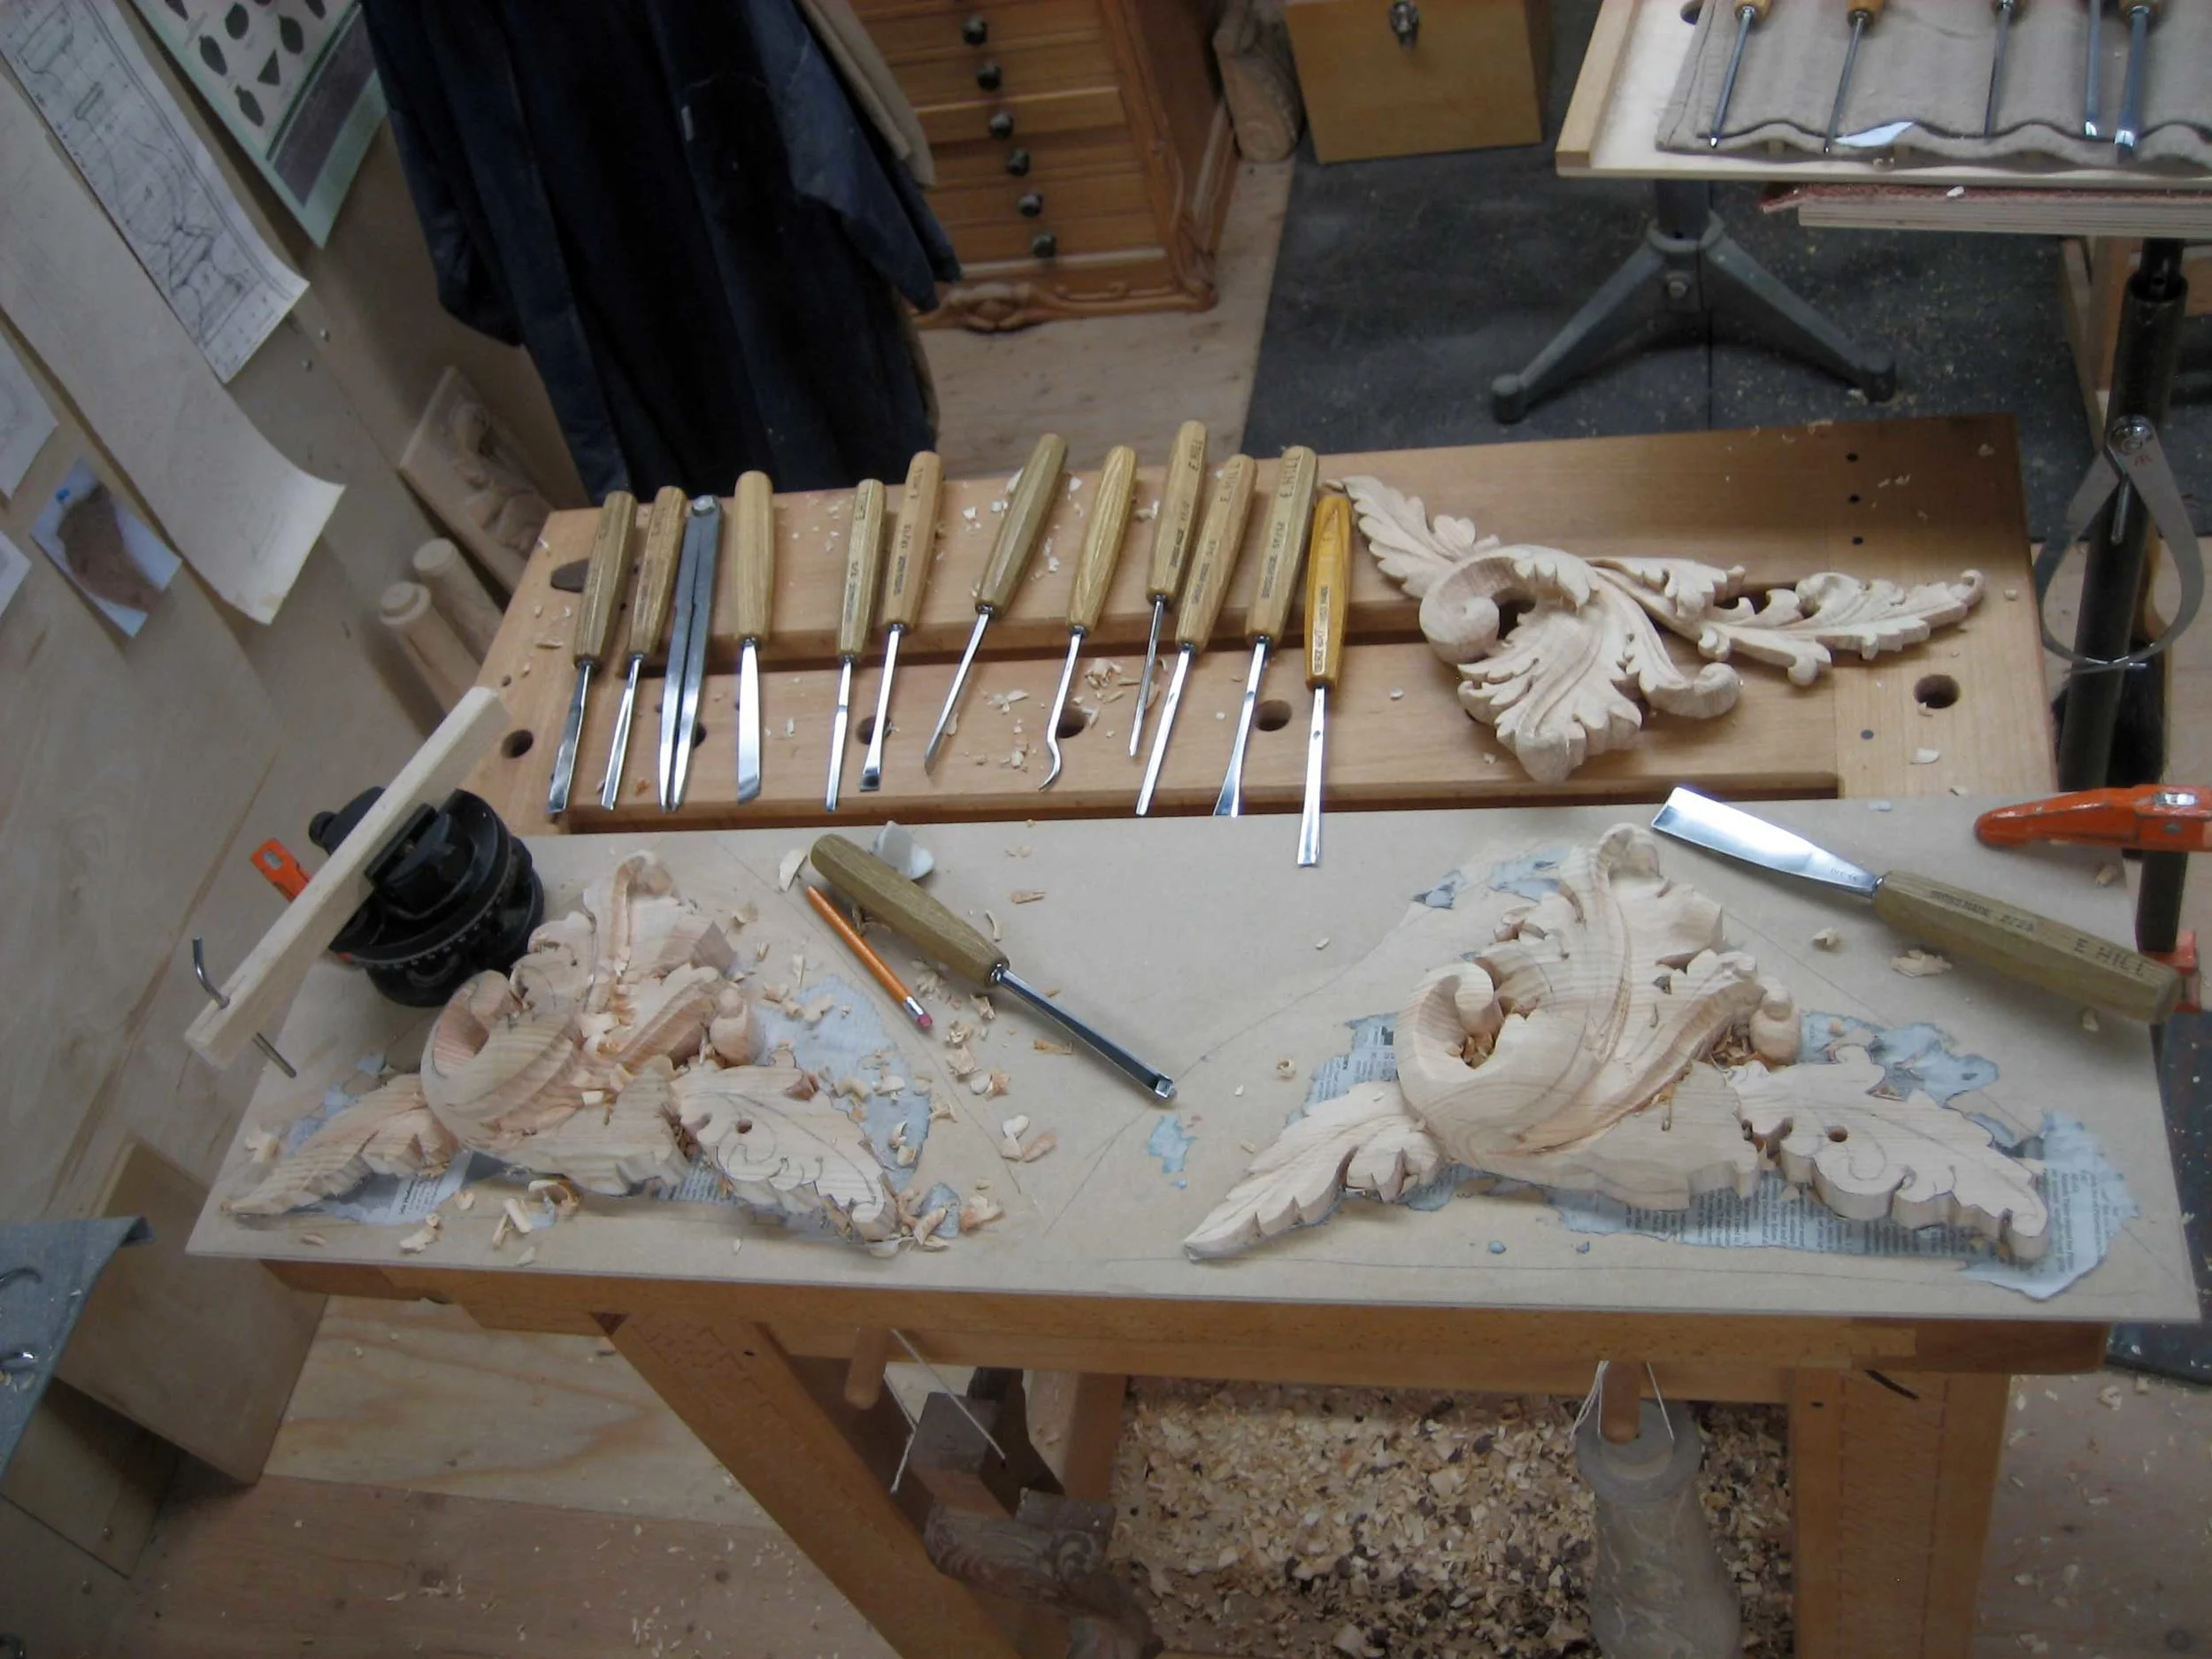
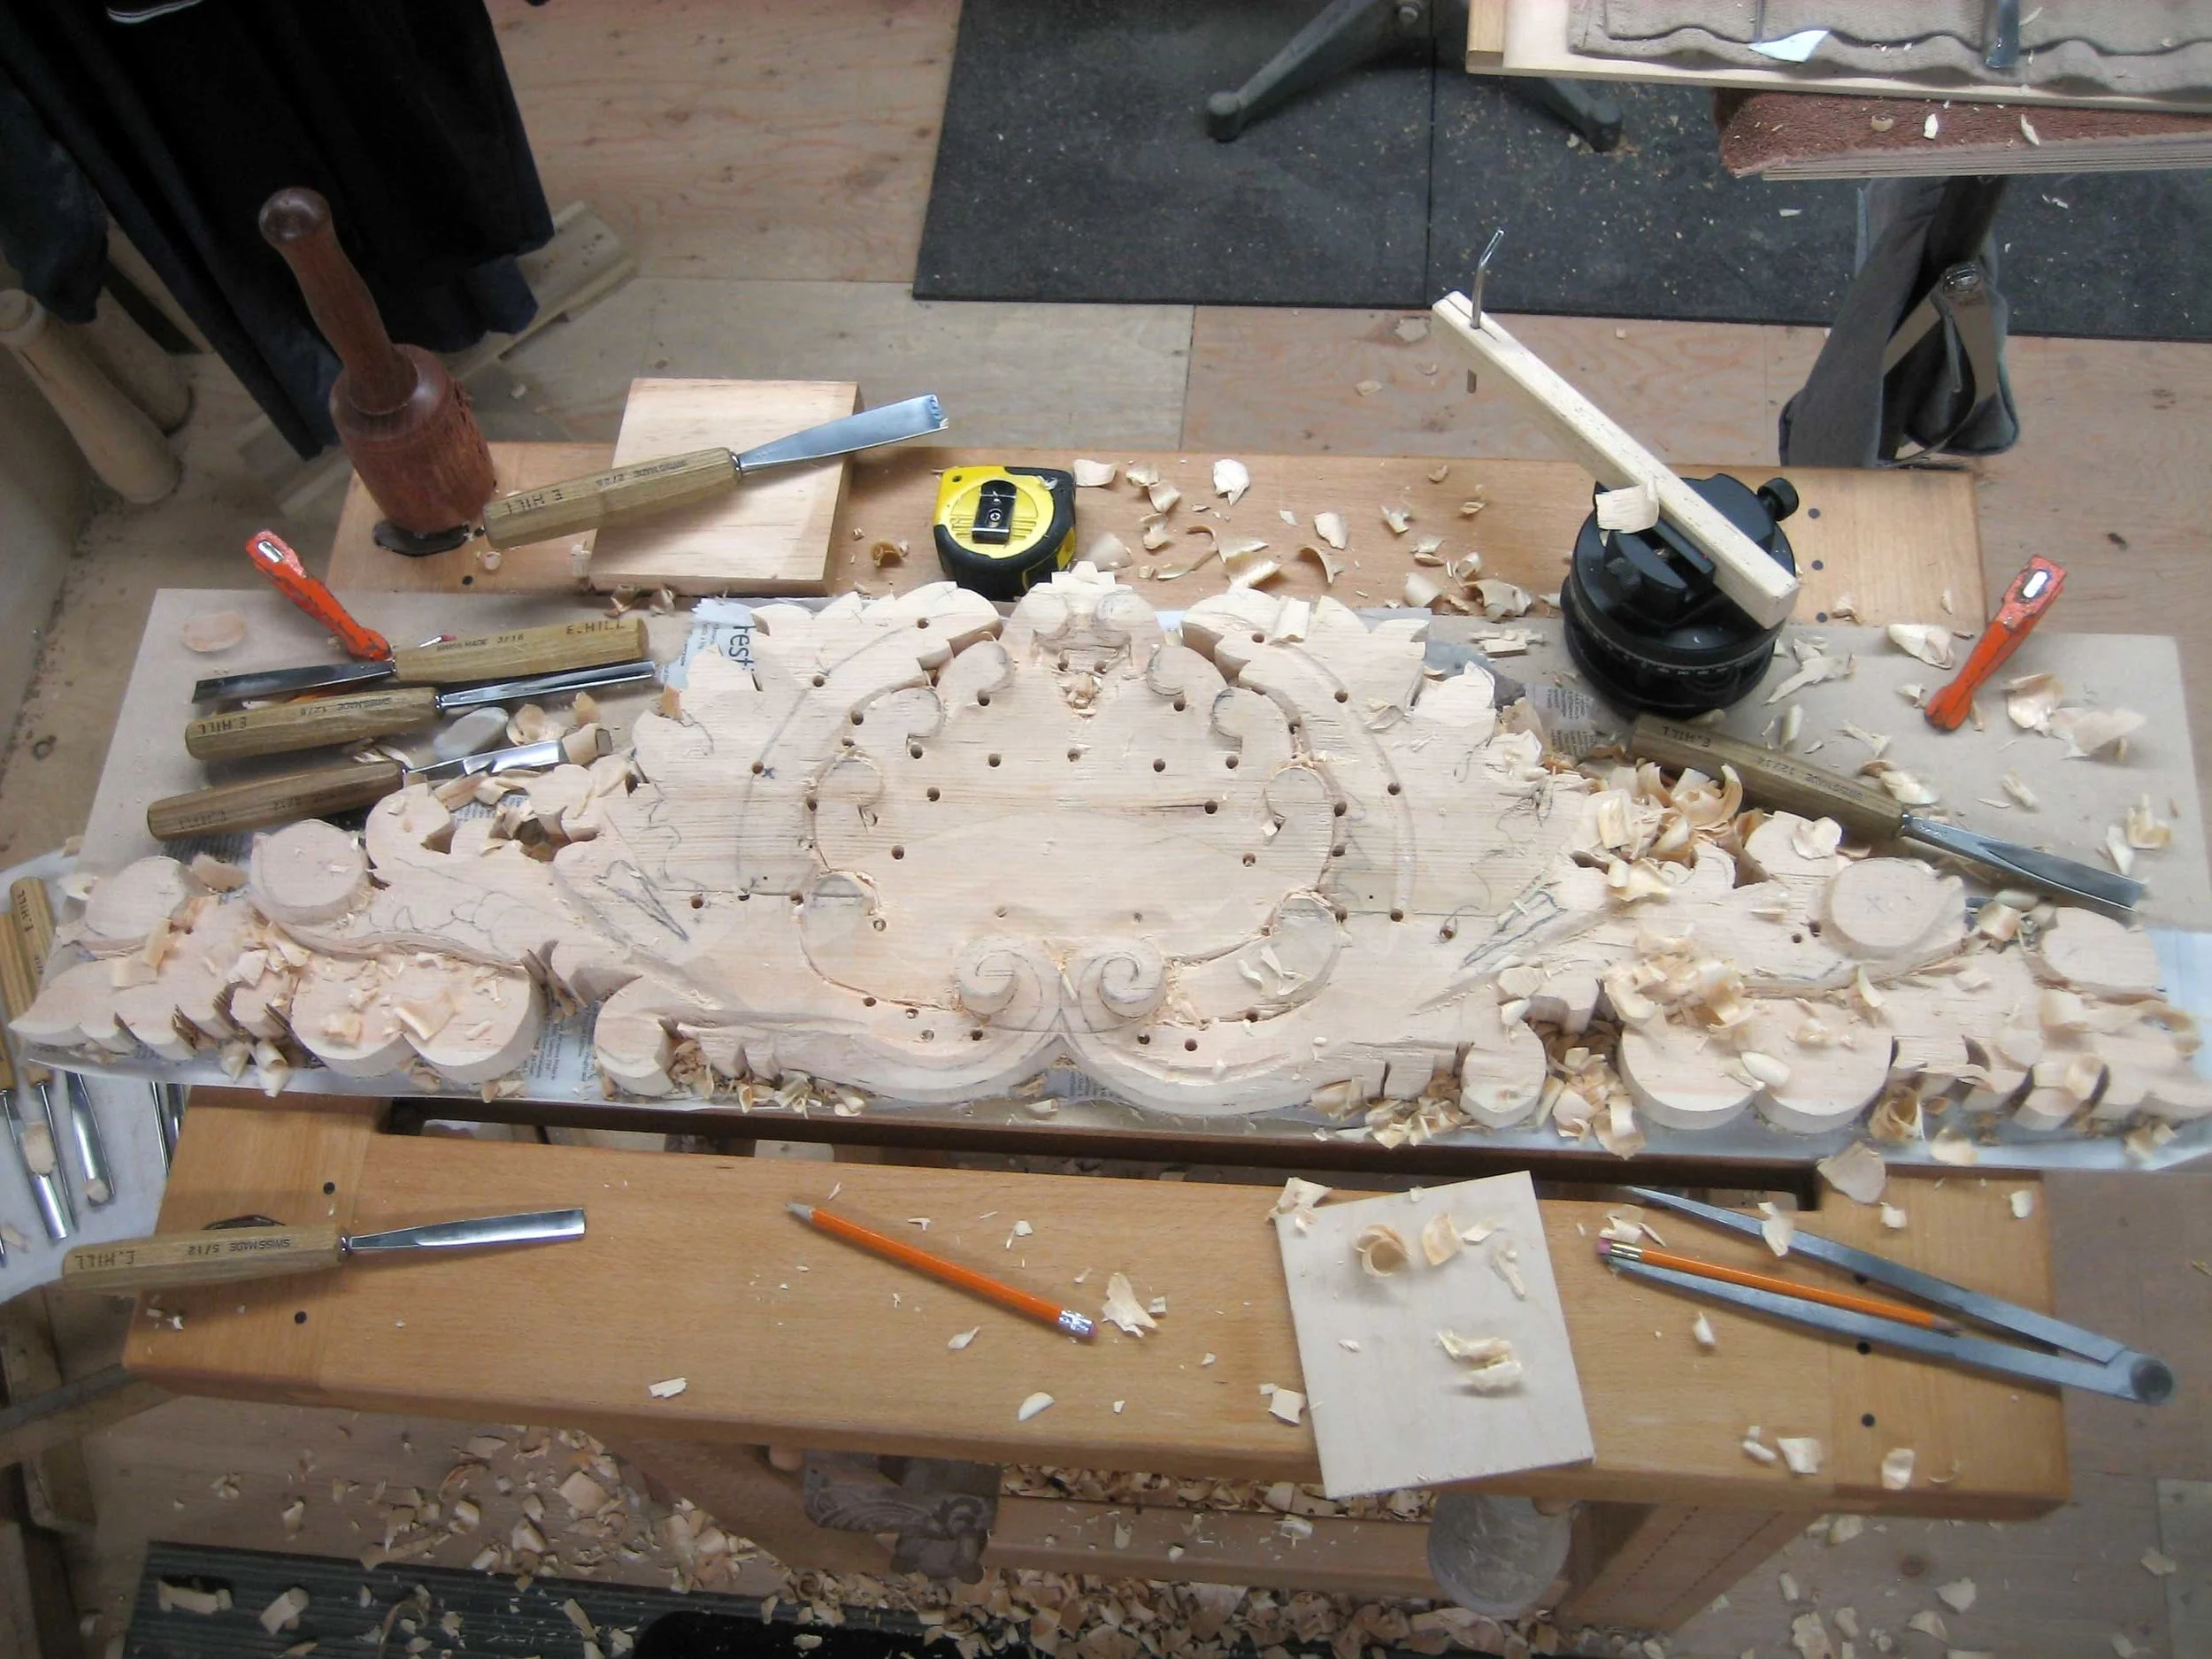
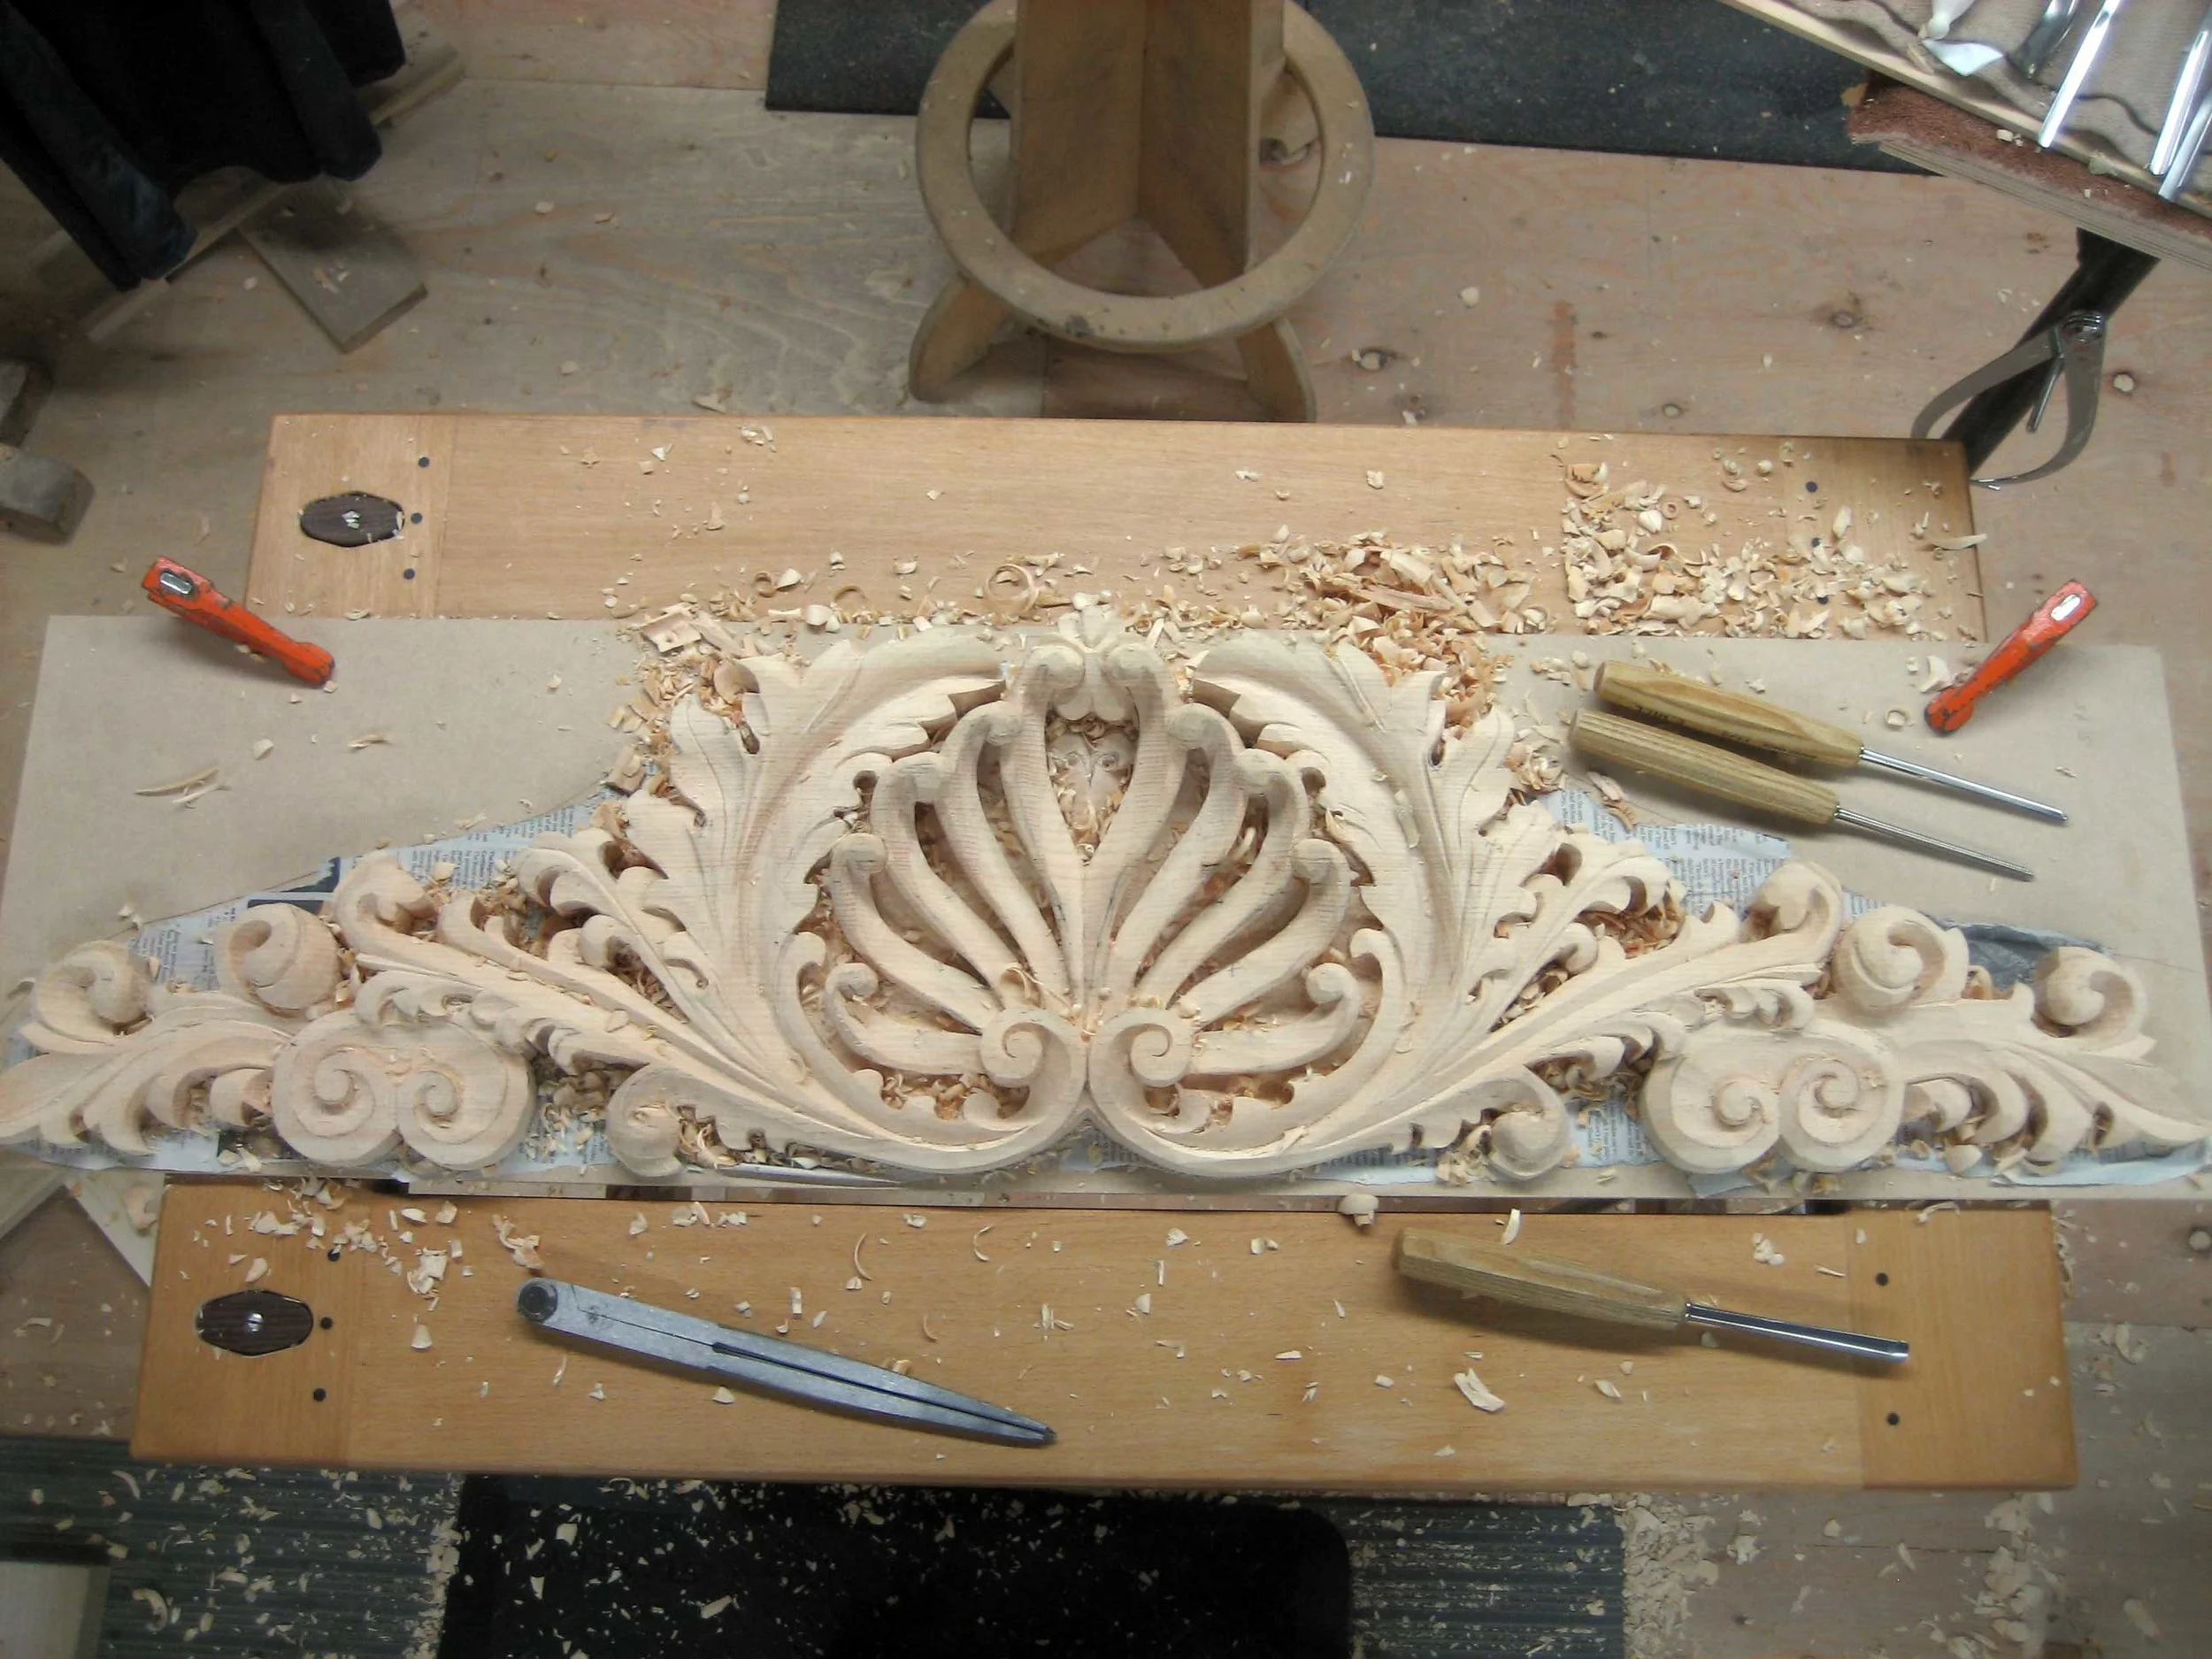
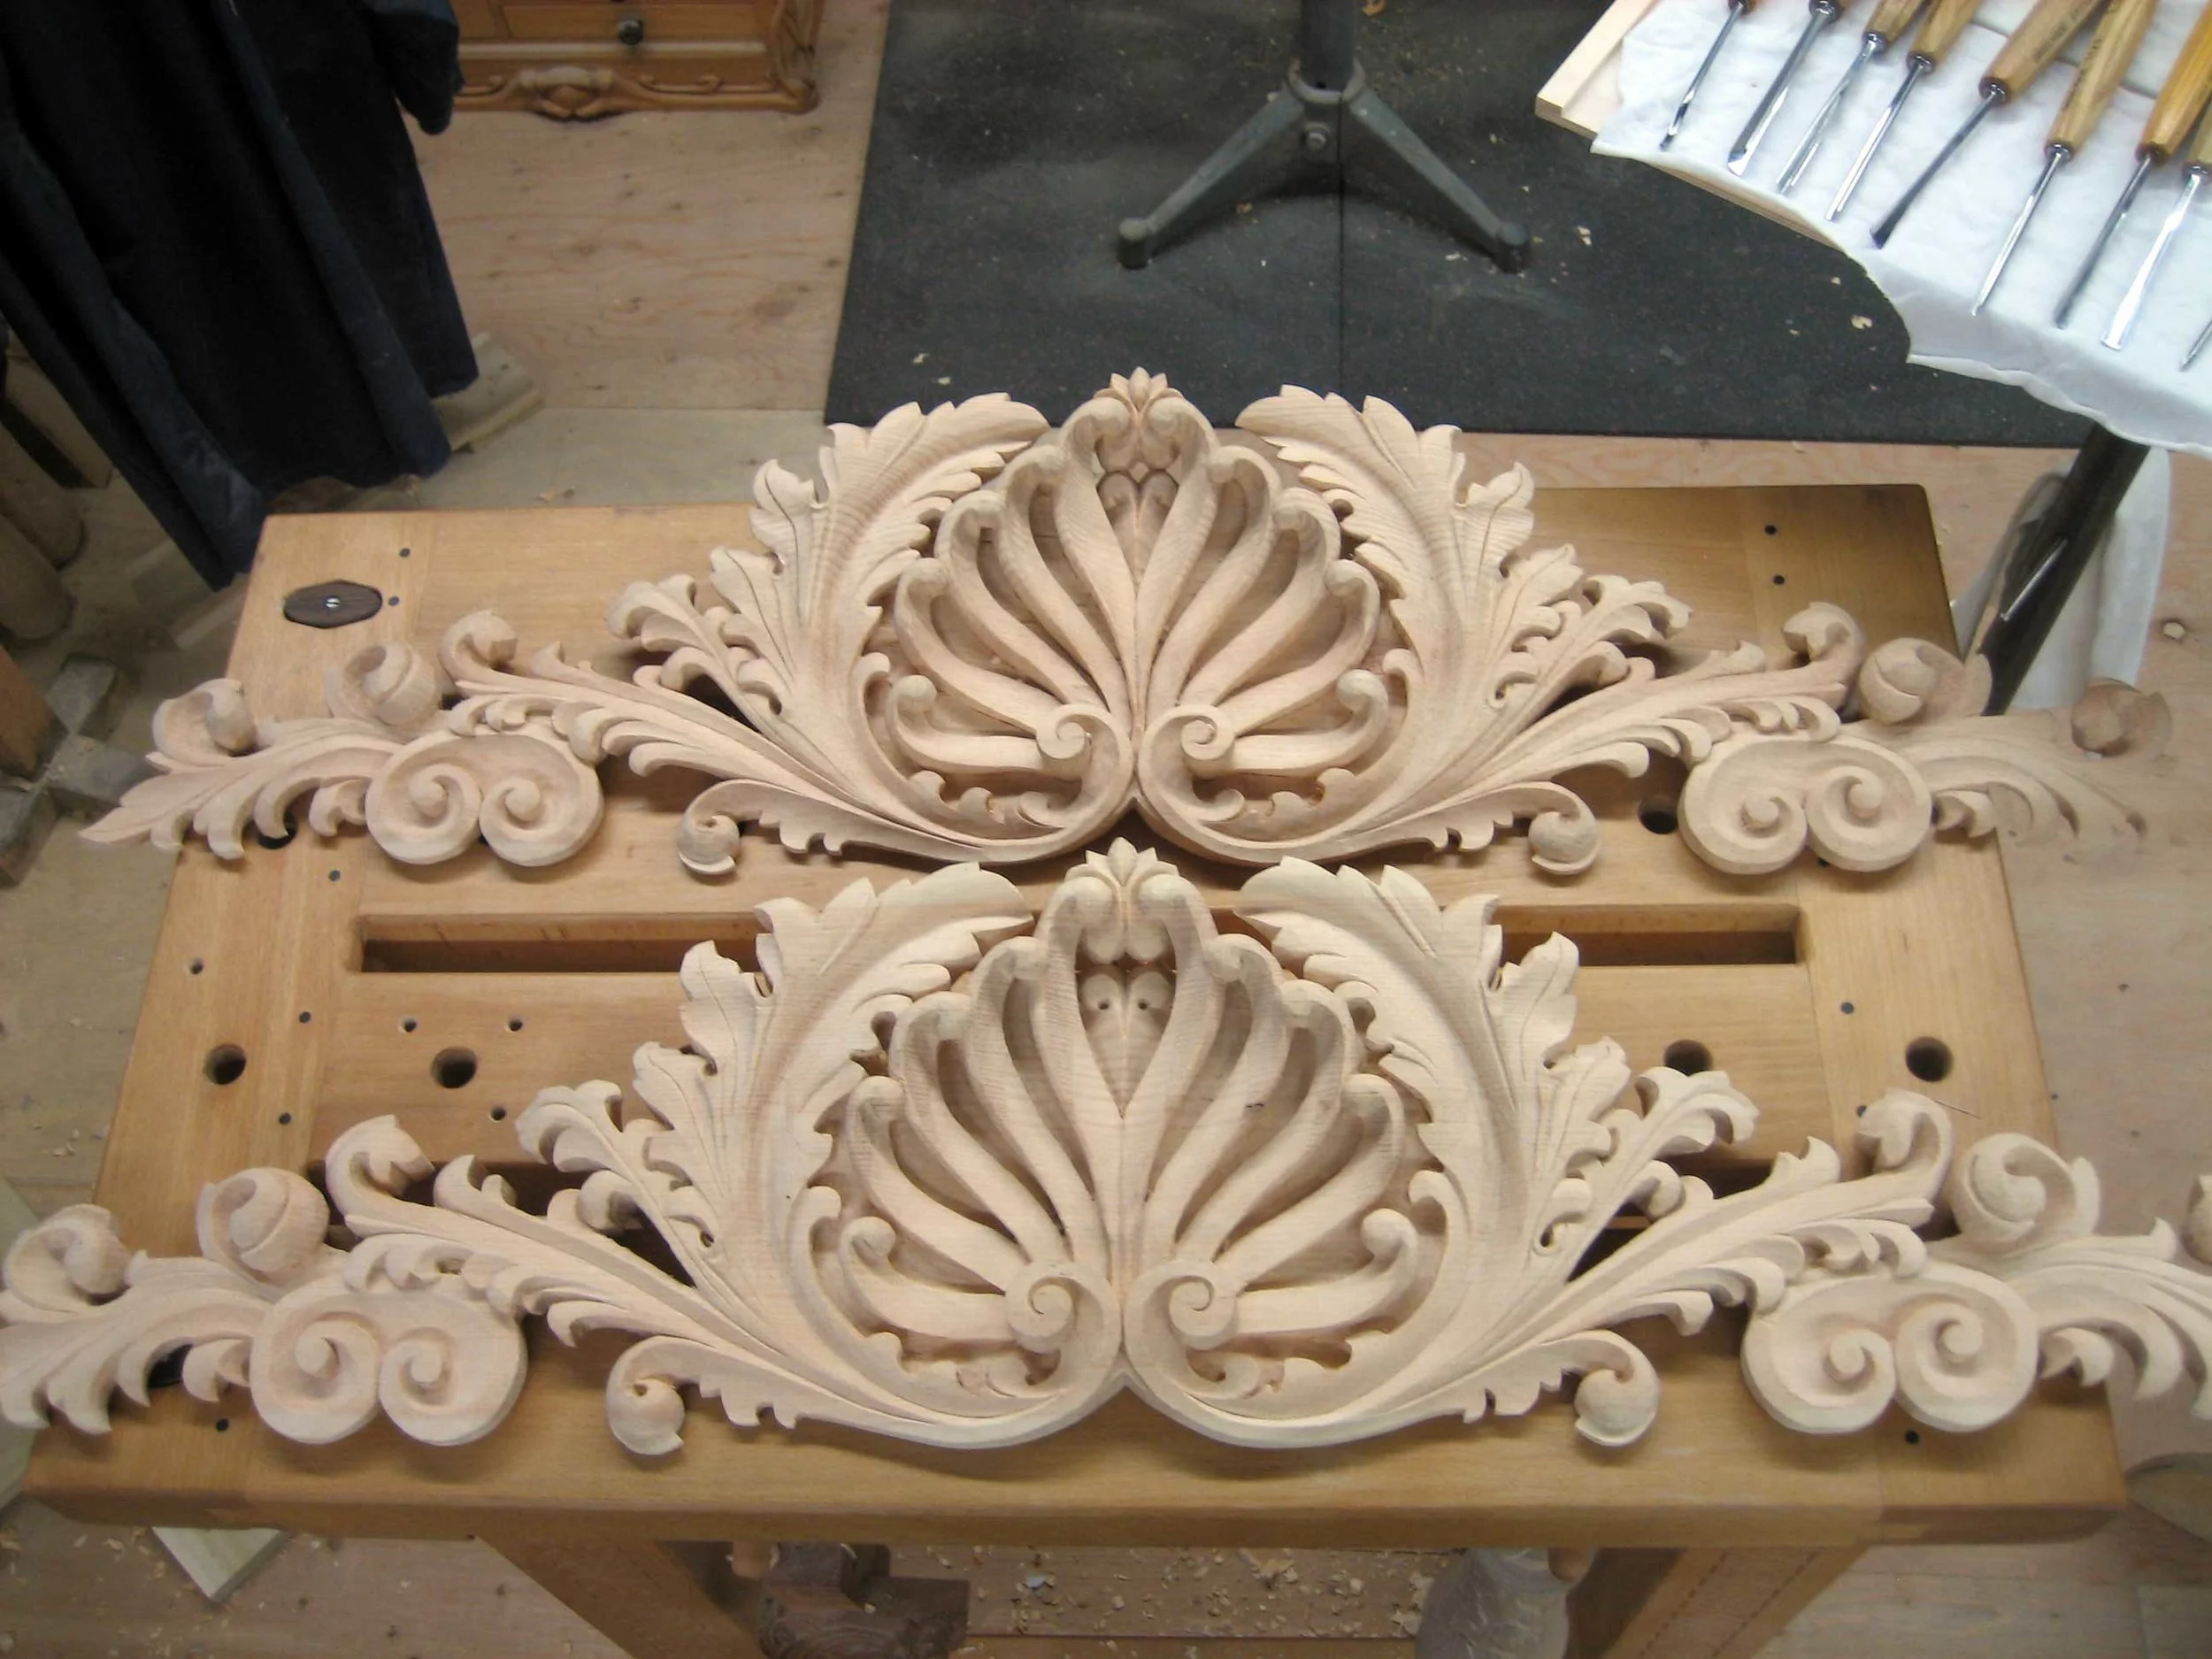
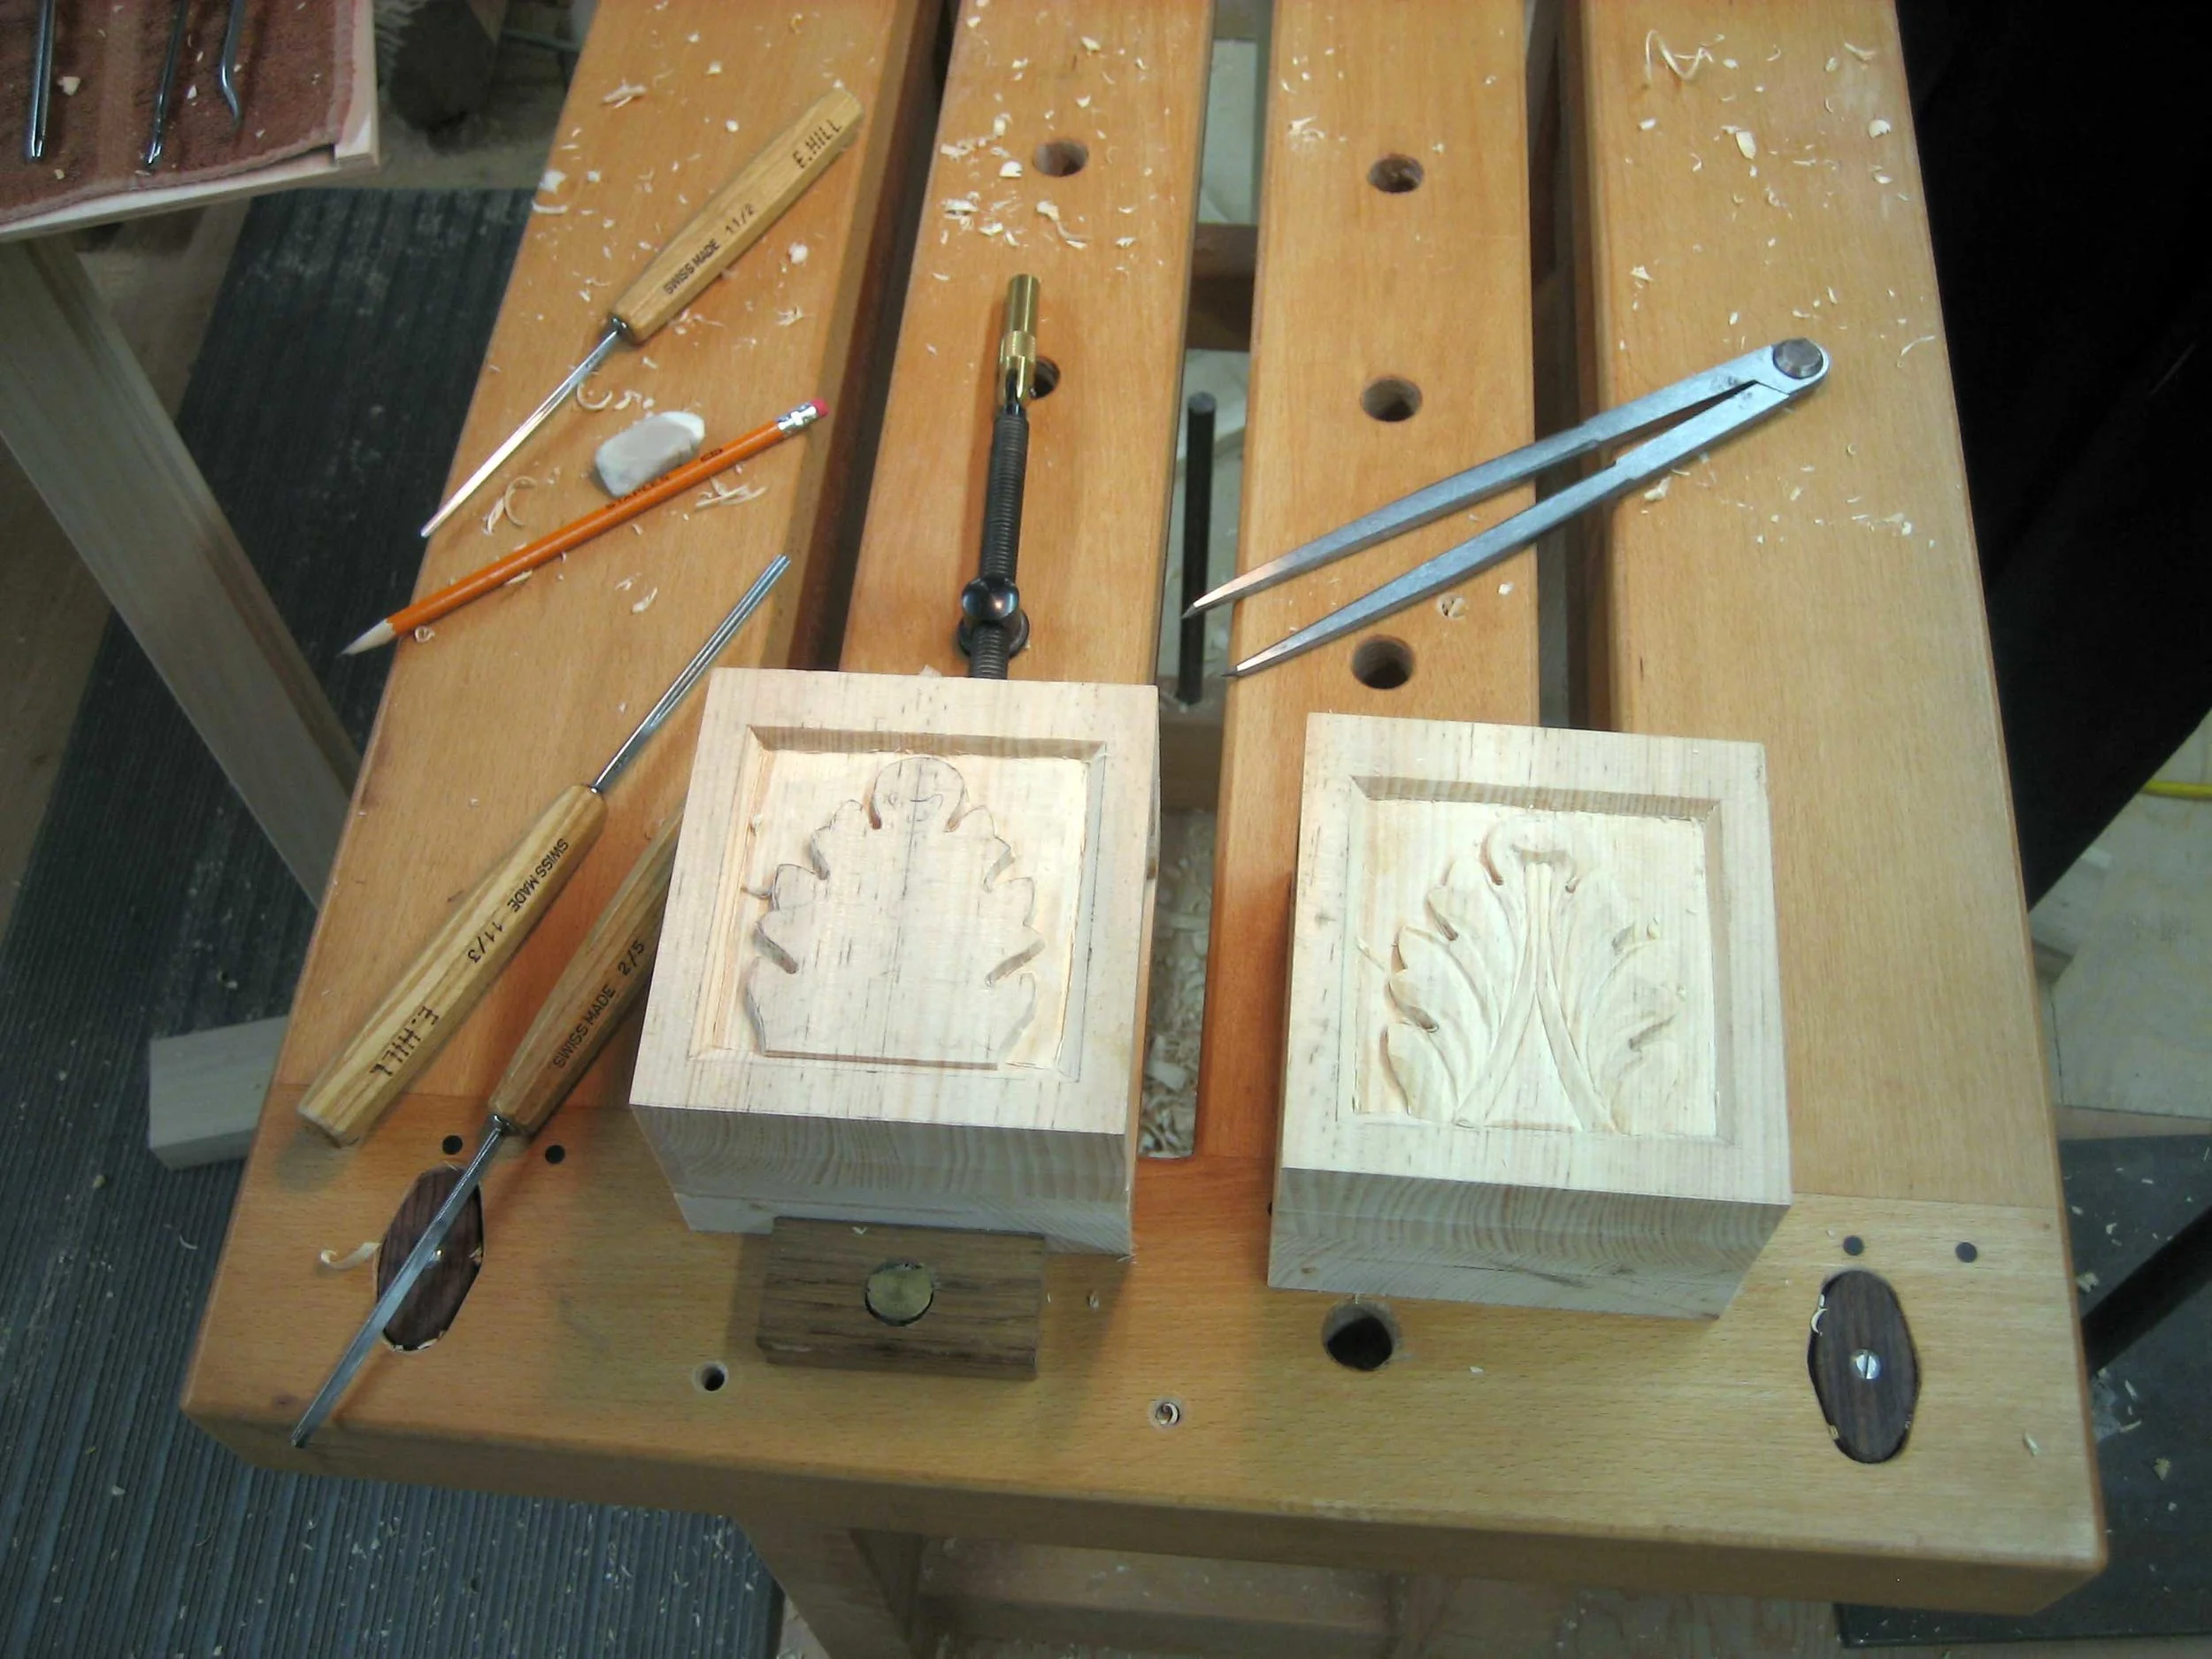
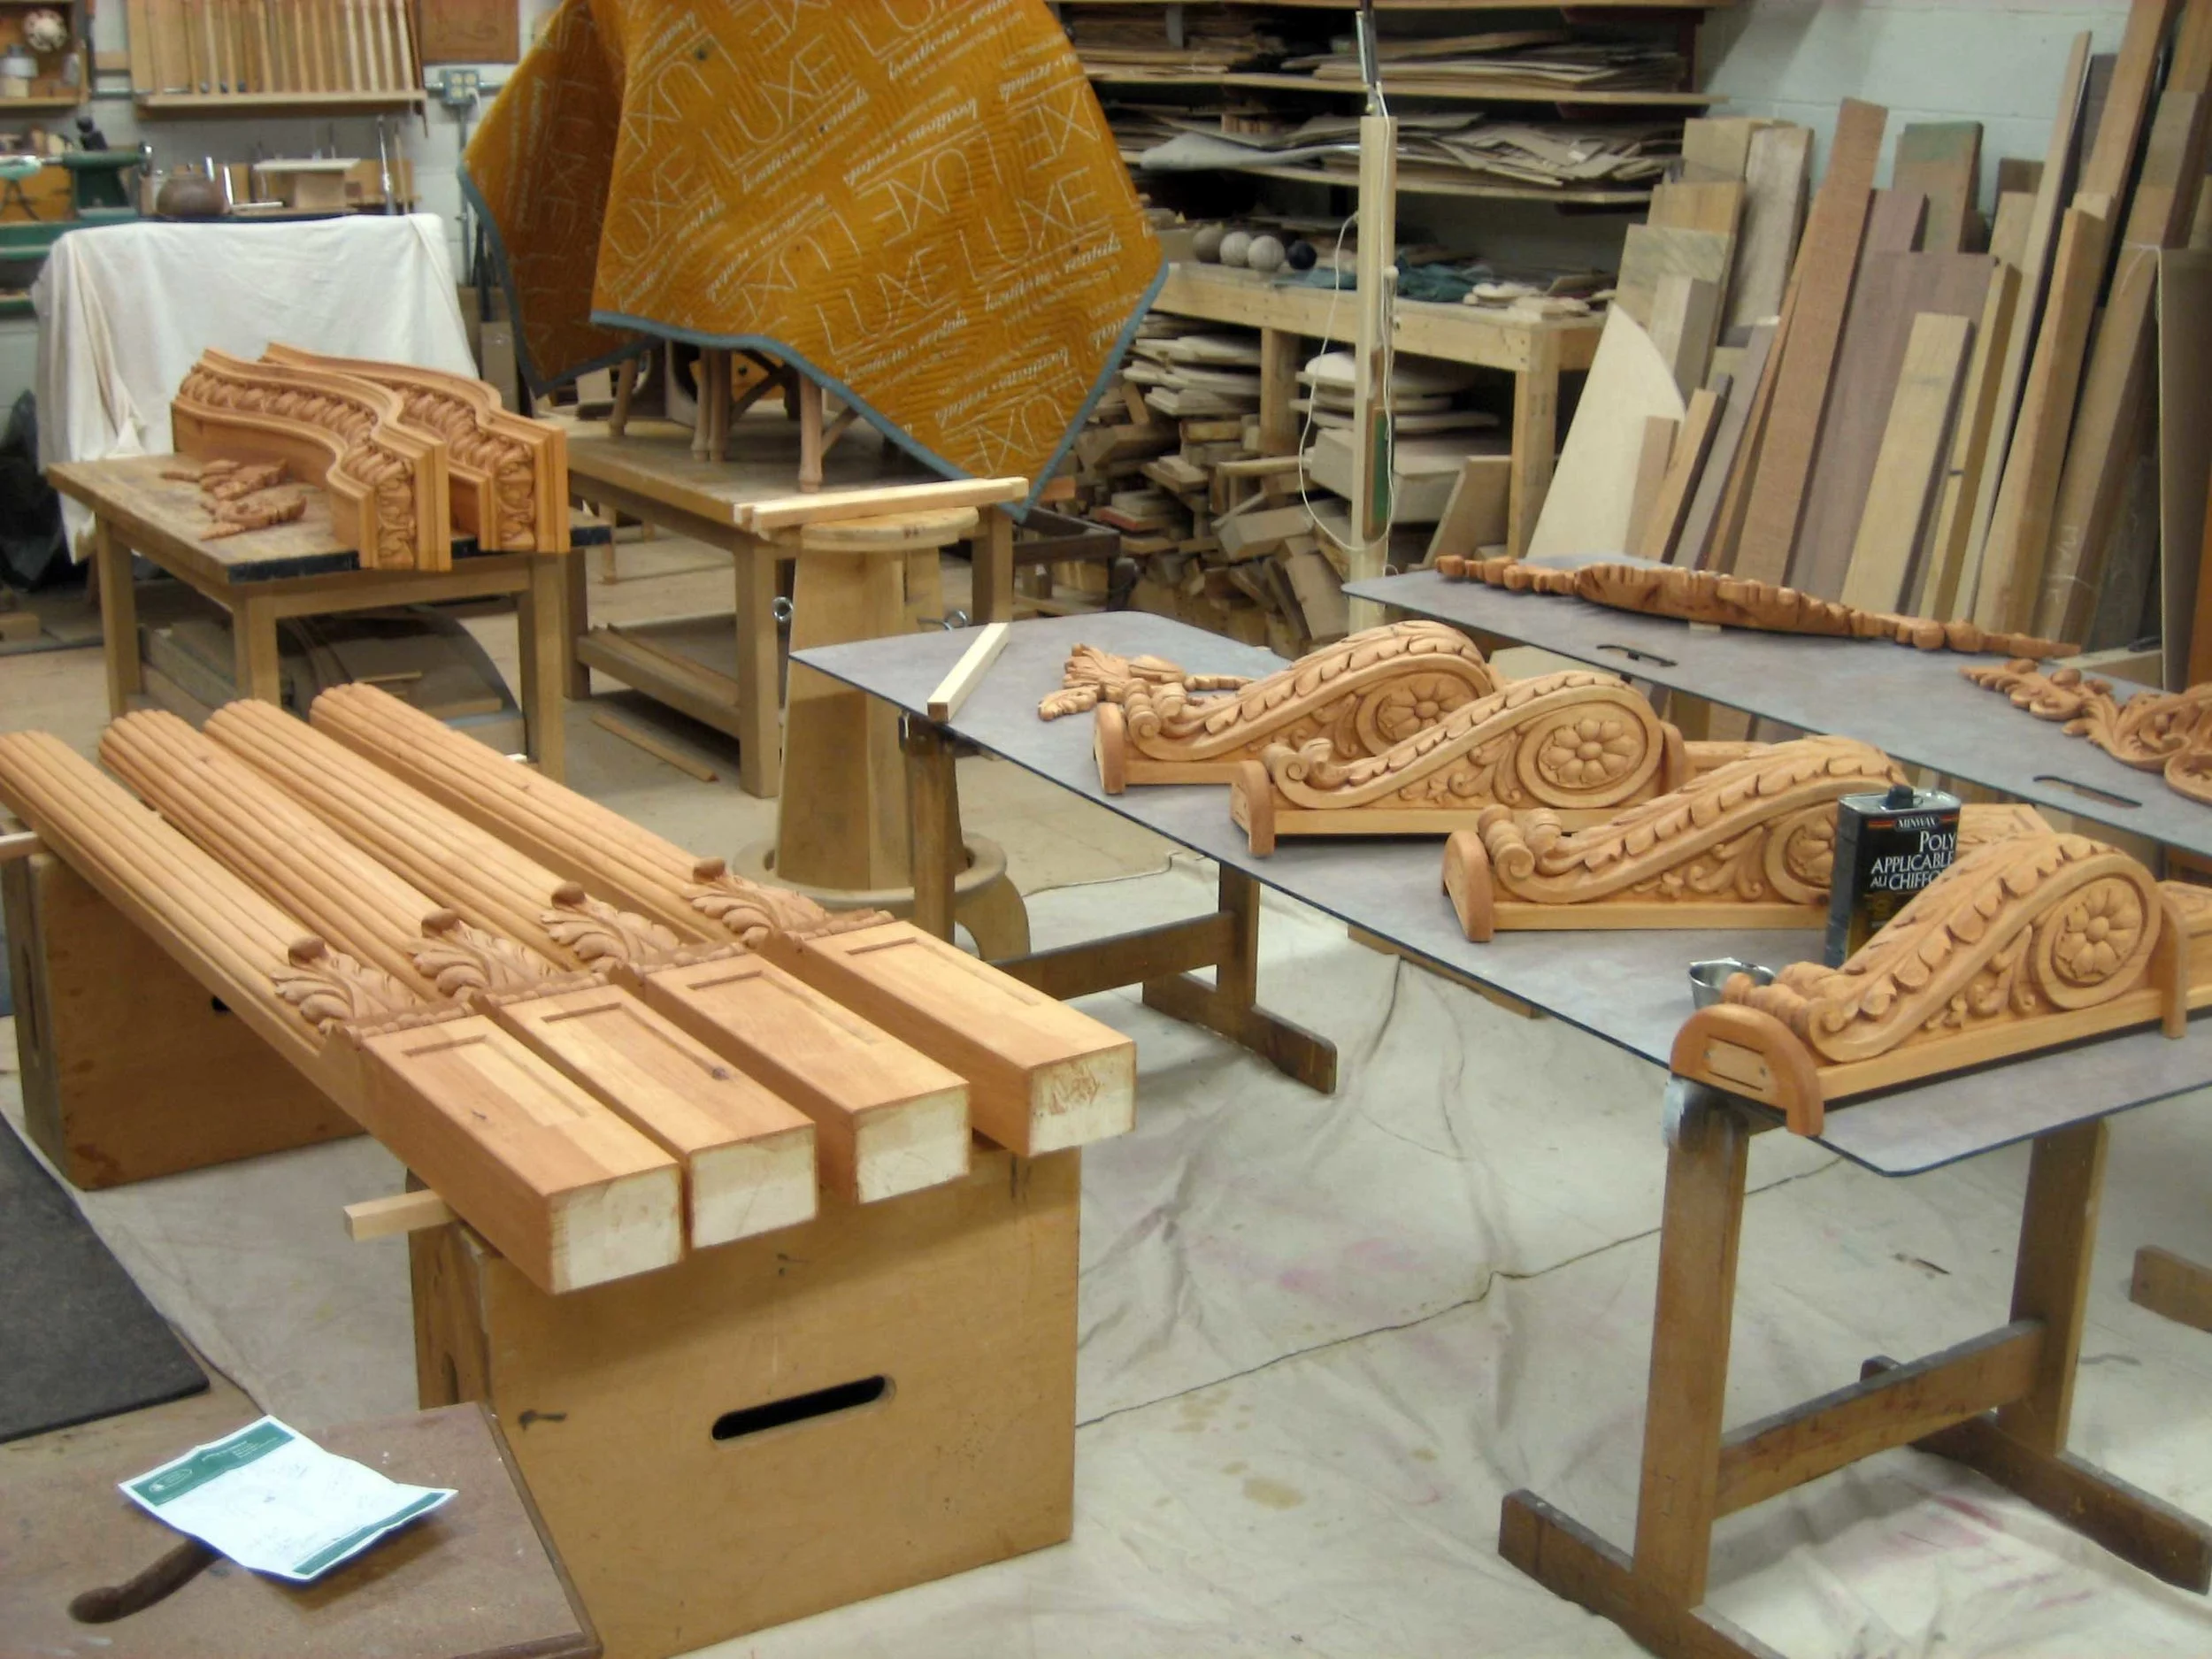
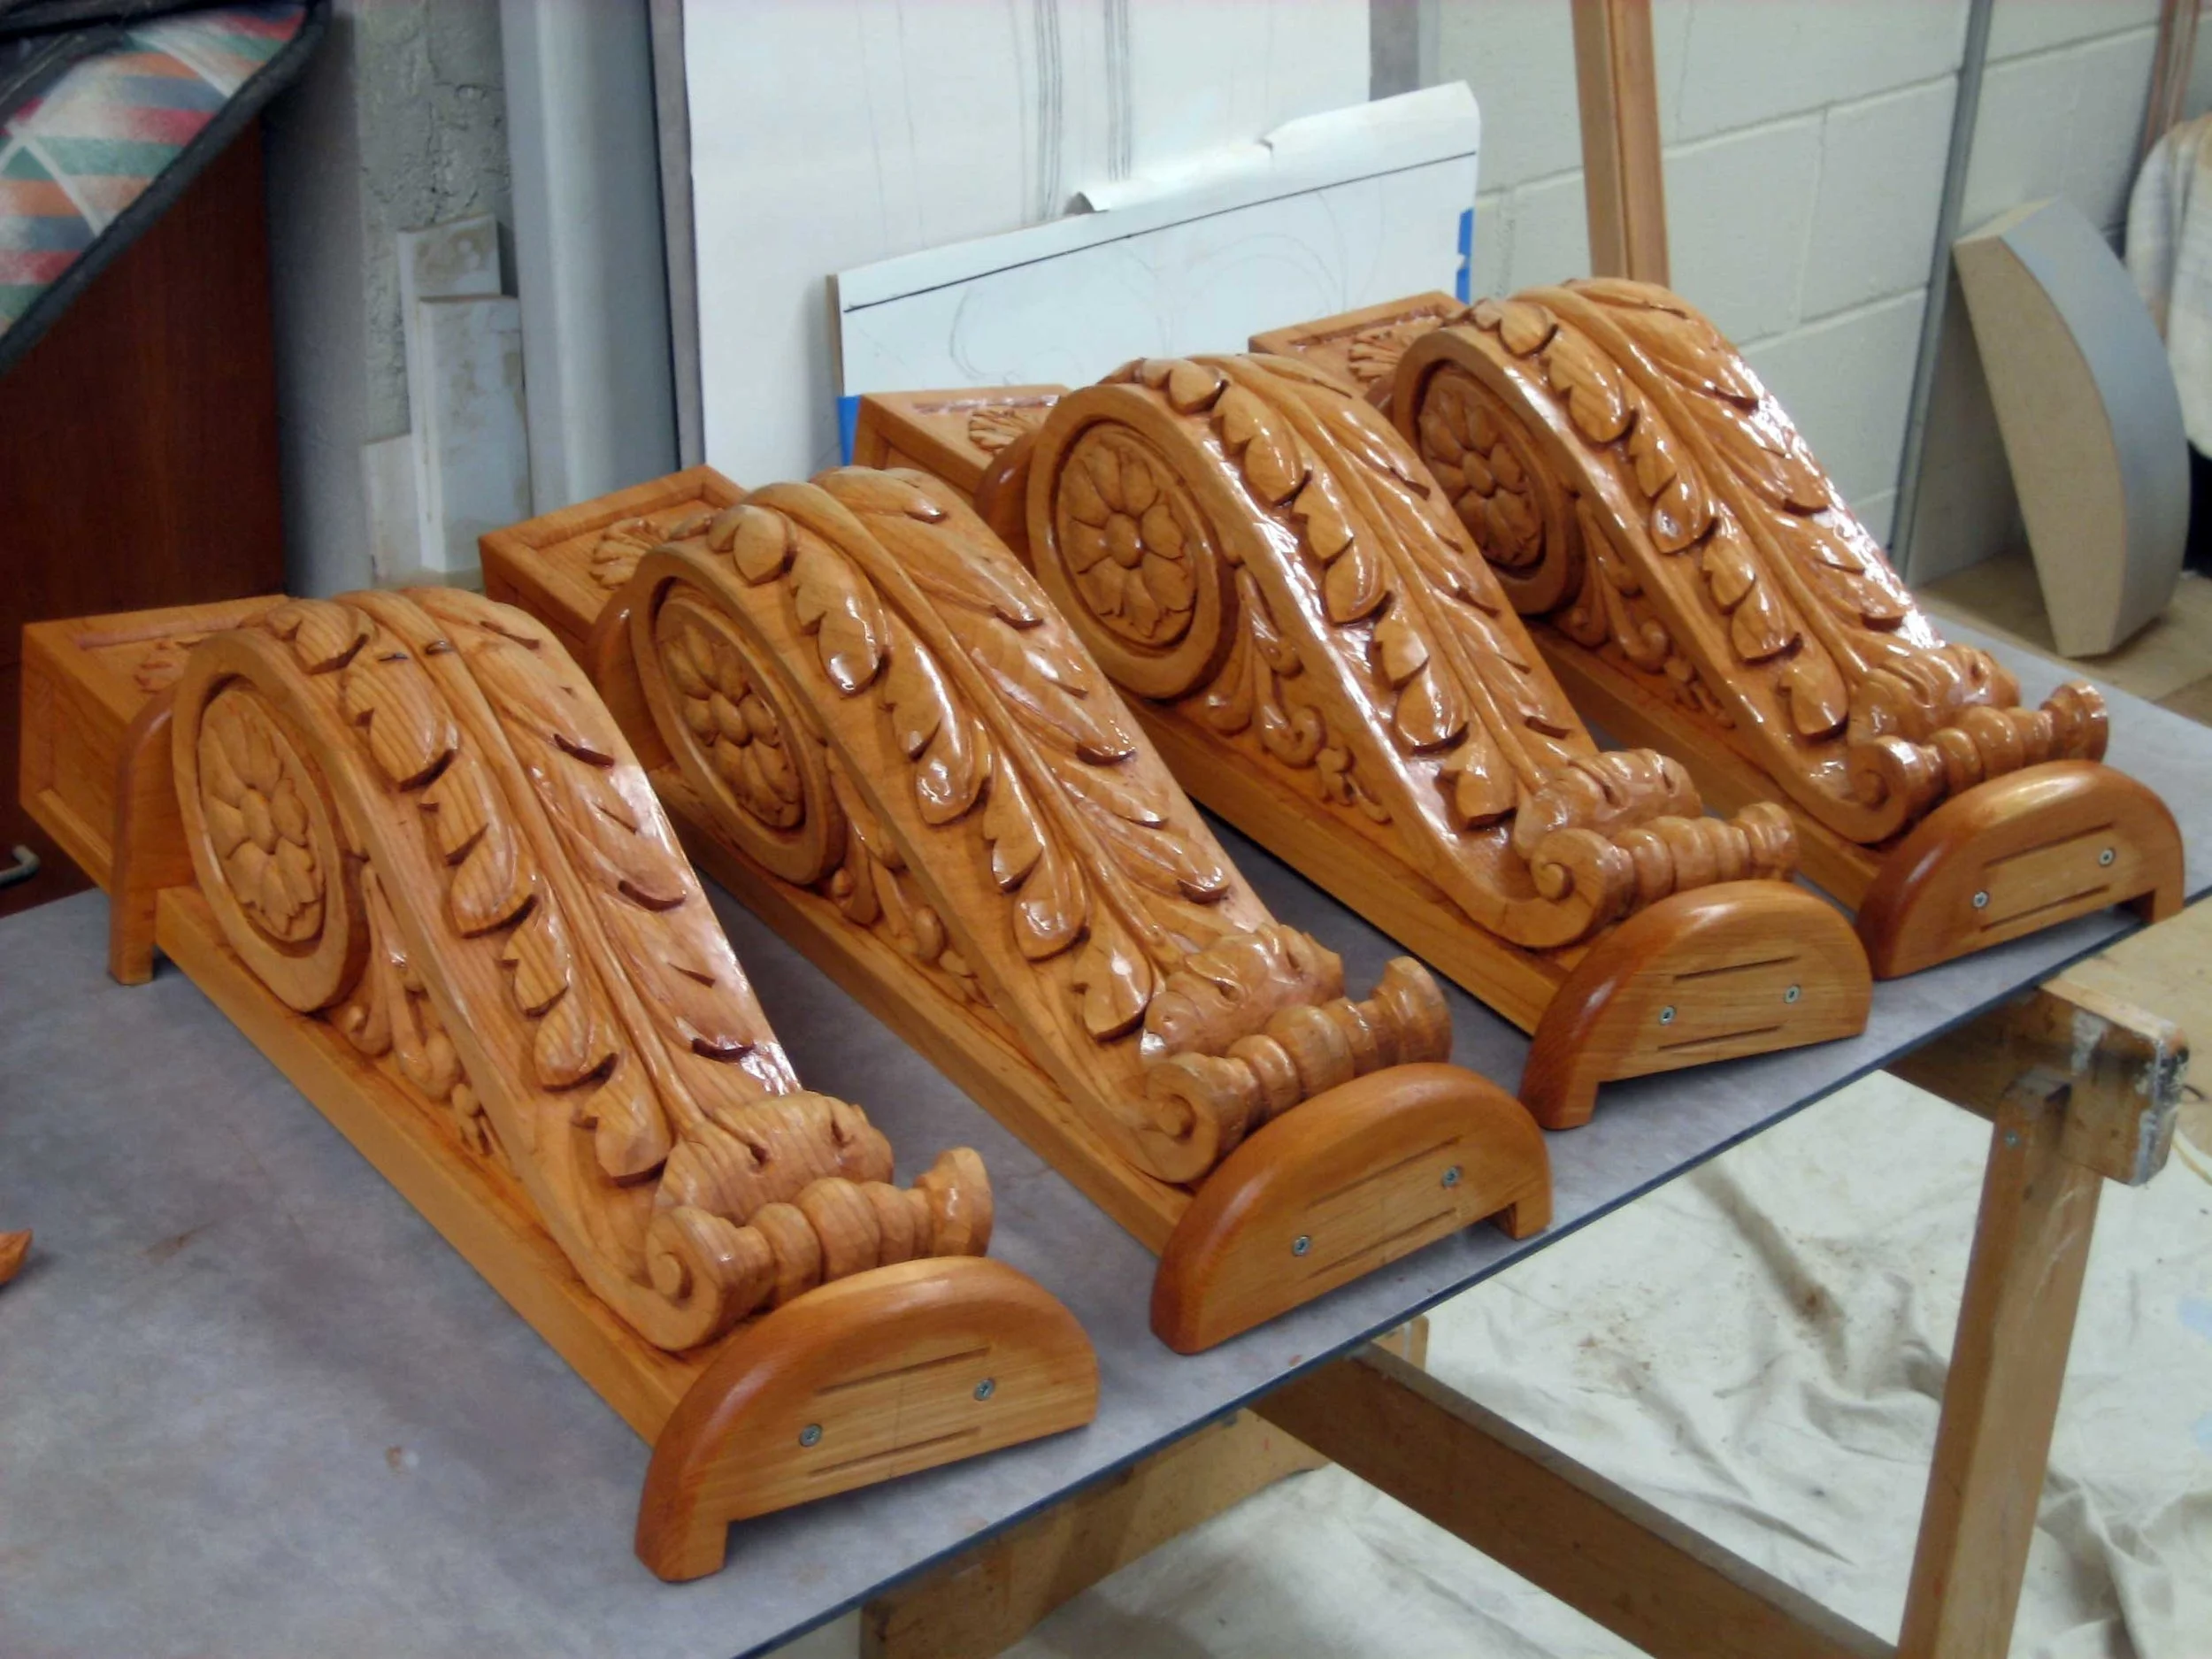
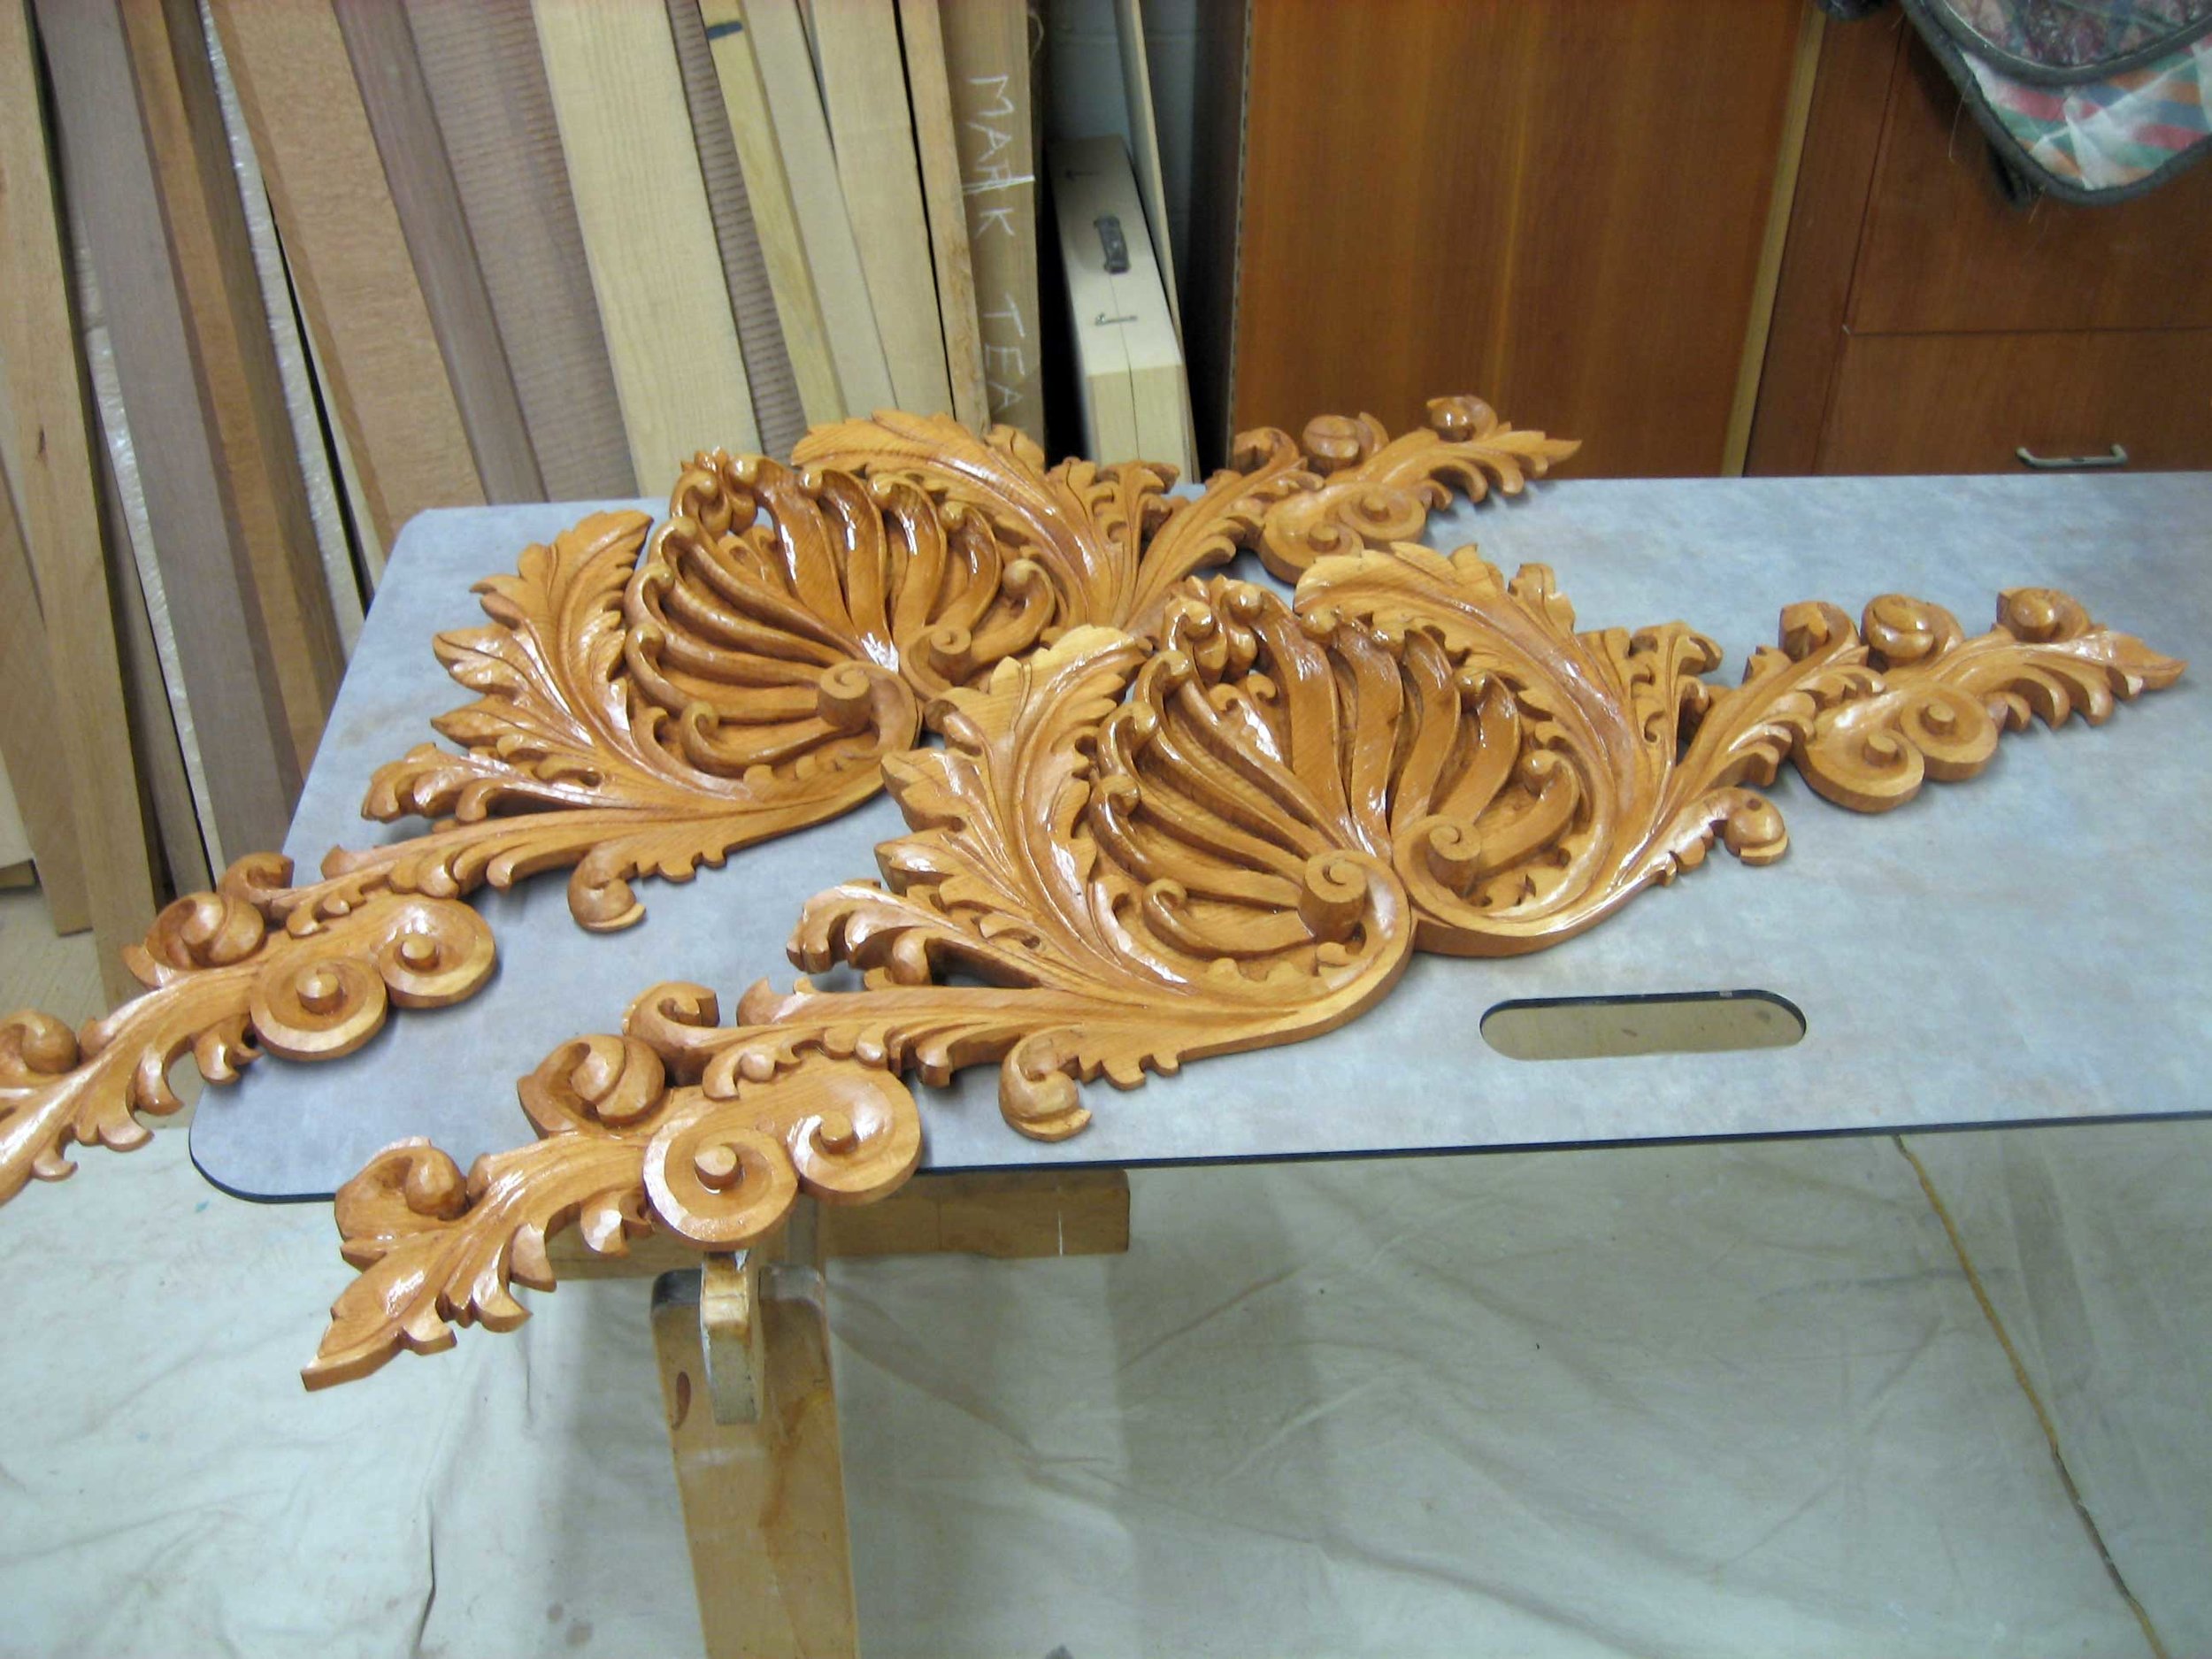
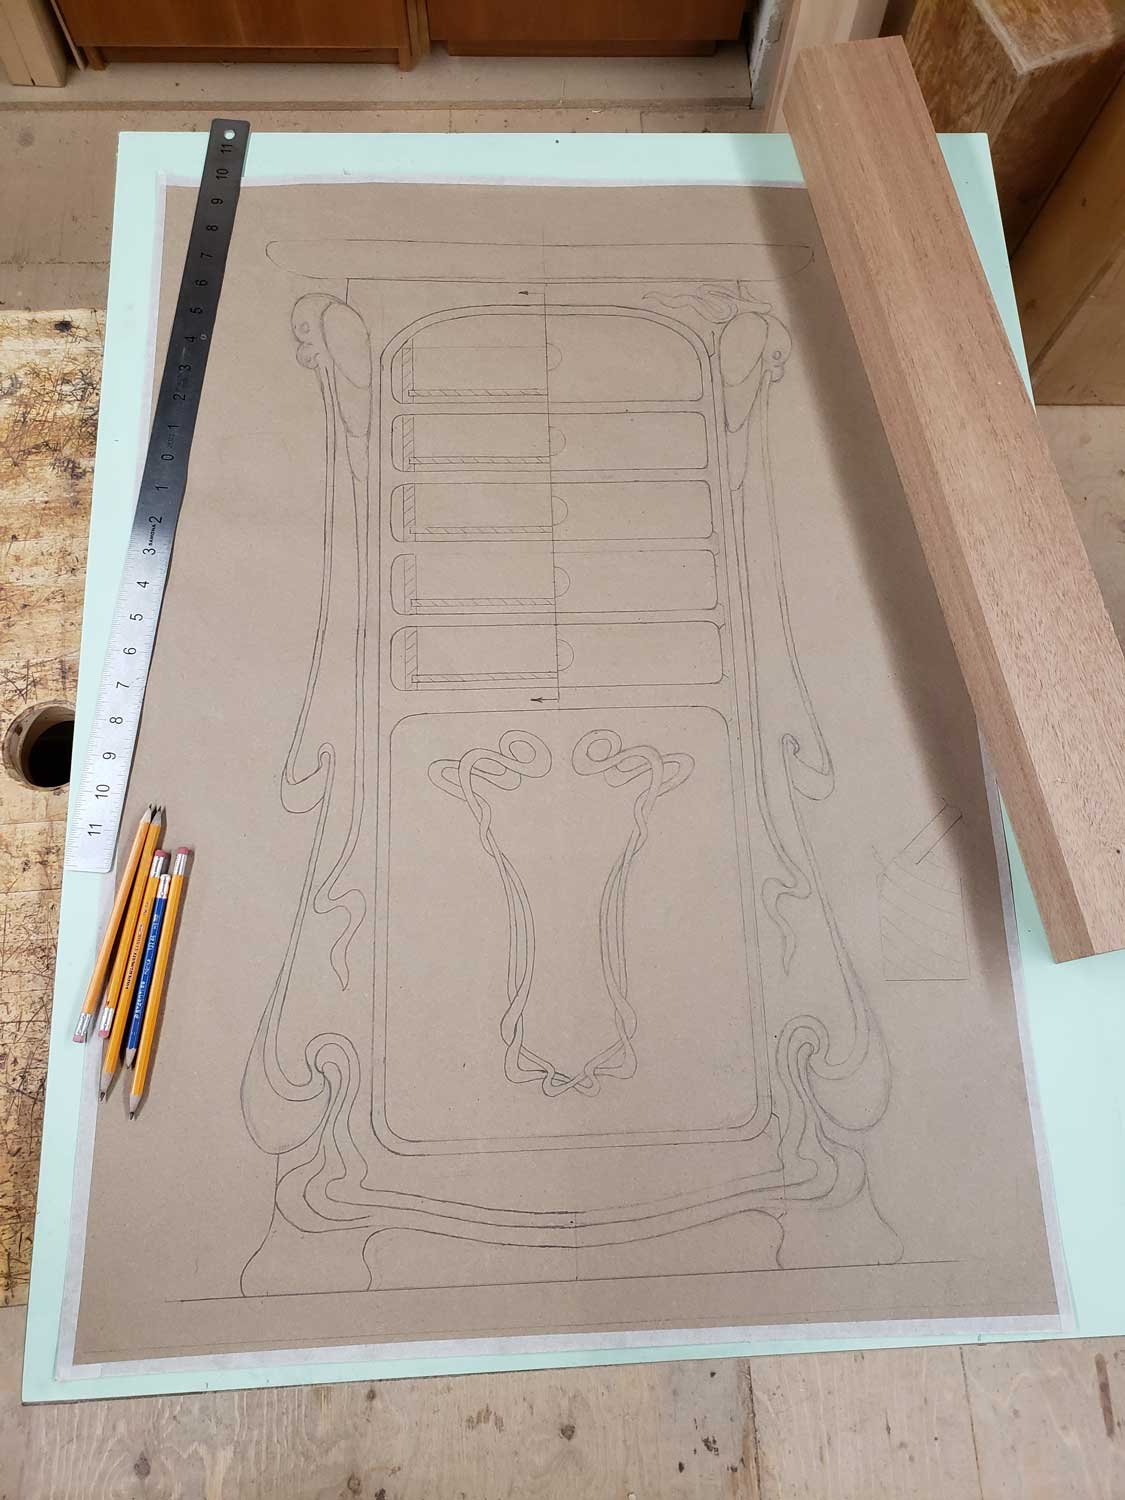
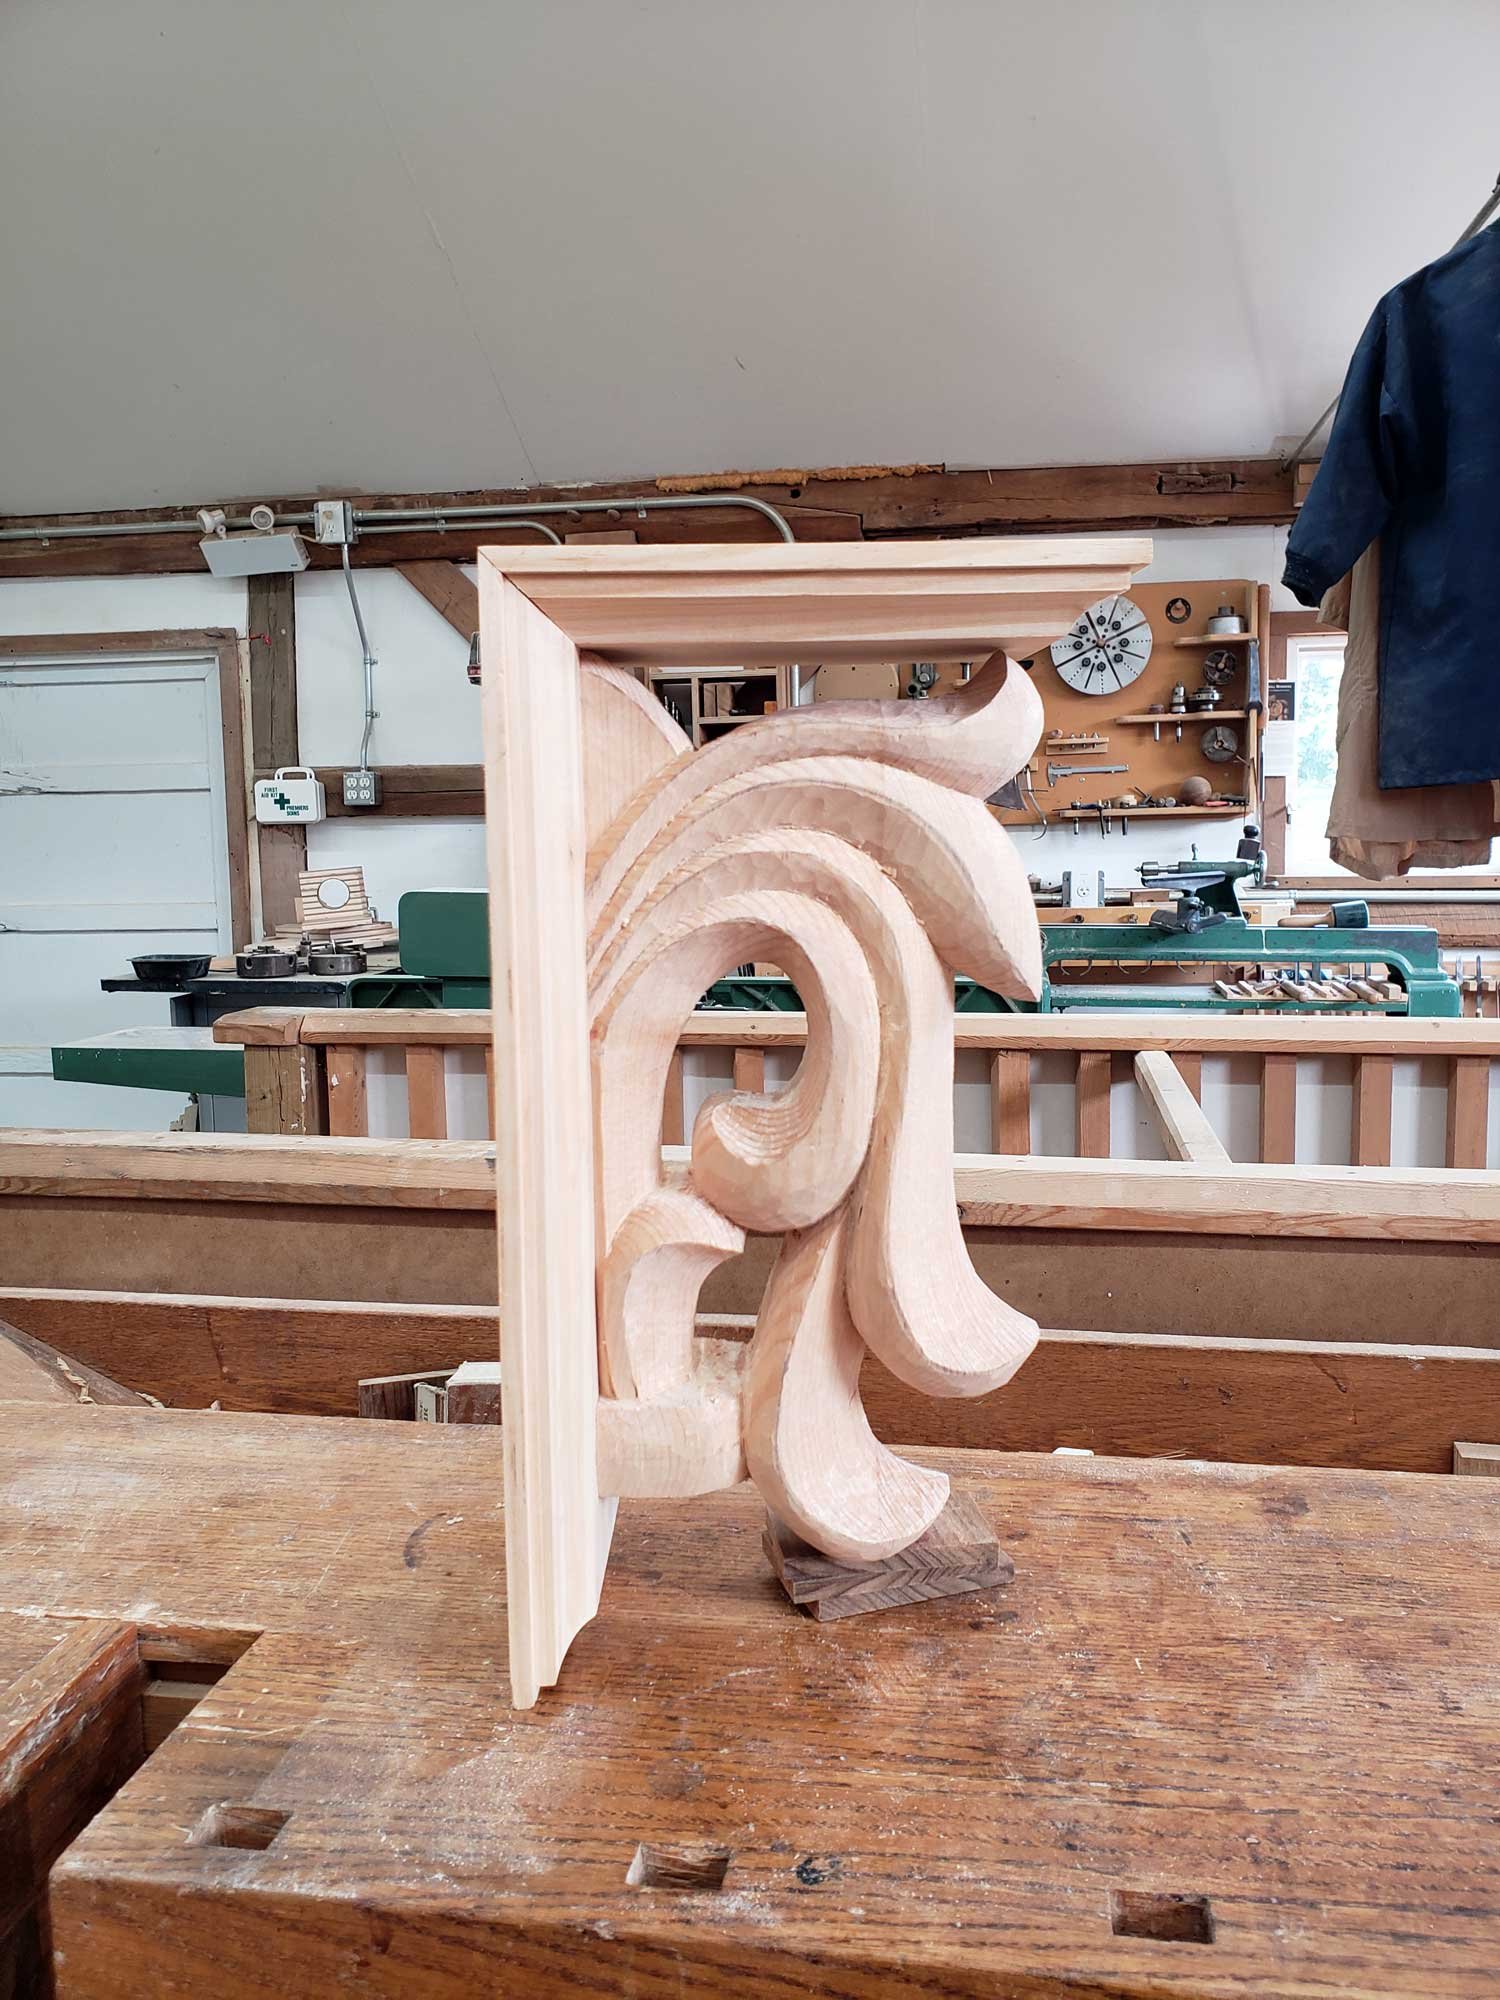
My first big carving commission. The job seemed a little daunting so I enlisted the aid of Siggi Bhuler, a Swiss trained carver friend of mine. Siggi produced the design and prototypes for me to copy. This way The job could stay on track and on time.
01 –The client’s inspiration for the door. Our door would be carved on both sides of the wall.
02 - I started with the columns. The actual reeding was started with a router and cleaned up by hand afterwards.
03 – All the carvings were marked out and then done in stages to maintain the same level of quality between pieces.
04 – The base of the columns was a good place to warm up for the more difficult carvings to come.
05 – Blocks were added to the bottom of the column.
06 – Next I started on the carvings on either side of the door. They were in mirror images. I tried carving two at a time to speed things up.
07 – Starting on the large top carving. I drilled depth holes to keep from carving to deep or too shallow.
08 – Carefully reproducing the first carving even though they would be on opposite sides of the wall.
9 – The two carvings ended up quite similar.
10 – Enough pieces to get a first glimpse of what the end product might look like.
11 – Time to start in on the cornice.
12 – The cardboard template used to layout the carving.
13 – I drilled depth holes to ensure the carvings were all the same. All similar layout cuts were made at the same time.
14 – Everything is carved in steps to maintain consistency.
15 – The cornice is taking shape. There is a rhythm you find in architectural carving
16 – All done and both pieces are quite similar.
17 – On to the blocks. The client decided on a change to the design of the blocks but by this time things were going pretty well so I welcomed the unanticipated challenge.
18 – Starting in on the side of the block.
19 – Changing the angle of my carving bench occasionally keeps me from getting fatigued.
20 – Working out components of the new addition.
21 – Transition pieces between elements.
22 – A first look at everything in place.
23 – Changing gears. Gluing up the curved jamb on a large particle board bending form.
24 – Using the jamb itself to form a door stop.
25 – Gluing parts of the jamb together.
26 – Fitting the door and marking the jamb for length.
27 – Morticing for hinges and door knob.
28 – Laying out the door and carvings on the pine backer board.
29 – The columns and blocks are added.
30 – Next the cornice.
31 – Lastly the carvings. Now that everything fits it is time to think about the trim.
32 – Gluing up the segmented top piece.
33 – Trimming to size using a particle board pattern on the shaper.
34 – I had to build a jig in order to run the cutter against the face of the piece.
35 – All the parts are laid out and the base coats of finish are rubbed on.
36 – The carving really comes to life when the finish goes on.
37 – Everything will be finished again on-site but it is nice to get a glimpse of the final look.
38 – An eyelet at the top of the door secured to the ceiling allowed us to finish both sides of the door at the same time.
39 – Everything almost wrapped up and ready to go to the clients.
40 – The client’s house was going through extensive renovations. But we just stayed out of the way. Once we had the pine backboard in place the carvings went up quickly.
41 – Everything in place. We attached the carvings on both sides of the wall in sequence allowing us to finish everything at the same time.
42 – Proper lighting was added later to highlight the carved door as you stepped through the front entrance way of the house.
